


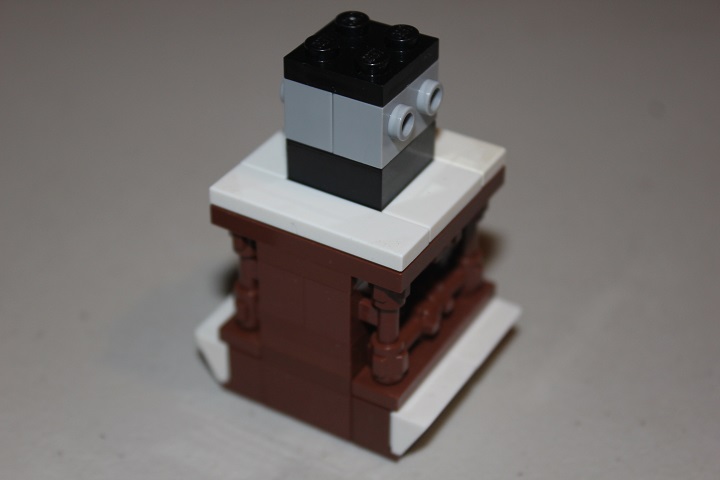
Now that the CCC is over, it’s time to get back to some tutorial content! This roof design was used in my Streets of Daydelon model, and works well for capping 4×4 building sections. This guide also covers the wooden window design I used below the roof.
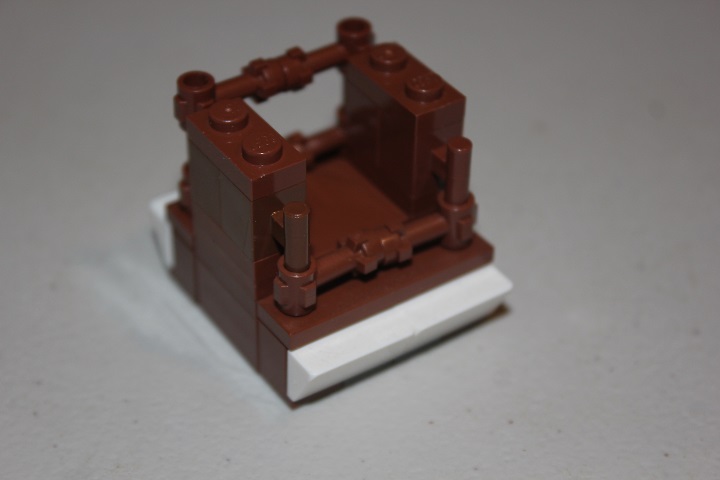
Since this little 4×4 section was in the middle of a regular gable roof, some headlight bricks and cheese were needed at the base to achieve a smooth fit.
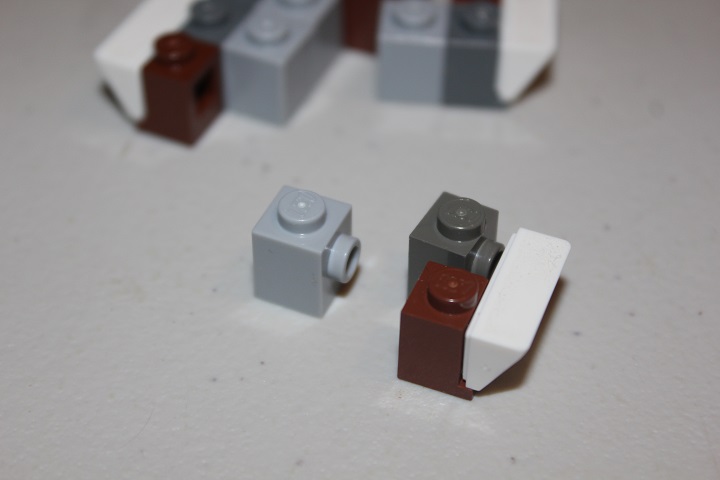
In this case I used white cheese, as the rest of the roof was snowy, just make sure the cheese slopes match the main roof color.
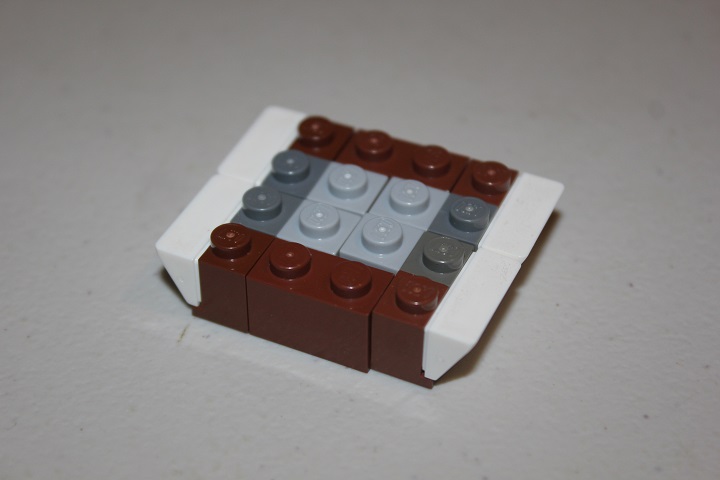
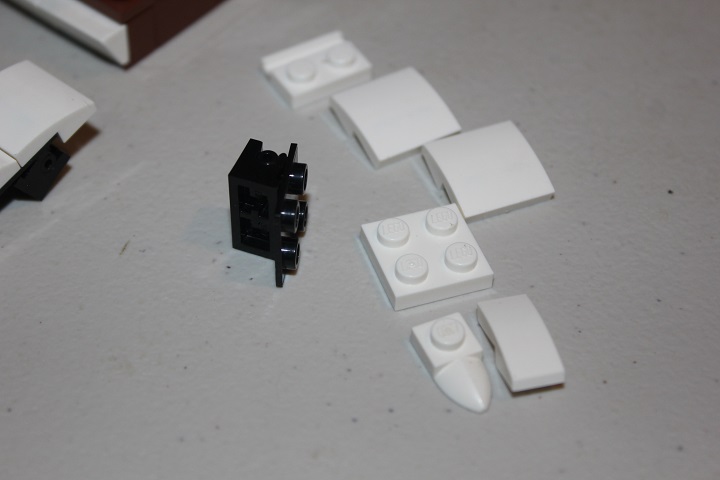
A 2×4 plate and two 1×4 tiles complete the base of the window area.
Next some 1×2 plates and a 2×2 tile are added.
The windows are framed by these bar with handle elements and lightsaber hilts.

The window itself is made up 2×2 turntables, a 2×2 plate in black, and eight transparent 1×1 plates.
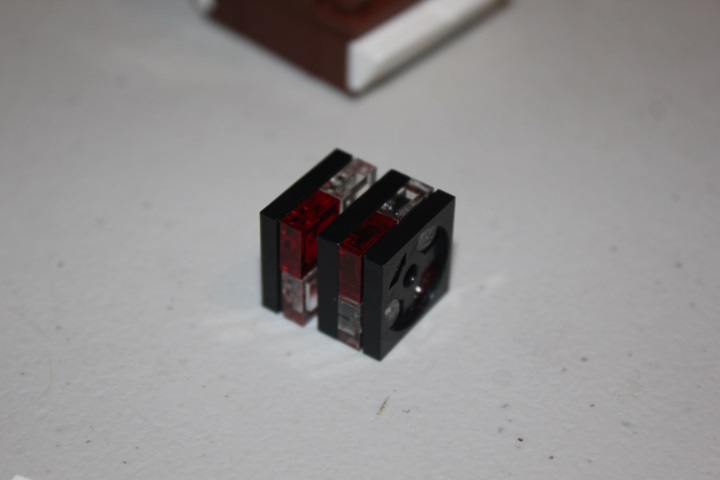
This makes a two stud thick assembly, and fits nicely in between the reddish brown frames.
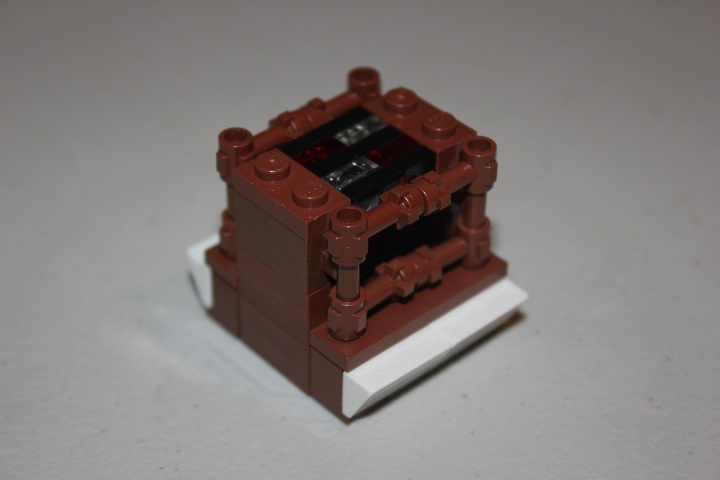
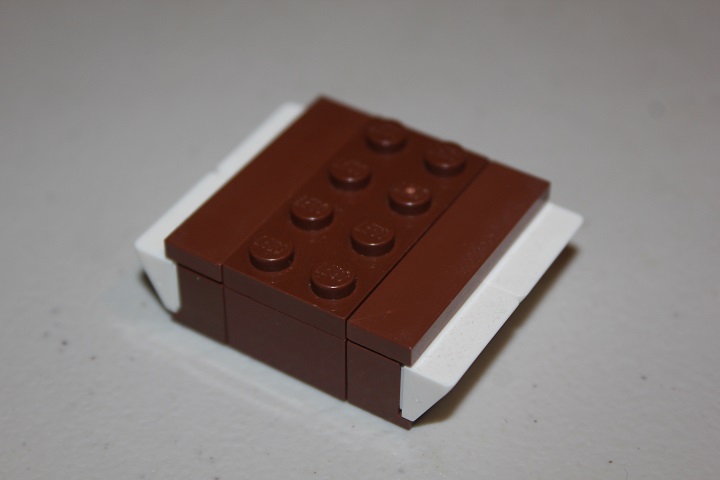
A 4×4 plate and some white tiles are then added over the windows.
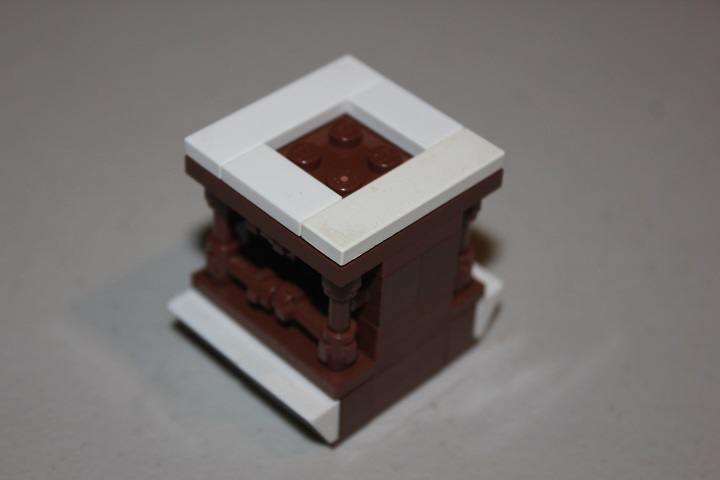
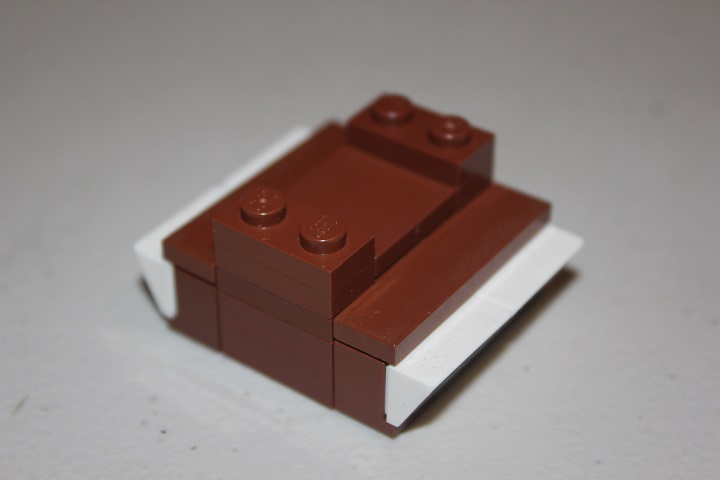
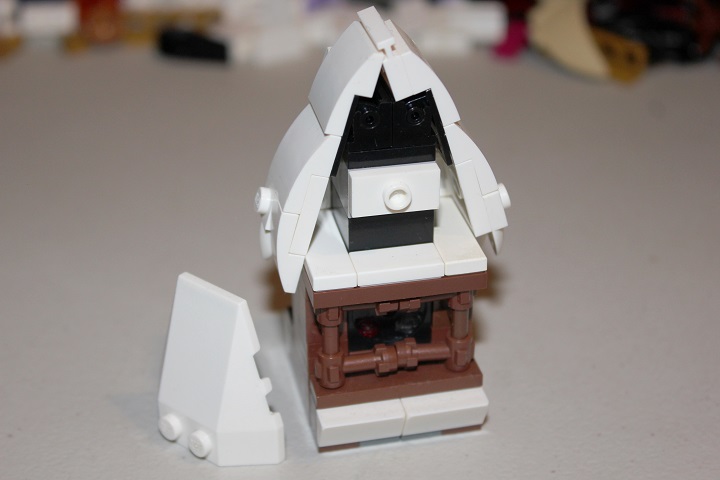
Some brick modified with stud will hold on two sides of the roof.
While the other two sides are held on by hinge bricks with 2×2 tops.
I made each side of the roof slightly irregular to imitate drifted snow, but all 2×2 curved slopes could be used for a more standard roof. The sideways jumper plate shown here could be replaced by a 1×2 plate if you prefer.
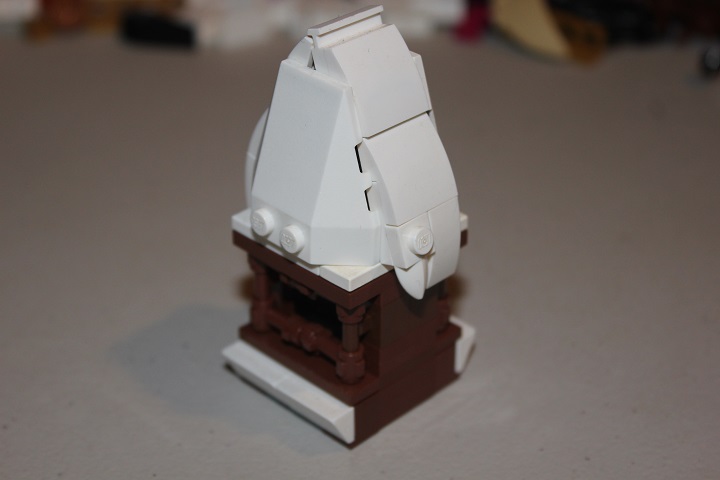
With some 4×4 wedge slopes added, the roof is finished
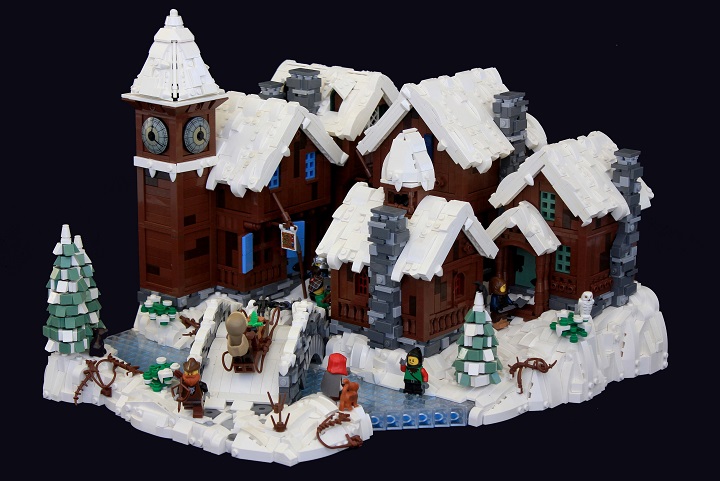
How it looks in a finished build:
We hope you enjoy our first tutorial of 2019, and there will certainly be plenty more to come!

