


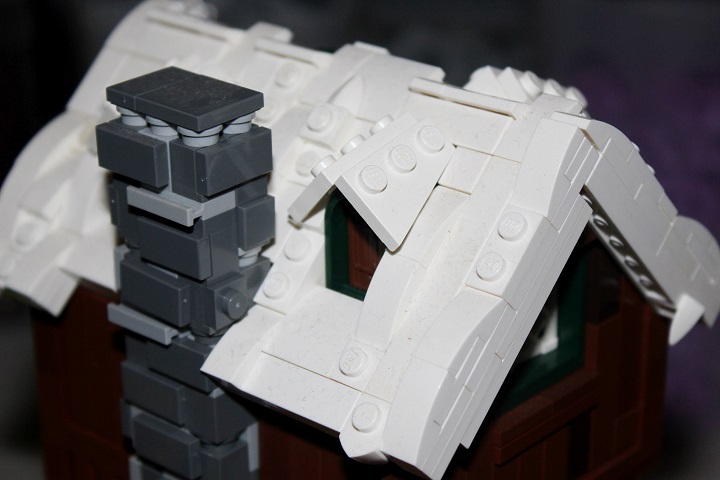
Dormers are a challenge to build, but this tutorial covers two designs that I’ve found to work well in my own models.
The first is a snowy roof dormer that I used in the Streets of Daydelon. You will need slots 2×4 studs in area in the roof to accommodate the dormer. Don’t worry about the 3×3 slot here, that was to allow for a chimney.
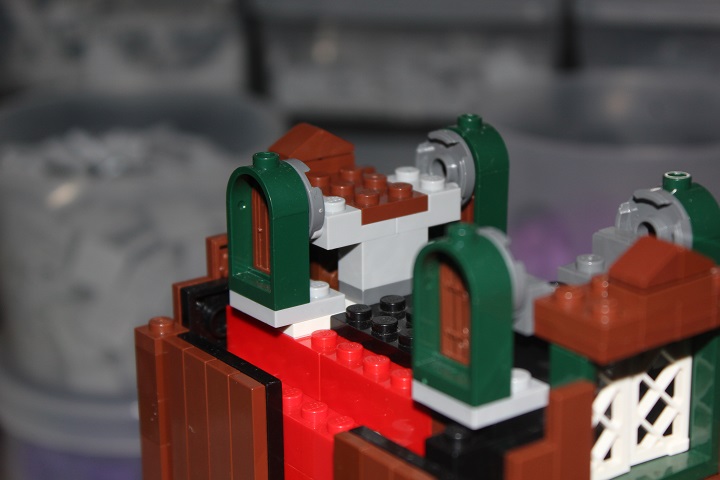
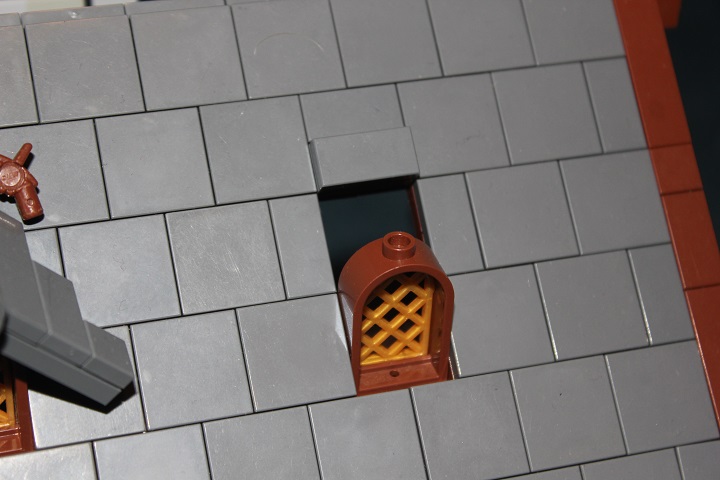
I used prefab windows, and then some SNOT 2×2 round tiles match smoothly with the back of the window frame. For this house I needed to offset the windows by a half stud to get a smooth fit with the roof.

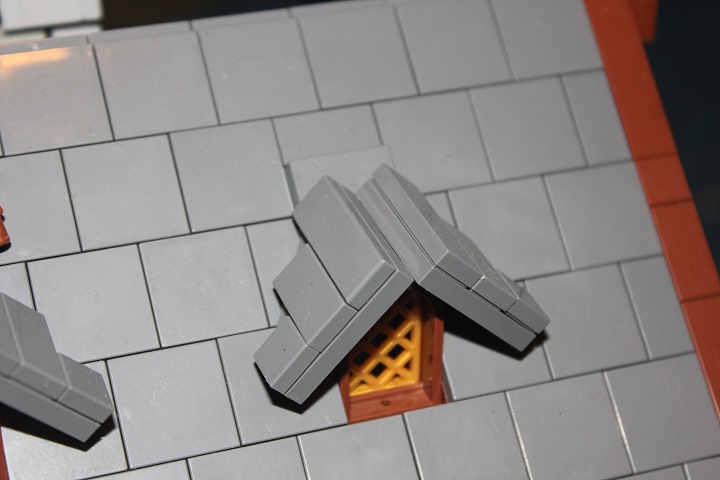
Another view of the window setup. Using solid reddish brown lattices is helpful here, as then the structure behind the window isn’t visible.
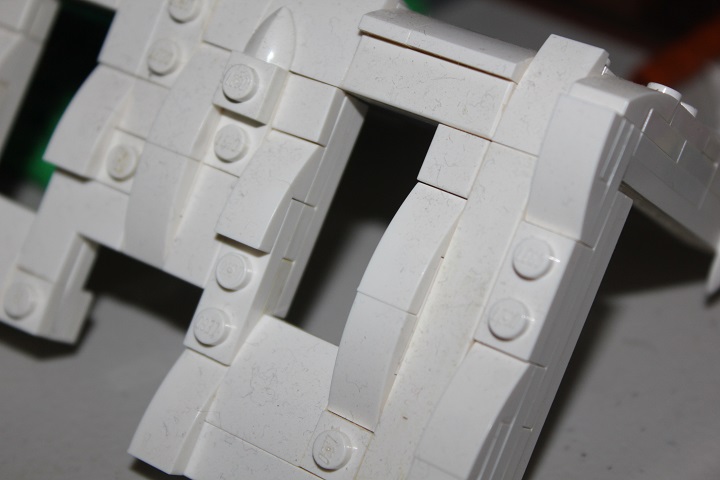
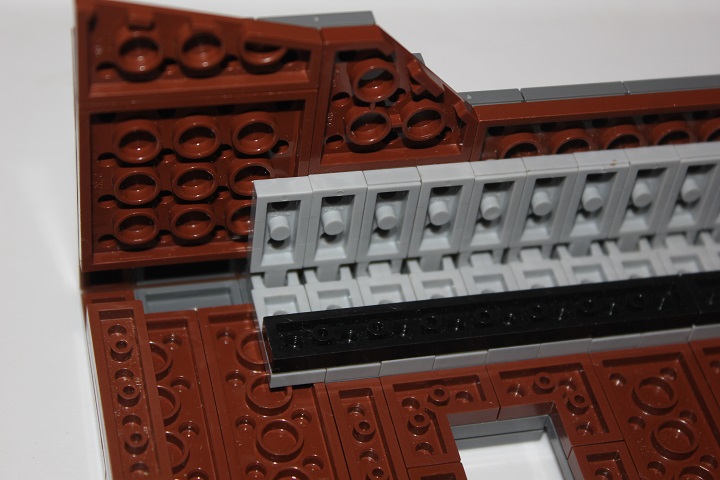
Here is how the roof will fit over the windows. Notice the 1×2 curved slopes on either side of the window, those are necessary to get the best fit with the dormer roof. And above those slopes use all tiles on the roof.
The roof itself is made up of these three elements.
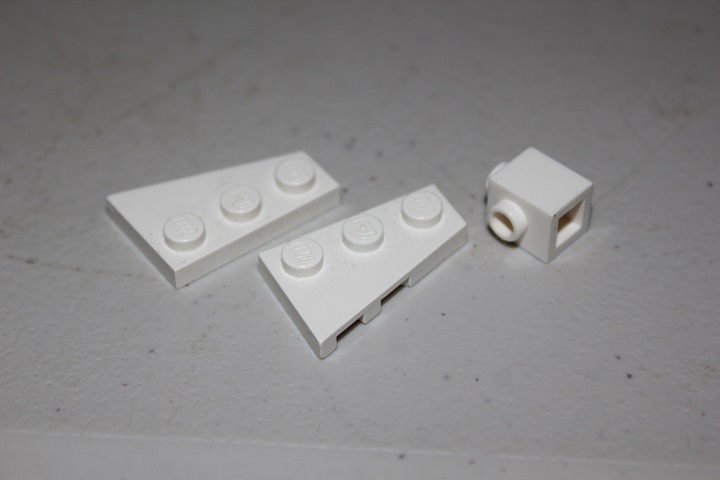
By using the 1×1 brick with stud to connect the pair of wedge plates you get a nice 45° roof slope.
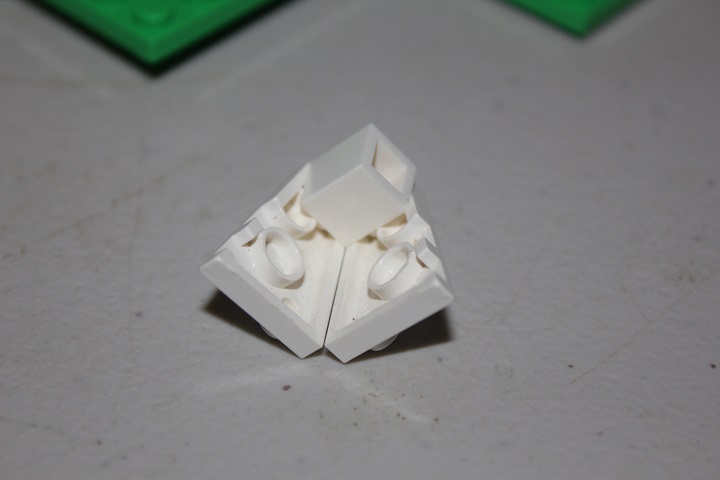
The brick with stud is also what holds the roof section in place, as it fits into the gap behind the 2×2 round tile.
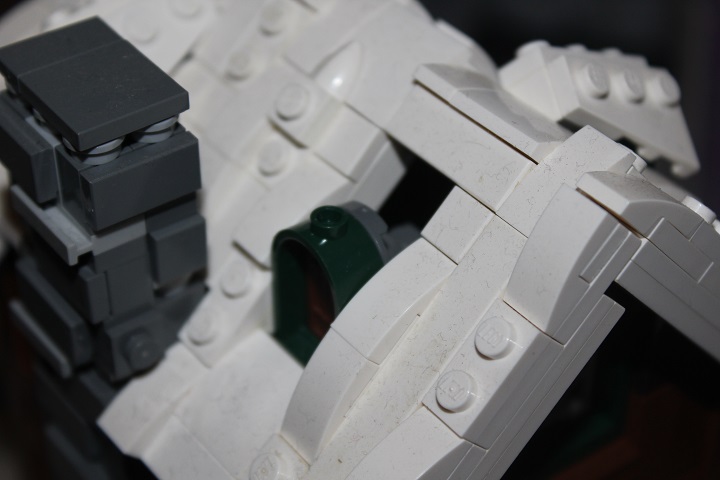
My second design uses the same basic principles, but has a larger roof and was used in Gardar’s Cloth Goods. Again the main roof has a 45° slope, this time accomplished via click hinges.
Here also the slot is 2×4 studs in area. Though this time there isn’t a need for curved slopes on the adjacent roof edges. Just a 1×2 tile raised by a plate at the top edge.
This time 3×3 wedge plates and a travis brick are used.

And as you can see, regular lattices work fine with this design as there is no need for the SNOT 2×2 round tile.
Finish off the dormer with two 1×1 round bricks and a 1×1 cone.
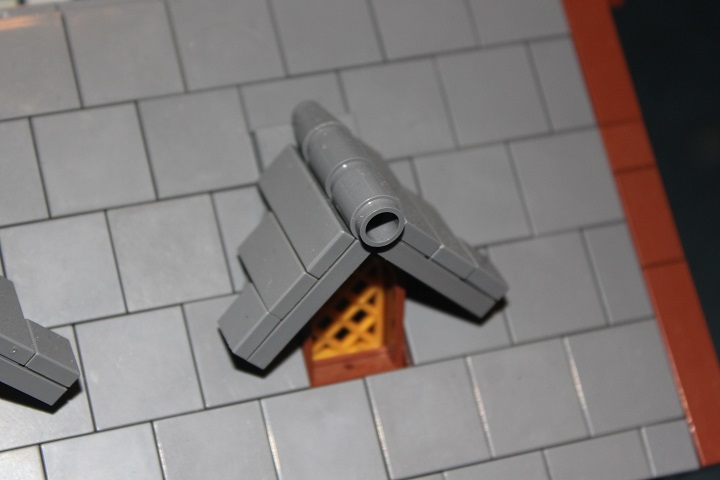
And there are two dormer designs that you can hopefully incorporate in your own models!


Wow, this technique amazing! I may use this technique in my CCC XVIII moc called “Where’s the wood stack”. Thanks for sharing! 😀I’ll defiantly incorporate this technique in my model!!!