


Well, it seems it’s that time again. Time for me to write a build log! This time we’ll be taking a look at what went into creating my Royal Dance model. Are you ready? Let’s get to it!
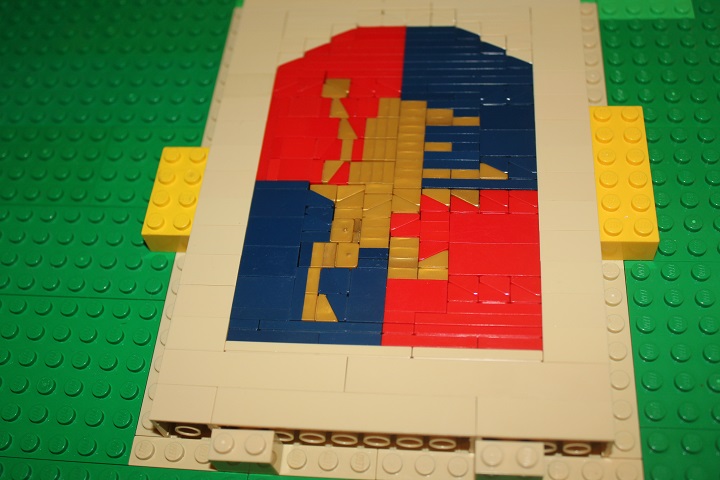
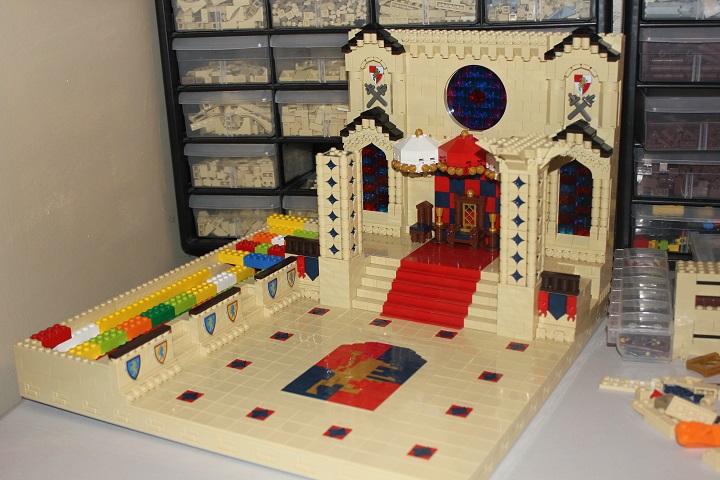
The first thing I built was this mosaic, modeled after Colin’s phenomenal design. I’m quite happy with how it translated to solid colors, despite being a little unsure about it while building it. I actually came back to this mosaic a few times during the build, as I figured out ways to make the whole thing fit more smoothly by swapping out certain parts.
With that out of the way, I could move onto the floor surrounding it. In order to not draw too much attention away from the mosaic, I opted for a pretty simple tiled floor, with occasional cheese decorations to break up the large expanse of tan. This picture also shows on of my personal favorite parts of the whole creation: the stairs. The carpet coming down the steps utilizes red panels to raise the carpet just slightly above the regular stair level. It was a small touch, but one that I think worked perfectly.
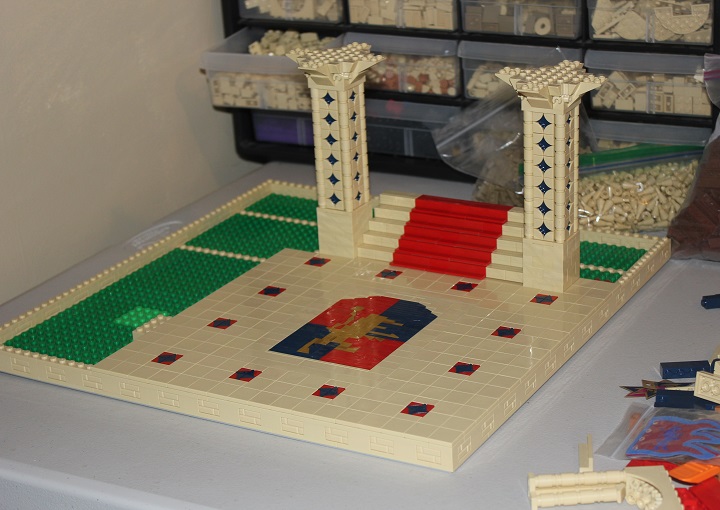
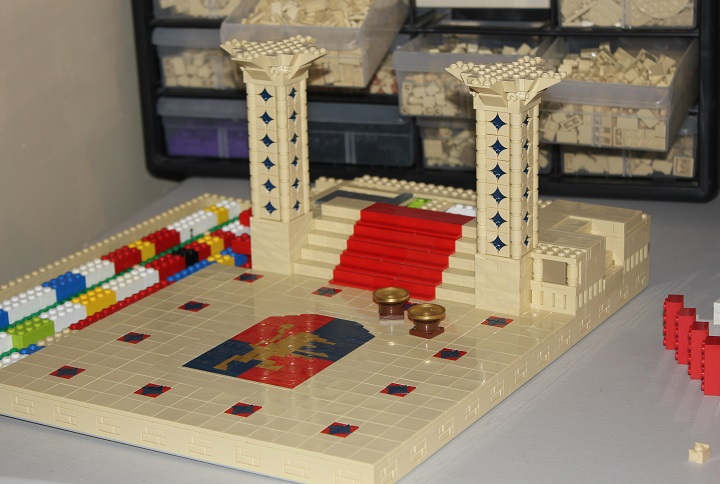
Next I worked on the raised dais area. In order to get the floor to fit smoothly with the sideways stairs and the wall behind, I ended up needing to make that whole floor section SNOT too.
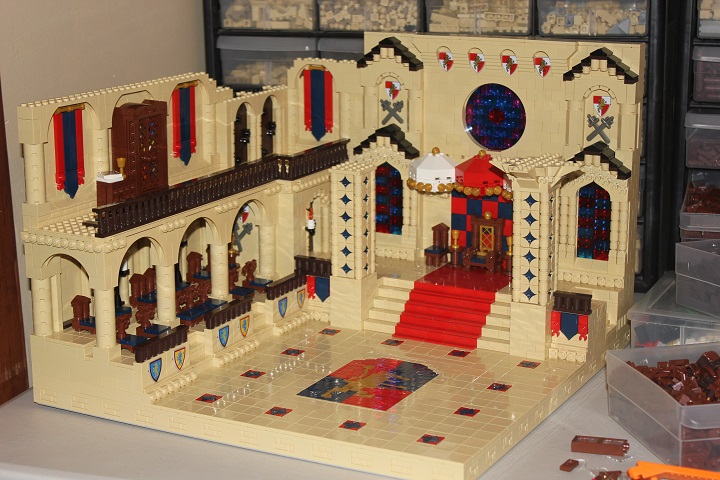
Now it’s looking more like a throne room! The checker pattern behind the throne was quite enjoyable make, and something that really fit the aesthetic I was going for. Another one of my favorite details was the throne itself. Definitely a design I plan on using again in the future. I still wasn’t really sold on the awnings over the chairs though – I couldn’t explain why, but they just didn’t seem quite right.
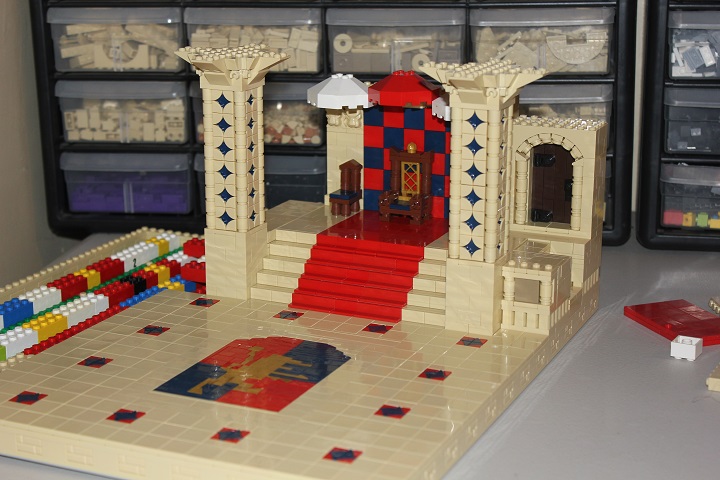
So, I modified them a bit. By building off the underside and adding a bit of gold decoration, I felt it greatly improved the overall look.
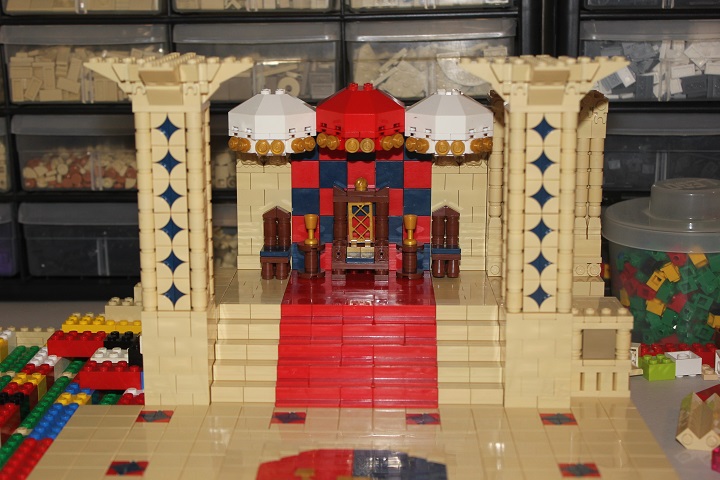
You might have noticed a couple pictures back that there was a door to the right of the thrones – well, it seemed to me that a stained glass window might fit better there. So, I swapped them out, and, well, I was more than happy with the result. I finally got a chance to use our trans red and trans dark blue bricks too!
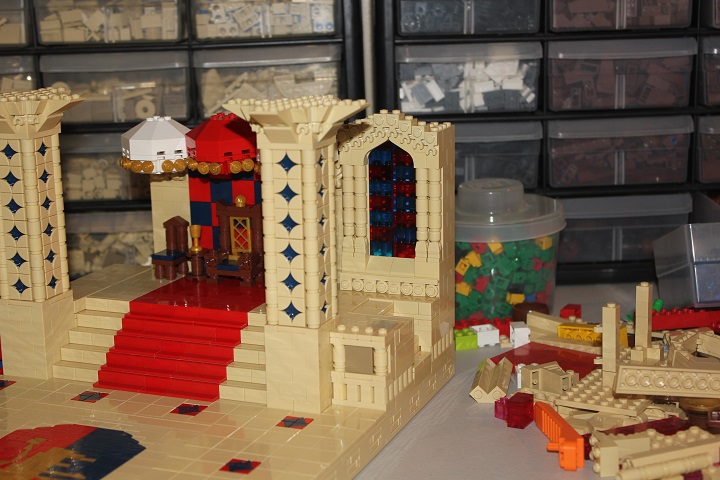
After copying that window on the other side, I needed to figure out what to do directly above the thrones. More stained glass seemed like the obvious choice, so that’s exactly what I did, this time electing to make it a large circular window.
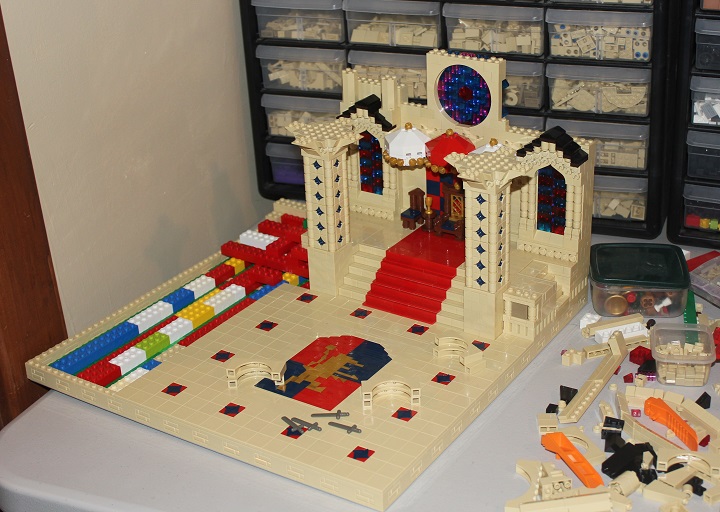
To add more detail and interest to the walls above the stained glass, I added some crossed swords and and lion knight shields inside another arch. And, just like the stained glass below, I though it looked nice with a decorational black ‘roof’ on top.
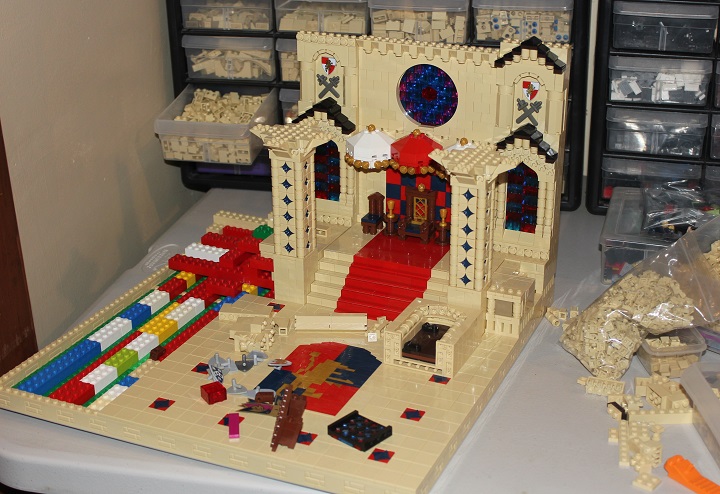
With the back wall nearly complete, it was time to work on the seating gallery. The first step was to lay out where the stairs would be. Some more shields added decoration to the walls in between the stairs.
This next portion of the build came together very quickly, so I don’t have many pictures. Another one of my favorite details (how many times have I said that in this build log? Seems like almost the whole build is one of my ‘favorite details’…) is the bookshelf on the second story. It was a ton of fun putting those reddish brown fences to use! Oh, and of course the banners using the Nexo Knight shields. And the chairs using antlers!
My apologies. I will try to restrain myself.
Nearly done! At this point the only thing I thought I had left was to finish off those pillars that I had been neglecting almost since the beginning of the model. As it turns out though, I couldn’t figure out any way to finish them, without blocking off significant portions of the build from sight in the overview angle. The solution?
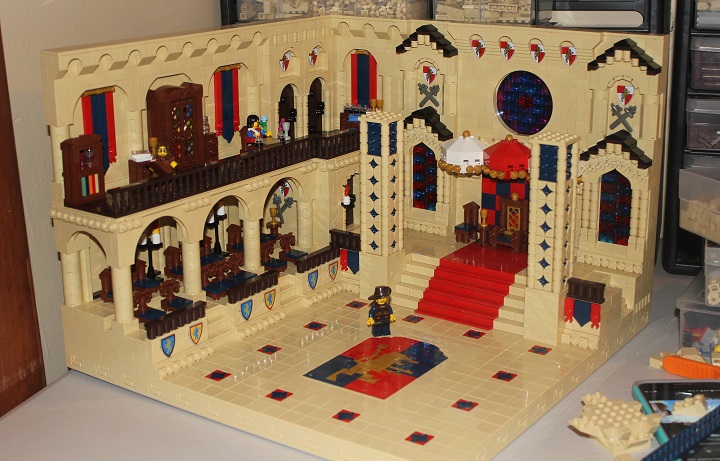
Get rid of the pillars! As can be seen in the final build, I just completely did away with them. And it ended up working out pretty well I think.
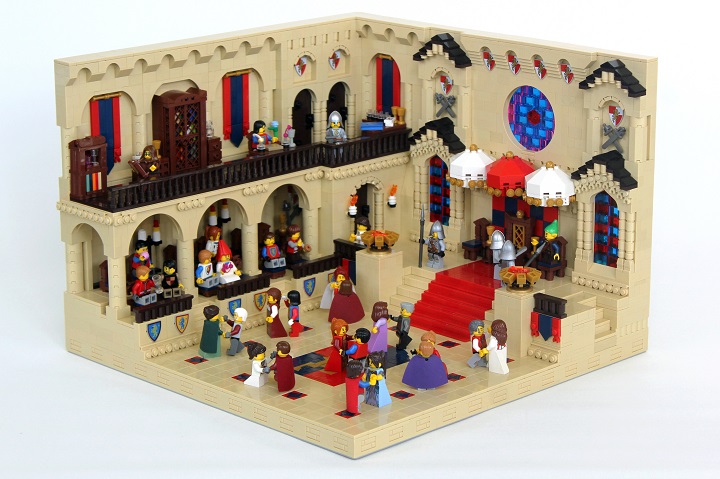
Thanks for reading, I hope you enjoyed this build log! If you have any questions or comments, don’t hesitate to let us know, we love hearing from our readers!

