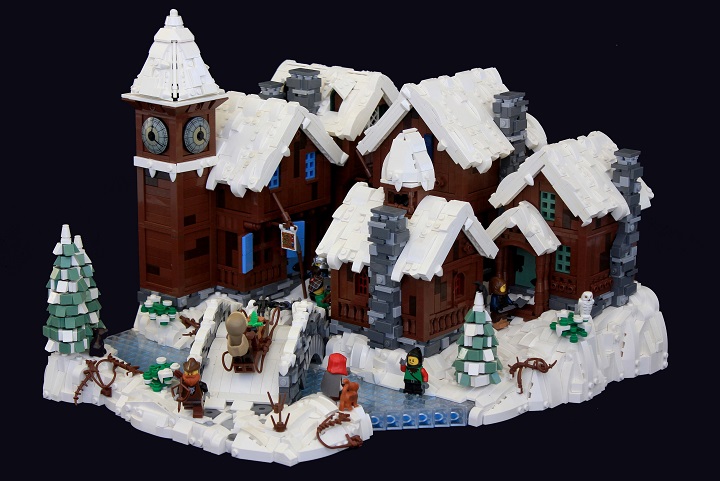
This guide covers a design I’ve used many times, and is a technique I first learned from Simon S.
This example is taken from my Streets of Daydelon model, and will show how to incorporate this water design between two studs up banks. To best attach the water you’ll want two layers of sideways studs, so plate modified with stud and brick modified with stud work nicely. I staggered the bank to help counteract the warping that occurs in stacks of 1×2 bricks, and also to give a more natural shape to the river. Just make sure each step is two studs so the sideways elements can connect smoothly.
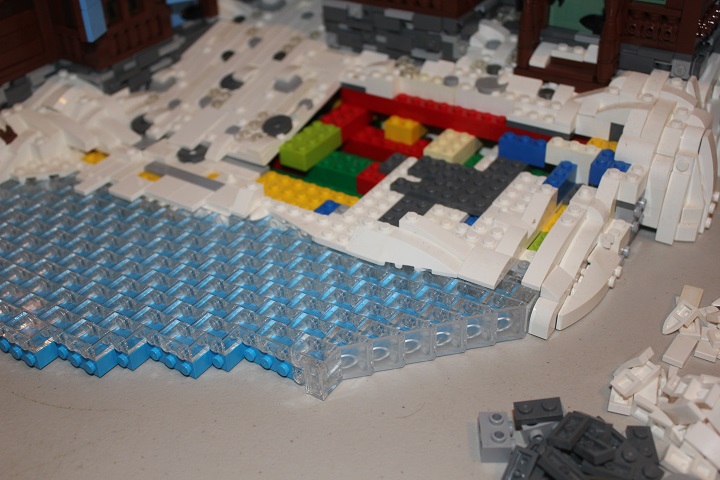
The actual water design is super simple: stacks of 1×2 transparent bricks over 1×2 bricks in whatever shade of blue you prefer. Color gradients in the bottom layer can also be incorporated to simulate shallow and deep portions. I usually start off with some plates for the first layer, to give the best connection strength with the brick modified with stud.
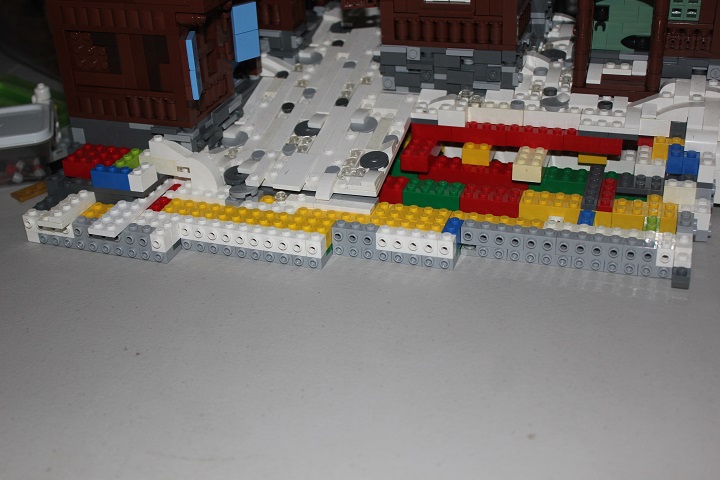
Step the sideways water section five plates at a time to fit around the two stud changes in the bank. Here I have the first section of water in place.
By staggering the 1×2 bricks as shown, you don’t need to use any other sized brick.
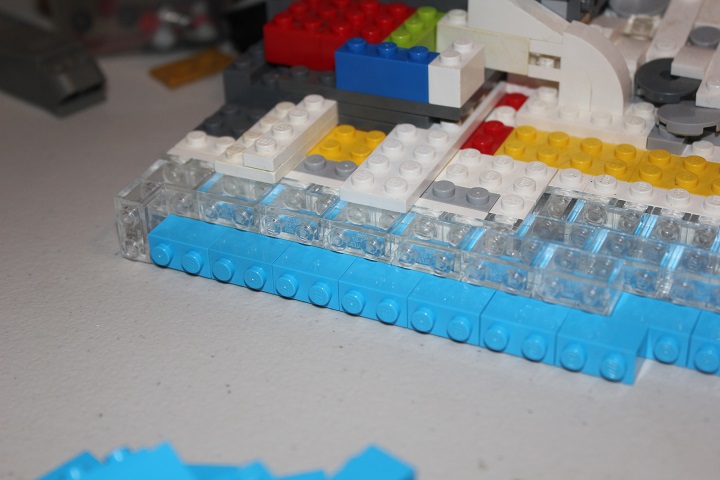
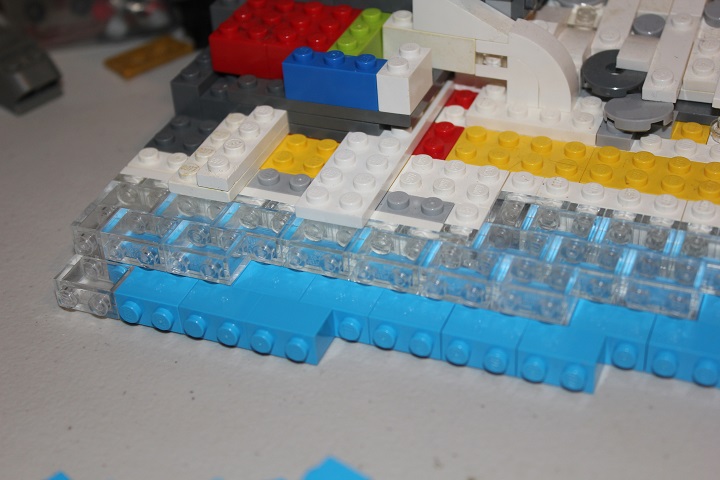
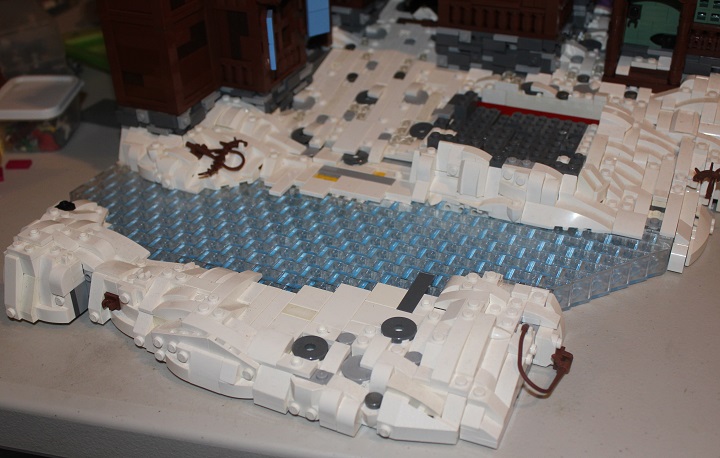
The repeating trans clear bricks give a pretty pattern to the water.

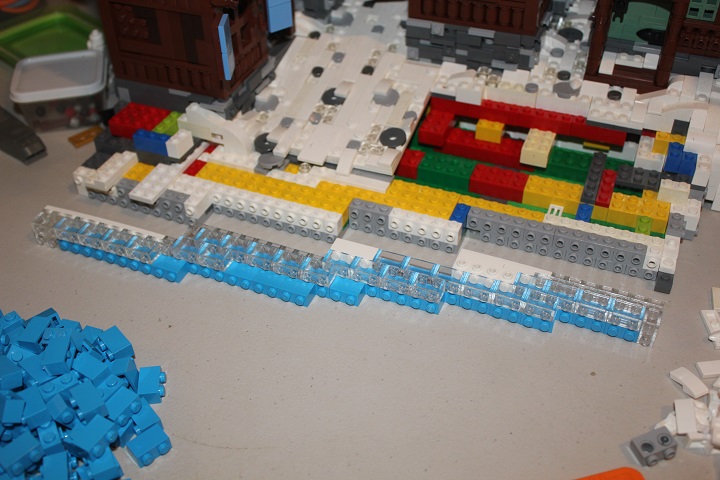
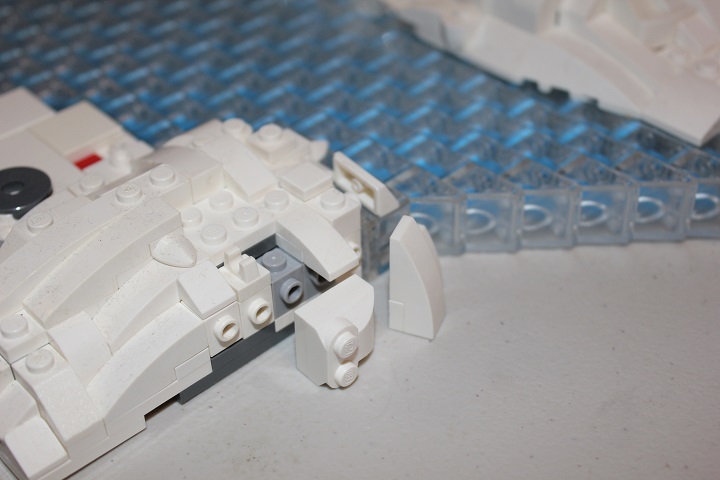
At this edge of the water I used some 2×2 slopes to work well with the irregular base of the model. Cheese slopes and trans clear plates could also be used.
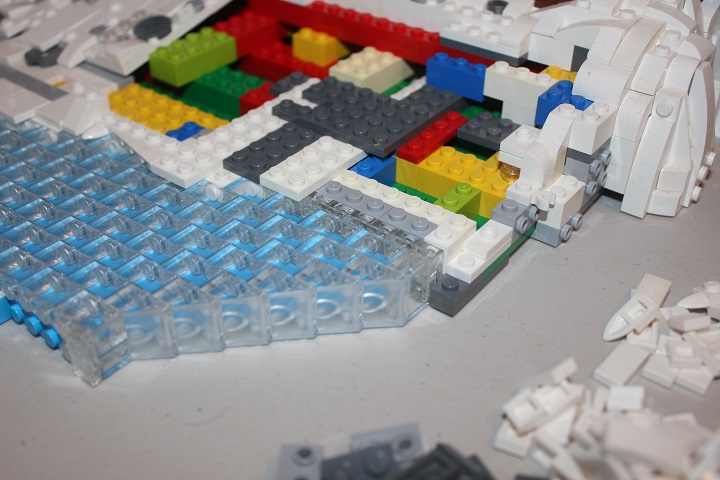
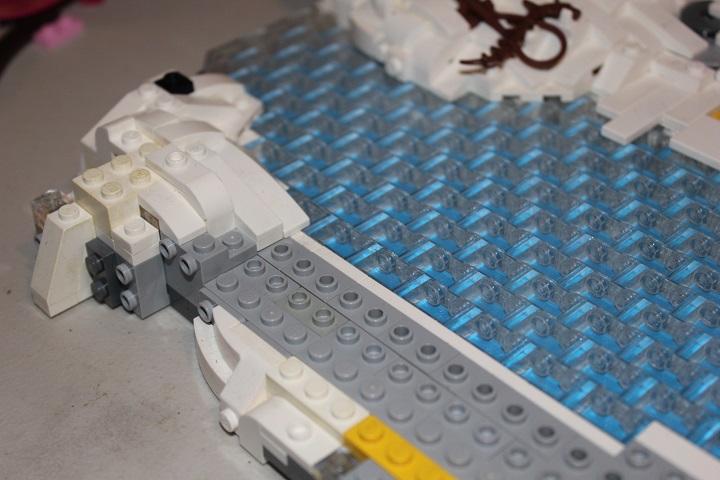
Since this was a winter scene, I then built some snow drifts overhanging onto the icy water. This keeps the shorelines from looking too straight and unnatural.
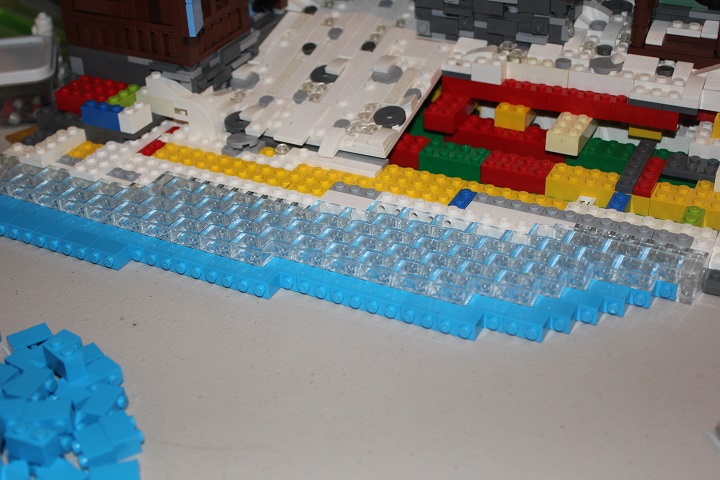
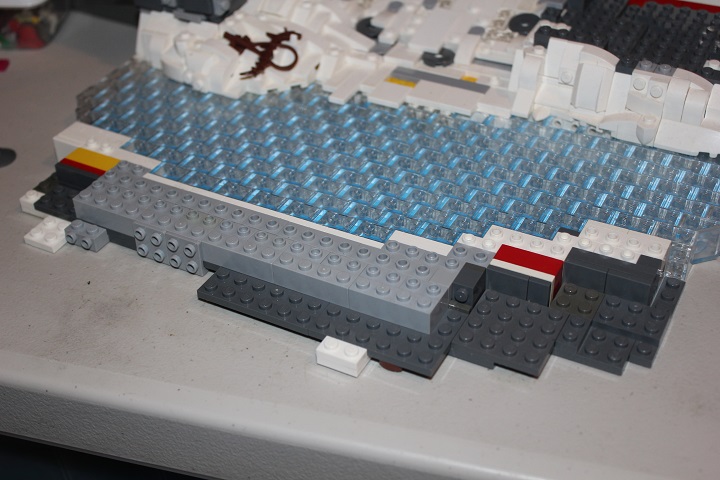
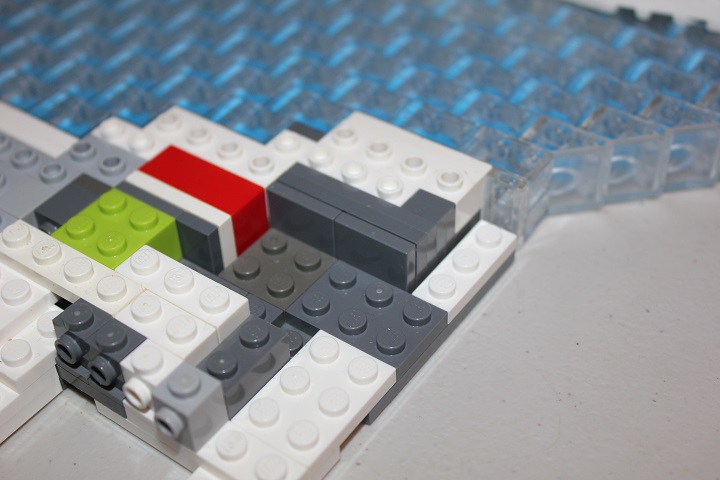
Once you have the river as wide as you want, you can start to prepare for the transition back to a studs up bank. I chose to incorporate some more plate with stud and brick with stud here to allow for more connection points when I added snow drifts later on.
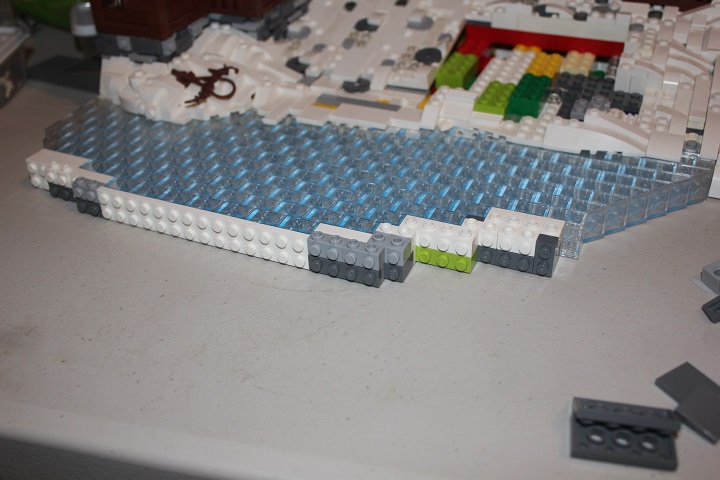
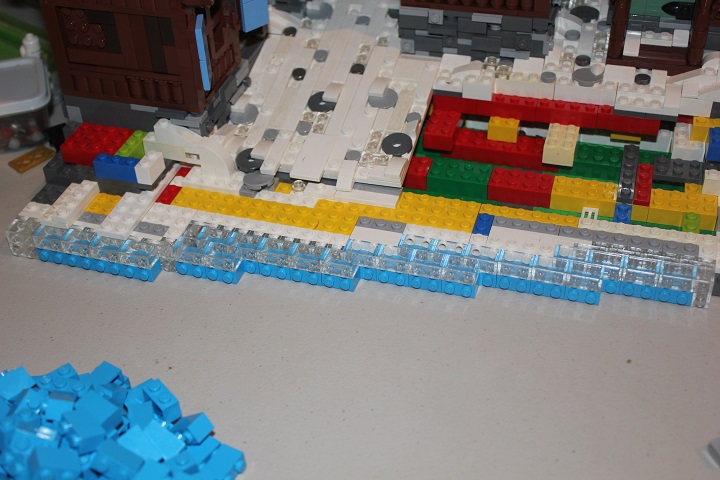
Once again, each step in this sideways portion is five plates deep. The layer of two red plates on the bottom edge will be capped with tiles.
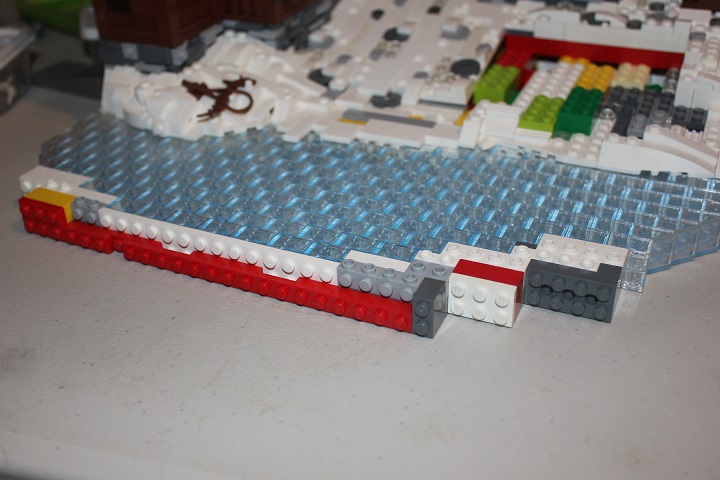
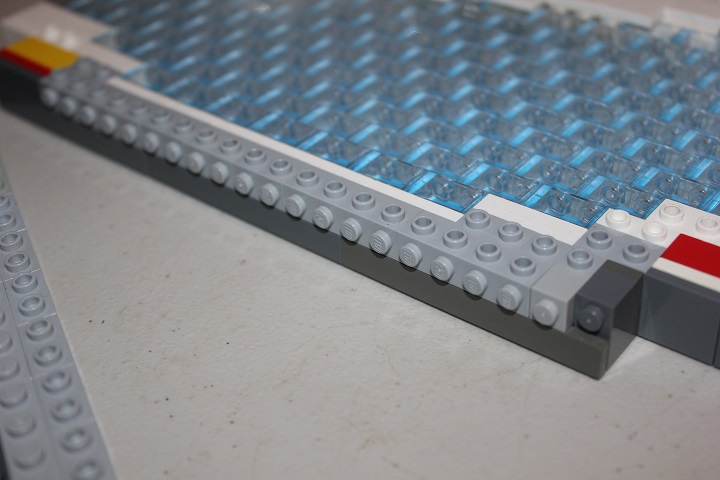
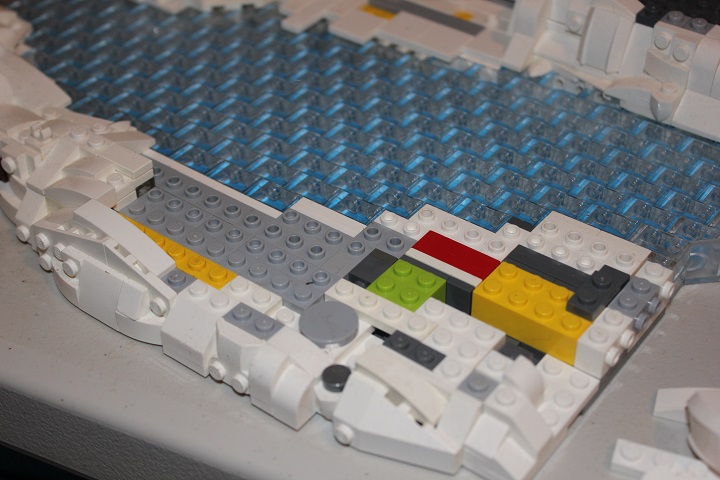
Here you can see those tiles in place, and a long row of brick modified with stud added.
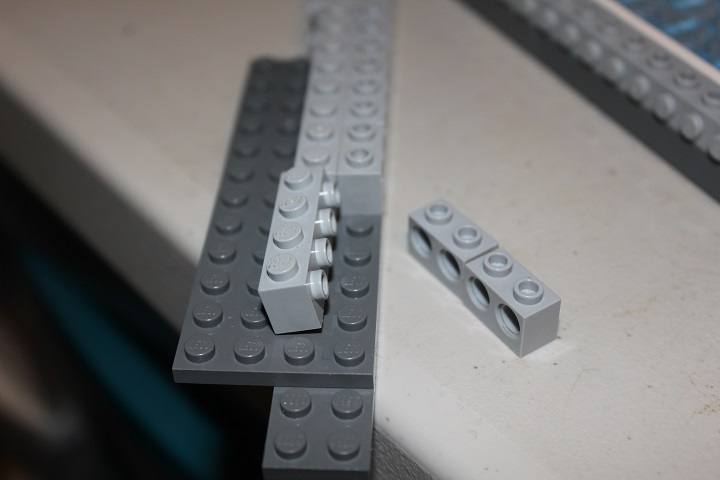
At this point you need to start building the second shore. Technic brick 1×2 with two holes are the core piece to attach the water, and are solidly locked into the shore section by the use of brick modified with stud behind them.
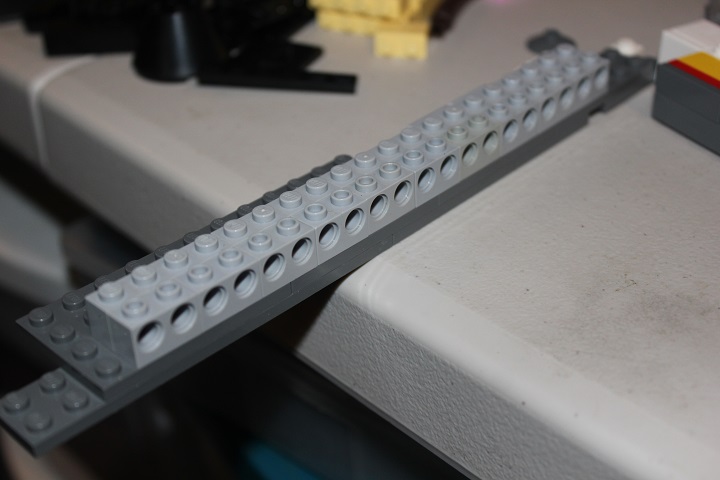
Ready to lock the sections together!
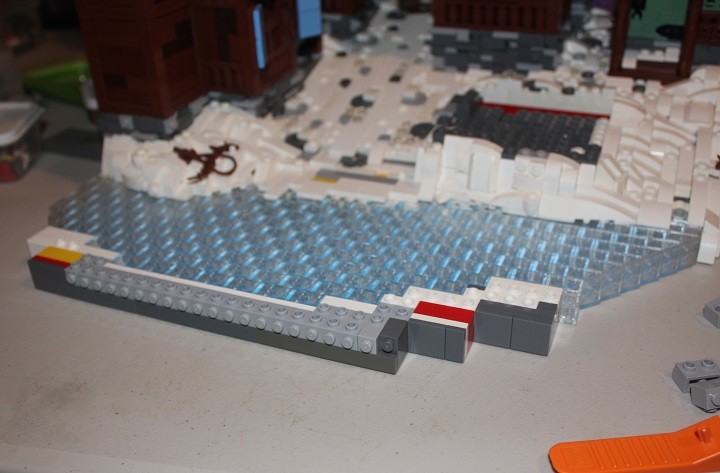
Everything comes together very smoothly, and then the water is securely locked in place.
Here’s a closer look at the transitions between the water and bank.
To finish the landscape I added more snow. Once again overhanging elements onto the water.
Have fun experimenting with your own rivers and streams using this technique! Leave a comment if you need further explanation on any part of this design, and keep an eye out for more tutorials and build logs next week.