


This was a very enjoyable build that came together quickly and ended up being one of my favorite CCC entries from last year.
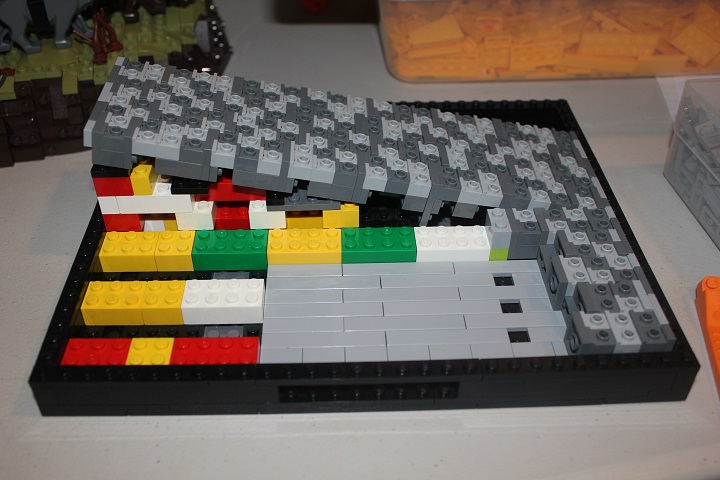
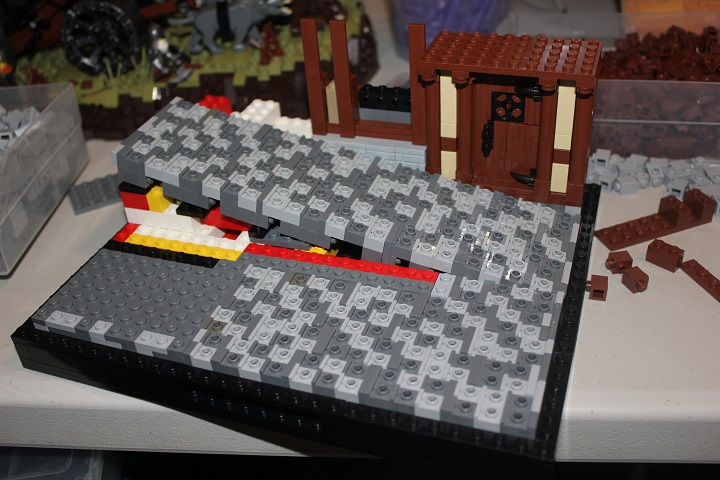
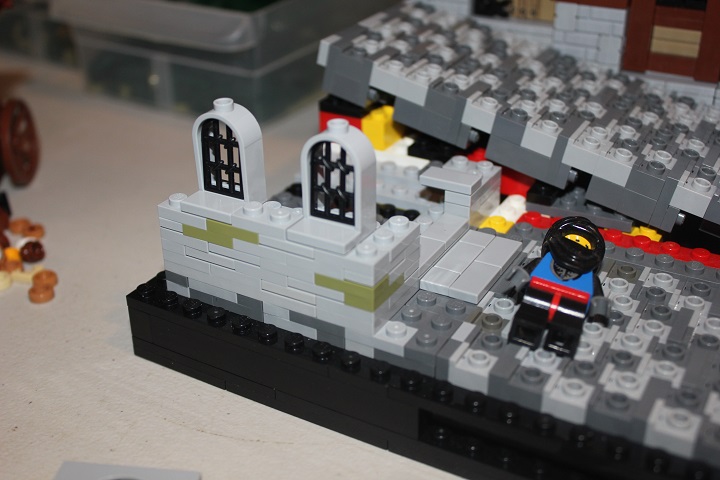
I started with the idea for unique cobblestone streets using the technique we made a tutorial on recently.
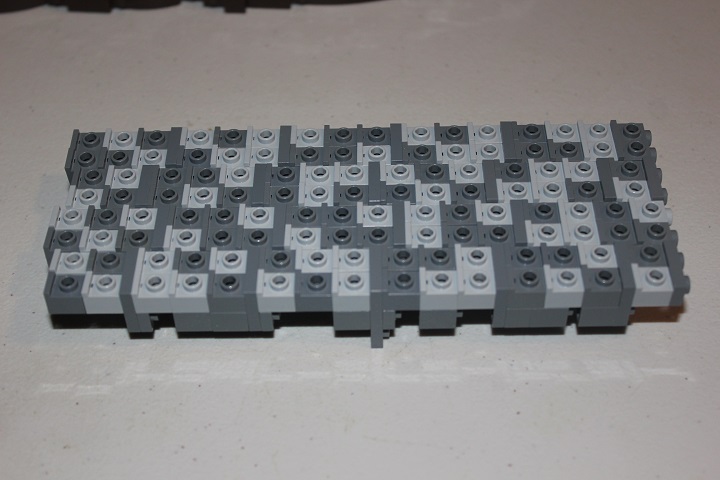
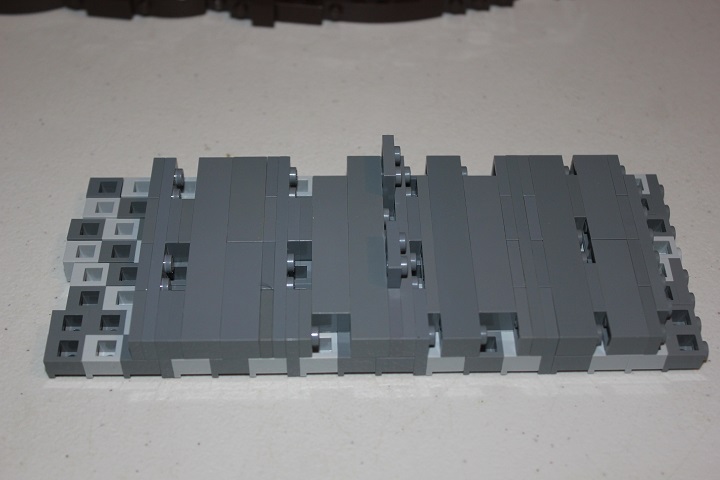
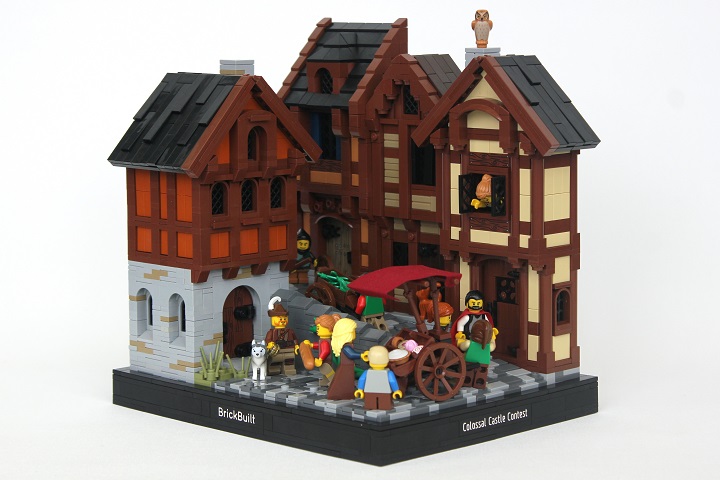
I wanted one section of street set at a slope, which ended up being much easier than I expected. I used a couple clips and plate with handle to establish the slope.
Then filled in with basic bricks underneath.
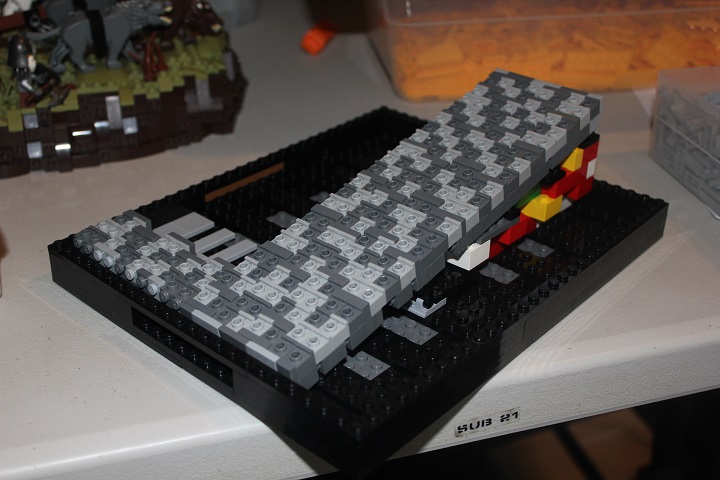
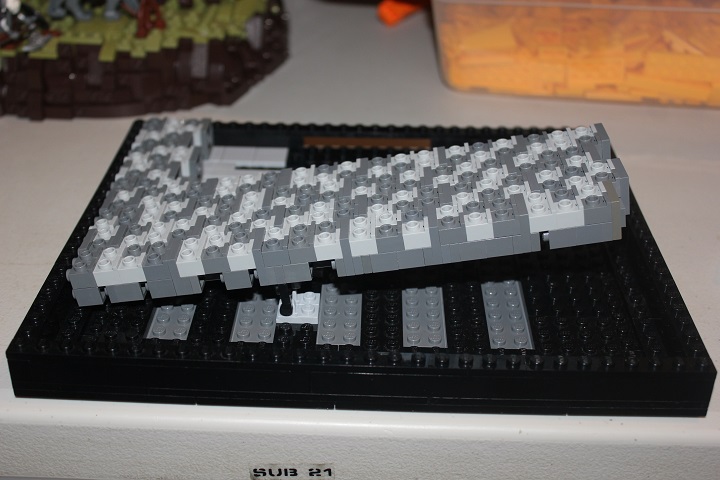
The street takes a hair pin turn giving a flat area where I could fit the main vendor’s cart.
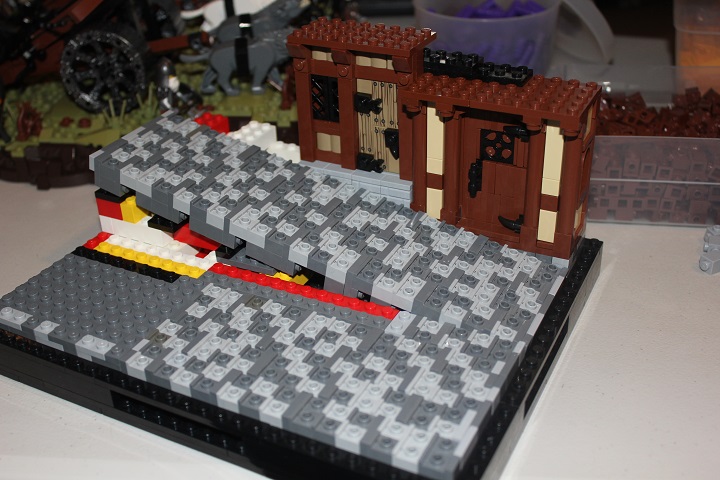
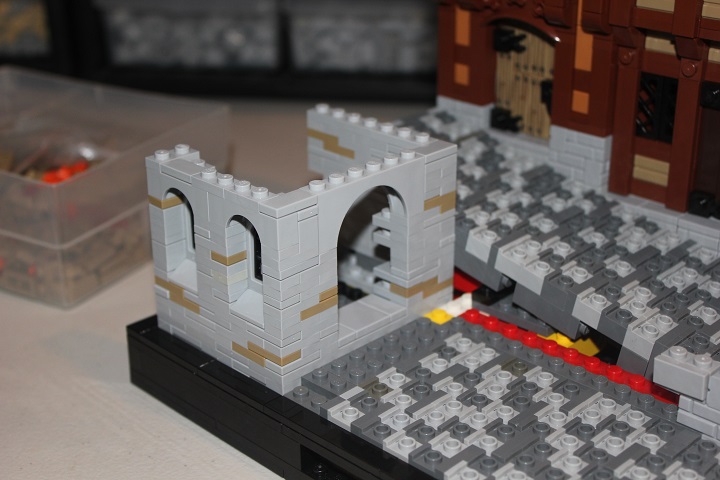
In the left corner I planned to have a building, plus a row of houses at the back of the scene.
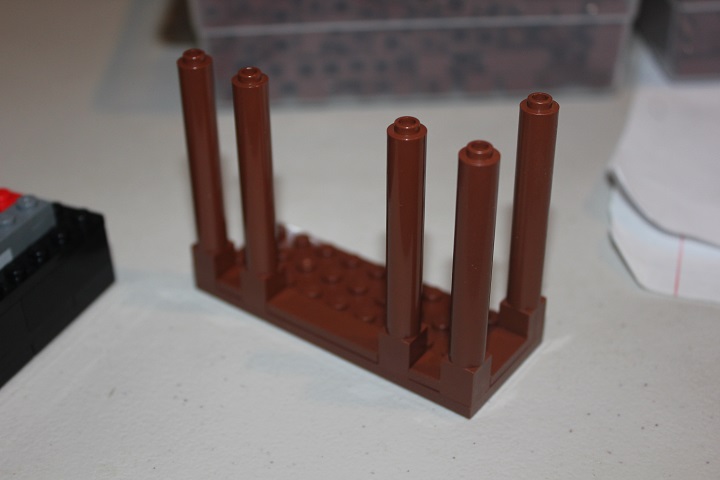
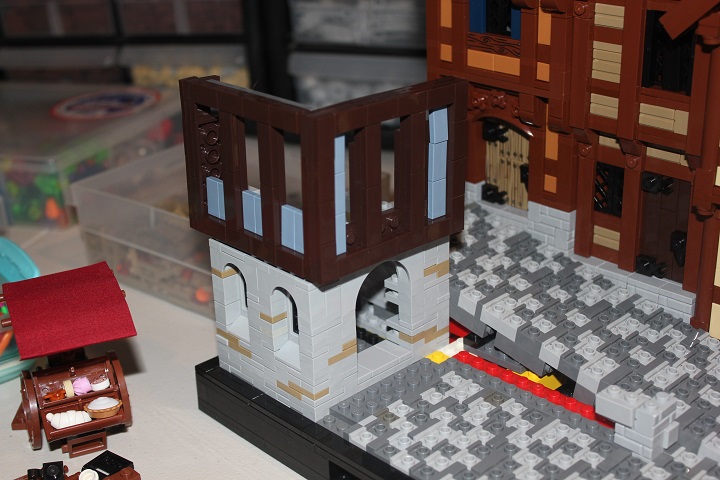
I started with those, and used these 1×1 columns as wood posts on the first house.
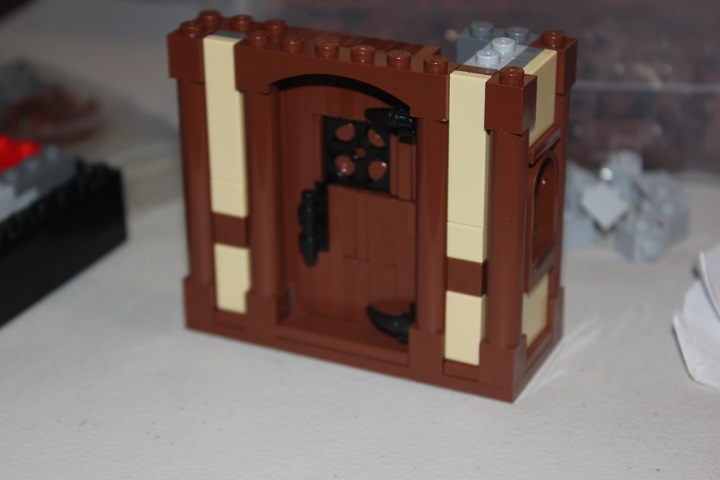
This half timber design is one we’ve covered before, and I was very happy with how it fit here.
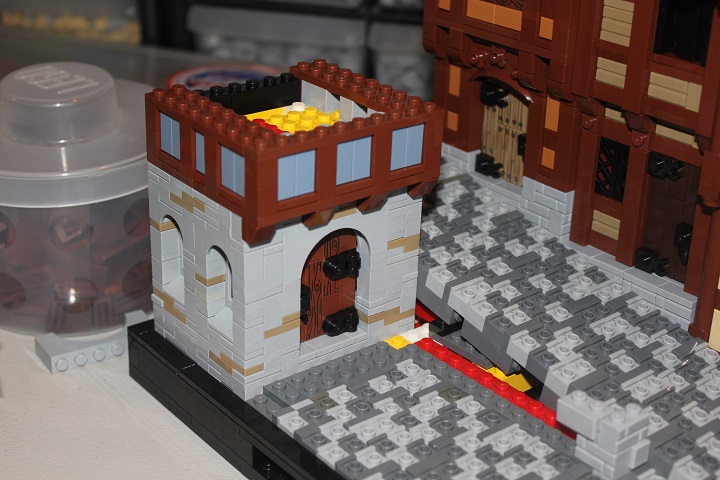
I made sure to shift the second building back a stud from the first to keep the street front from looking too uniform.
And I’m rather pleased with the window design it used: a four stud wide window frame with the outside stud on either end covered by SNOT tiles. Which makes it look to be just a two stud wide window.
The dark tan door shown above didn’t give the look I wanted so I tried MDF next.

Which still wasn’t right. Eventually I settled on a dark brown door and switched out the palisade bricks for backwards masonry bricks in the tudor portions.
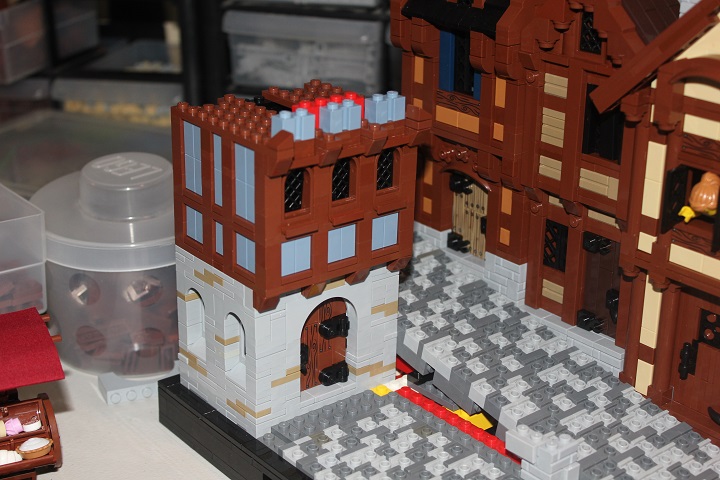
It worked well having the buildings staggered when it came time to build the roof lines as the larger house’s roof could overhang in front of the second building.
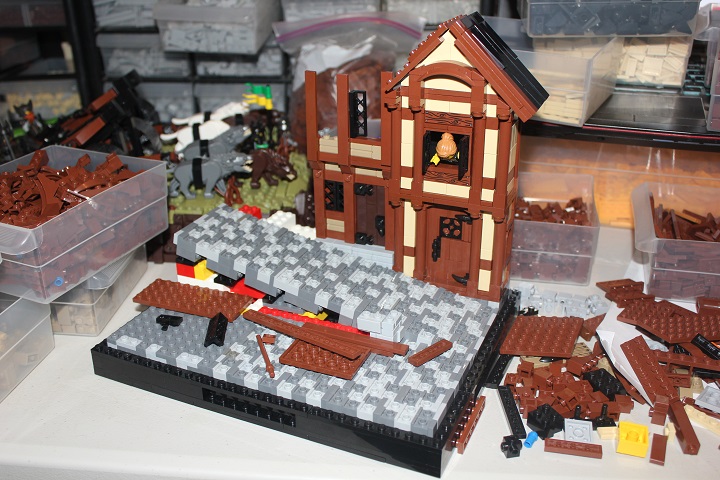
When developing the third house I used the same basic tudor technique as the first, but with regular bricks instead of the rounded columns for posts. Likewise I switched up the transition between the first and second stories.
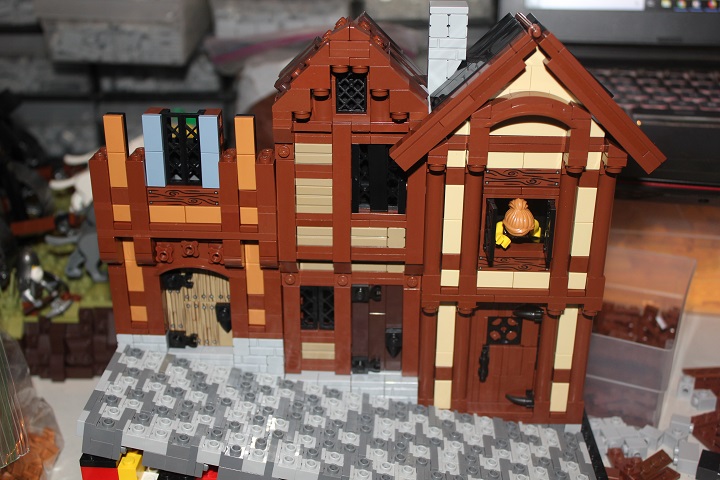
Sand blue tiles were something we had gotten in LUGbulk, and I really wanted to incorporate them somewhere, but dark blue fit better for the window shutters. A dormer window and roof facing the opposite direction from the first two finished off the back street facades.
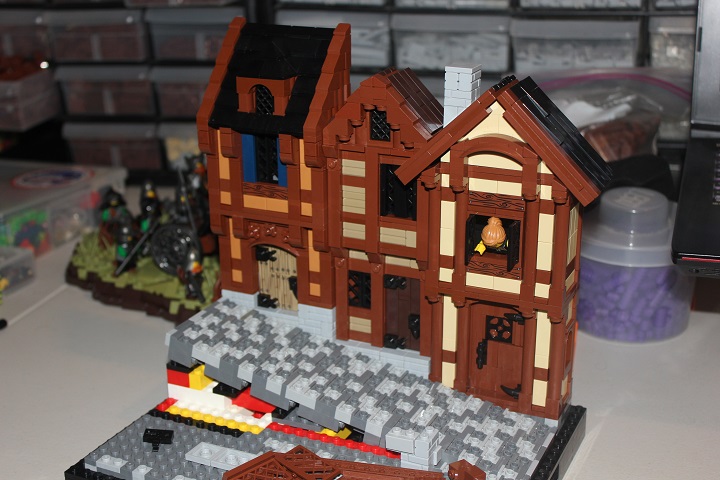
So it was time to move onto the fourth and final building! I had more space for this one, meaning lots more options to experiment with.
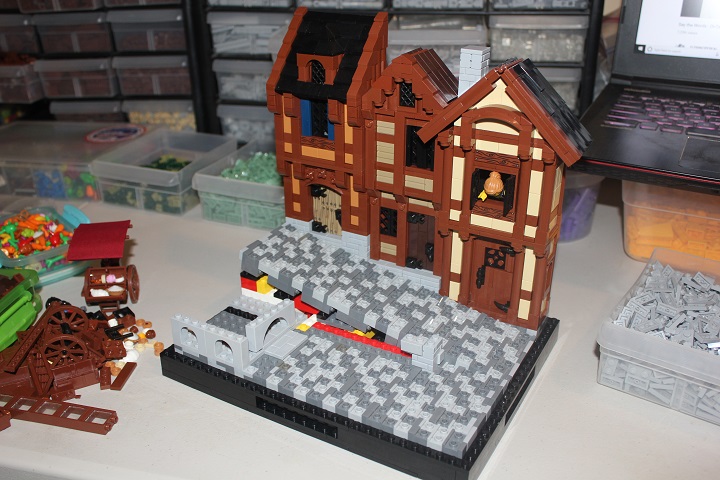
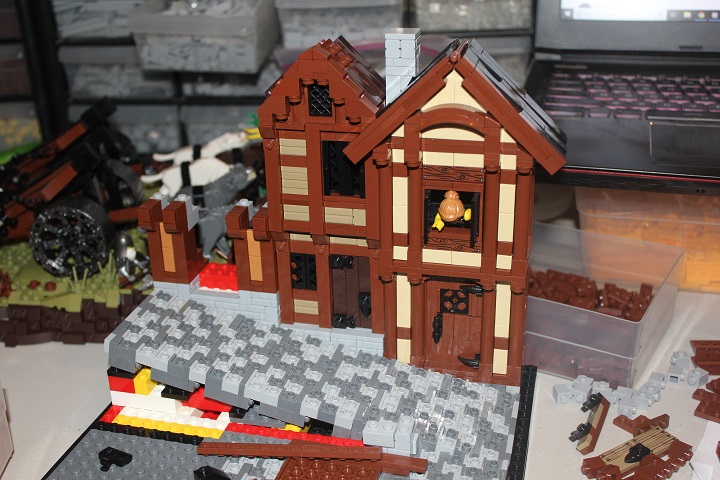
Plate and tile stonework gives a lovely texture, but is something I previously haven’t had enough pieces to use very much. After a couple years of LUGbulk, and with a fairly small building here, I knew I could easily manage to use the design.
Olive green was my first try for the mottling, but dark tan fit the scene way better.
I wanted to experiment with dark brown framing for this building, but it was too limiting and looked a bit out of place.
So I went back to the tried and true design of two previous houses – with one more variation on wooden supports for the overhanging second story.
Things progressed quickly from there.
But when I finished the house John suggested changing the tudor color to dark orange.
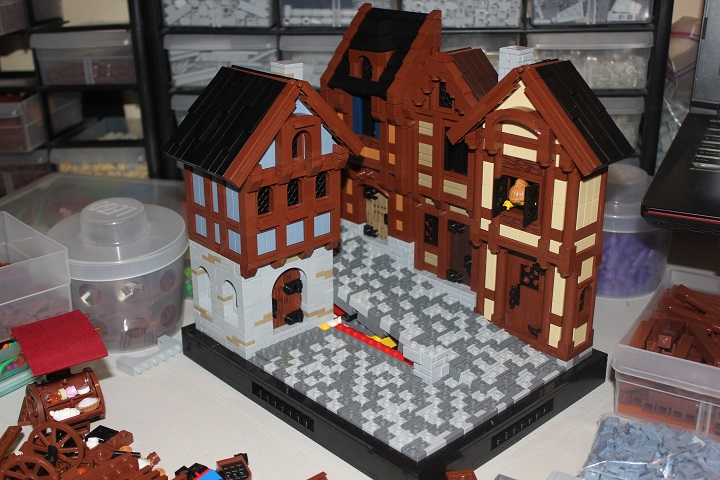
A very good idea as it turned out! It kept all the house tones very similar, and also made a fun color gradient.
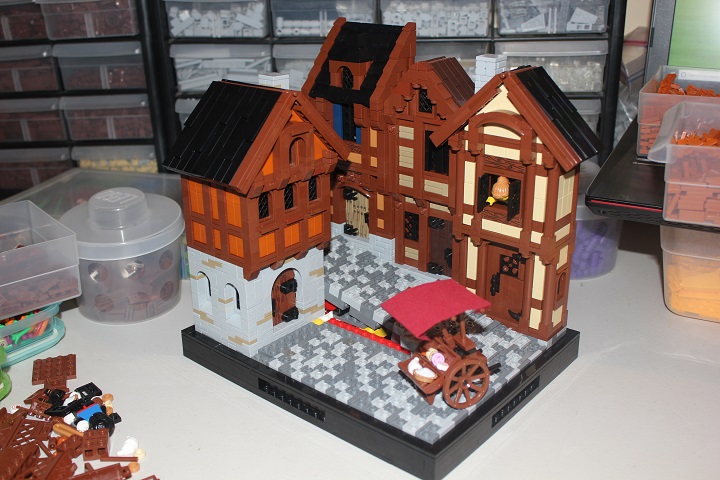
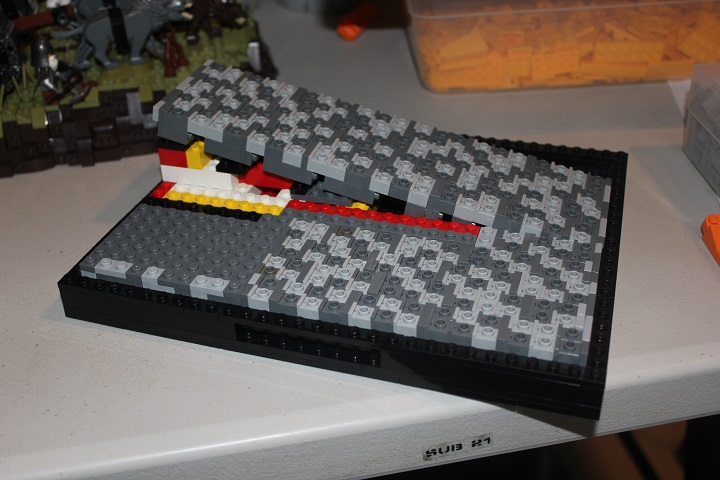
I tried two different versions of cobblestone tiling. One with rounded parts included, and one with only standard plates and tiles.
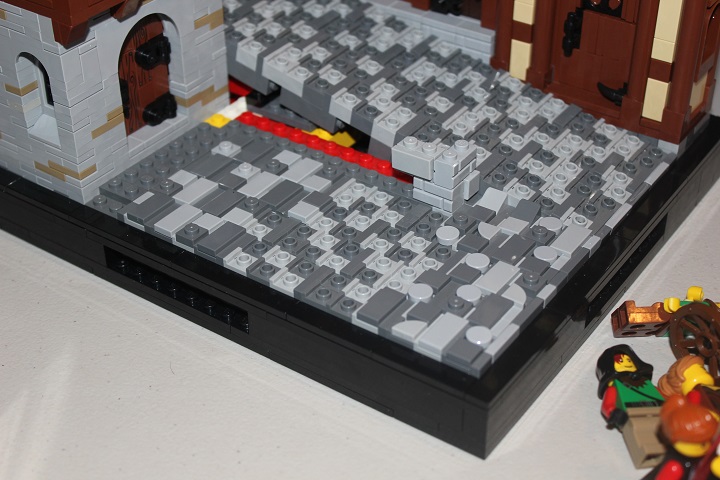
The standard plates and tiles won out, at which point the scene was practically done. All that remained was the low wall between streets and a few patches of grass.
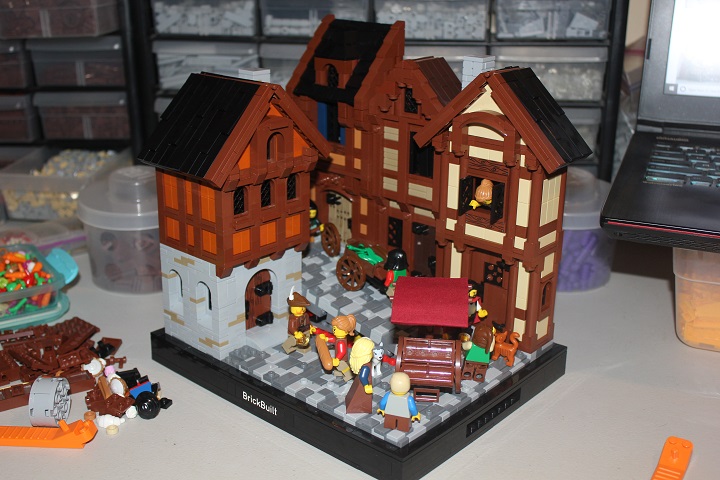
I hope you enjoyed that look into this model’s design process, and stay tuned for more build logs and tutorials!


Great as always! The window on the second house was a great idea. Keep up the great work!
Wow, just so amazing. I really like the way you made it. One question, does the door swing out or is it just stationary (like most of my doors) 🙂
Wow, just so amazing. I really like the way you made it. One question, does the door swing out or is it just stationary (like most of my doors) 🙂 Thanks for the build log.