


If you’ve read many of my micro scale build logs before, you won’t be surprised by how I started Calbridge Castle.
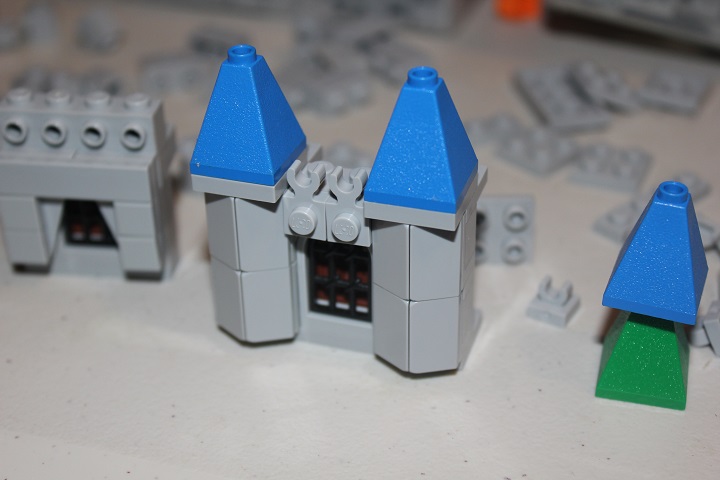
I tried several different options for a gatehouse which I knew would be needed in the castle. I wanted to use these neat slopes in blue as we have had them for a while and I always thought they would work well in a micro castle setting.
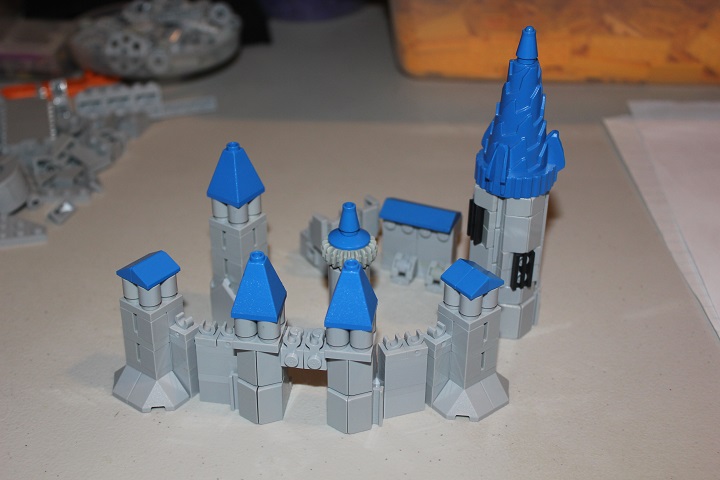
Then I further experimented with other towers and wall sections. Hinge plates allowed for a curving outer wall and tower layout.
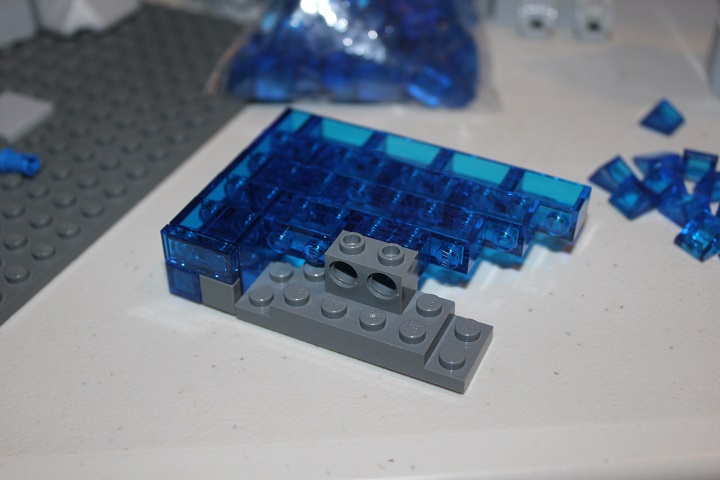
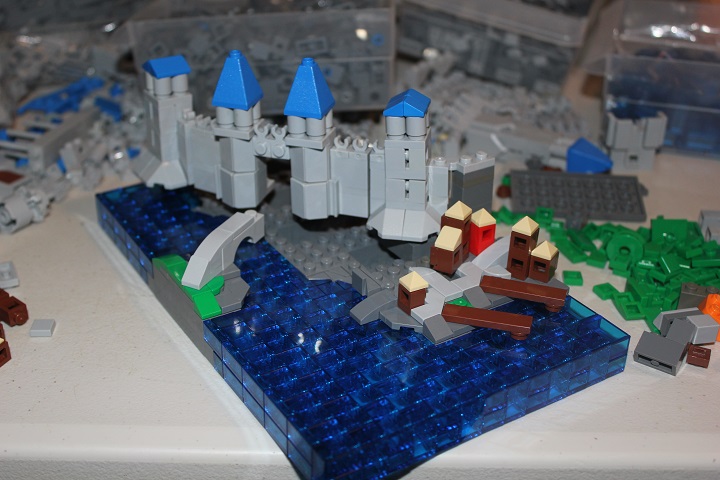
Next I started making the base. Which involved sideways trans blue bricks locked in by technic bricks on one shore and brick modified with stud on the other
Figuring out the bridge design helped me decide how large the body of water should be since the bridge would need to reach all the way across.
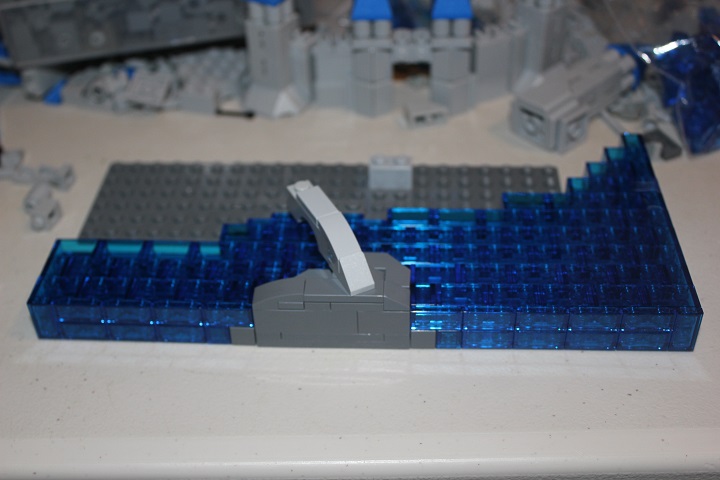
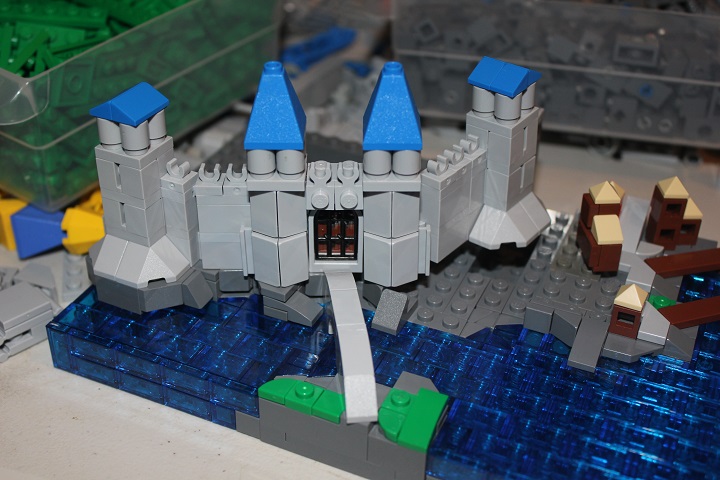
I used cheese slopes to give smoother transitions between the water and shore in several places, and also found the new wedge tiles to be useful for that. Here you can see the wall ‘floating’ in place as I figured out where it would go and then would build the rockwork to accommodate it.
It was a little tricky handling the rockwork on the left side, since it needed to extend out over the water a bit and most of that wall section was angled. I ended up reworking the rockwork shown here a bit to give a better fit around the gatehouse towers and bridge.
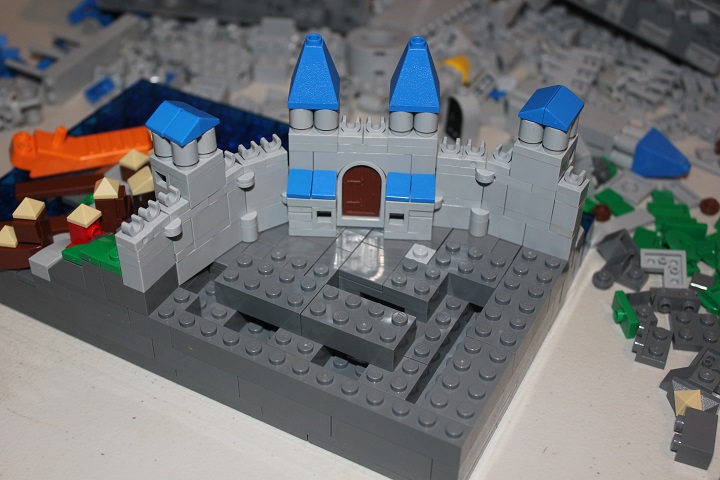
Inside the walls dark bley tiles were used for the street, and I liked how the small additions looked behind the gatehouse towers.
The second gateway was set at an angle very similar to the first, and dark bley panels were used to avoid any gaps between the built stone and natural rock of the cliff. I had also setup the little harbor town and docks by this time. Though I would later switch out the red house with another brown one as it was too distracting.
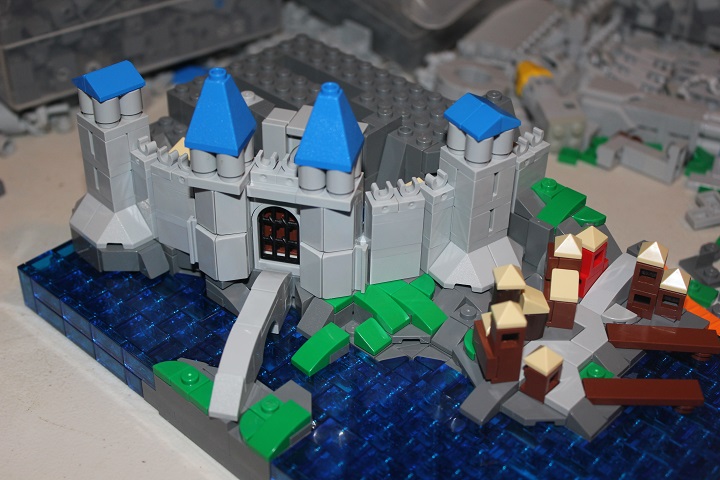
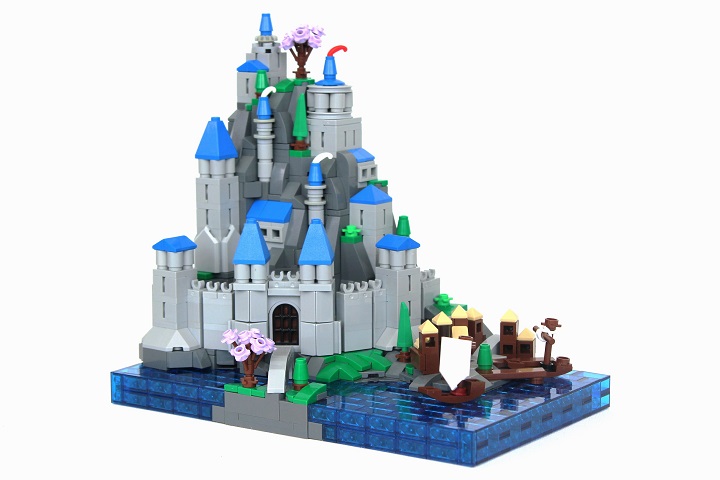
Then it was time for the funnest part of the model! Adding lots of towers and buildings right into the cliffside. My favorites being the 1×1 round brick towers which use ‘Signal Paddles‘ to give neat offsets at the top. The paddle handles were hidden in the cliff.
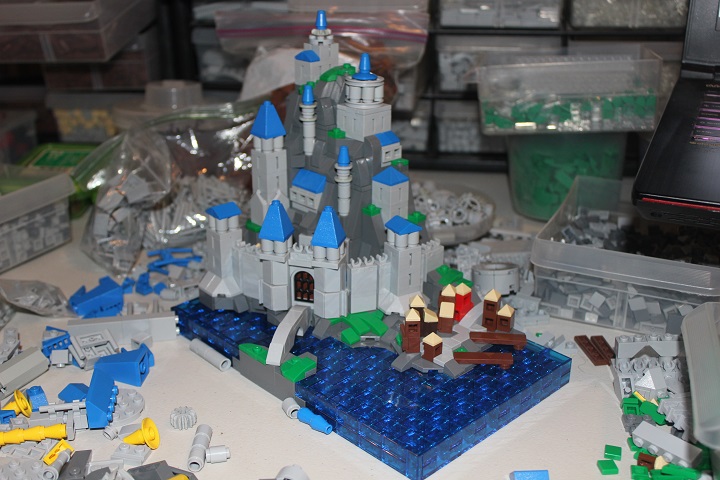
And my final additions were some trees, flags, and a couple micro ships.
Thanks for reading, as always we appreciate hearing your feedback and suggestions for new posts!


Love the build and the tutorial. My one nitpick would be the leftmost rock to water transition as they are clearly floating, whereas the rest of it seems to flow more naturally between the elements.
I’m trying to find where you used the paddles. I don’t see it in the picture.
Thanks Ed! You’re right, that little section of rockwork could be improved. Though it would have involved shifting the height of the entire castle which was a bigger change than I wanted to make at the time.
The paddles are located just below the blue cones on the 1×1 towers, Peter. You can only see their rounded ends.