


Like many of my CCC entries, this model was built in just a few days. Meaning I had to make decisions very quickly as different issues arose.
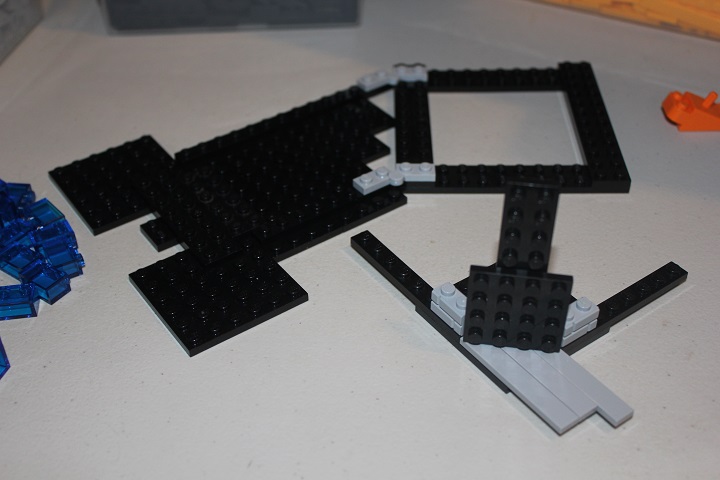
I began by making the layout of the keep. Including angles generally helps make a castle look more dynamic so I used hinge plates to set the main tower off the grid. Likewise SNOT four wide plates set at a 45° angle were used to give a similar impression to corner wall panels used in actual wolfpack sets.
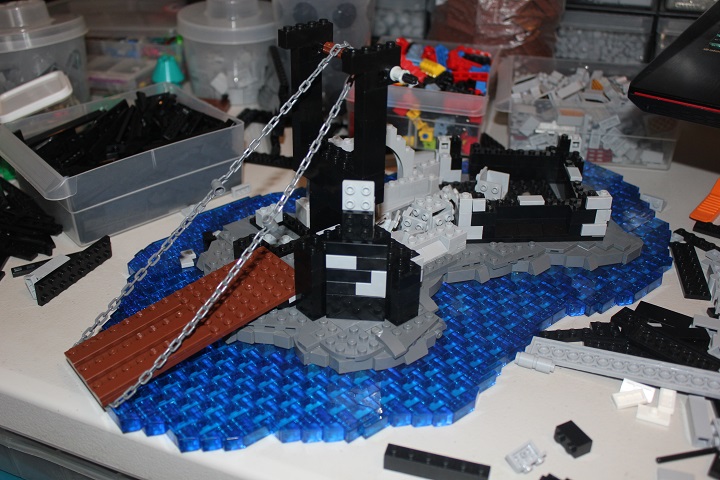
Not long before the CCC started we had gotten a good amount of trans blue bricks from our LUGbulk order, so I wanted to try using them for water in this scene. Which meant using plate modified with studs to attach a single sideways layer to the studs up base.
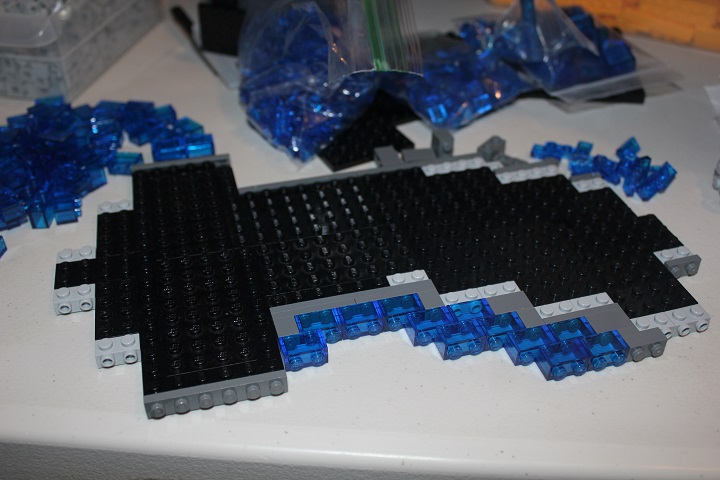
The various steps in the studs up portion helped counteract the warping that happens when you repeatedly stack 1×2 bricks. Cheese slopes and tiles were used to round off the blocky edges of the water.
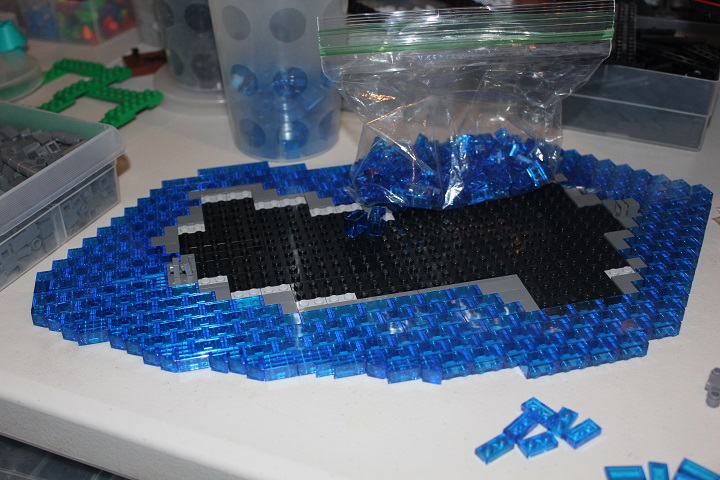
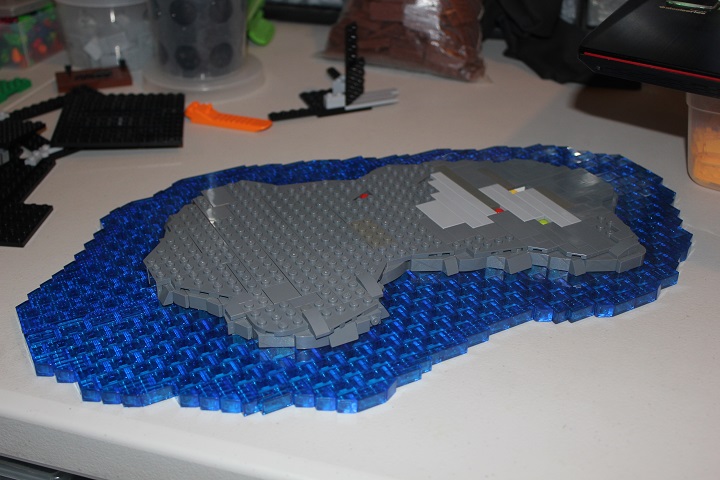
Of course with the water being only one stud deep studs up building would not fit flush. So next I used brick modified with stud to add another layer of SNOT element.
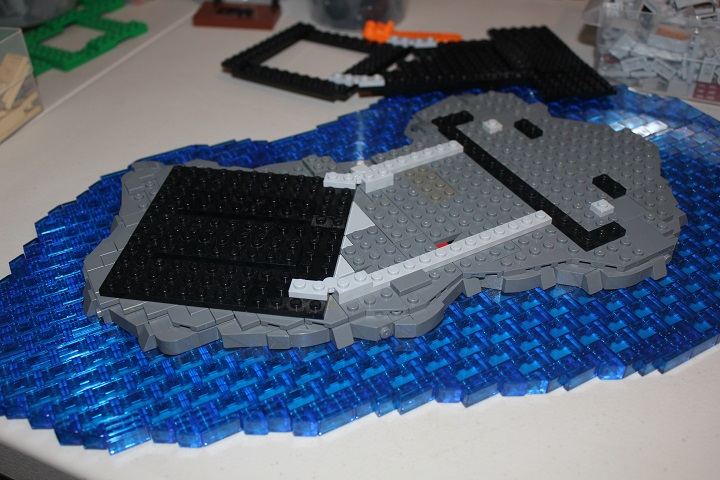
This time using dark bley to create a rocky island below the keep.
The pattern for the keep’s layout made it easy to see exactly how big the rock portions needed to be.
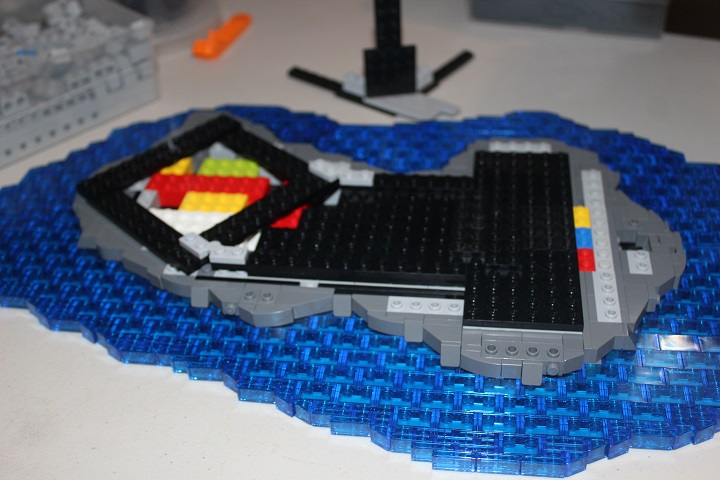
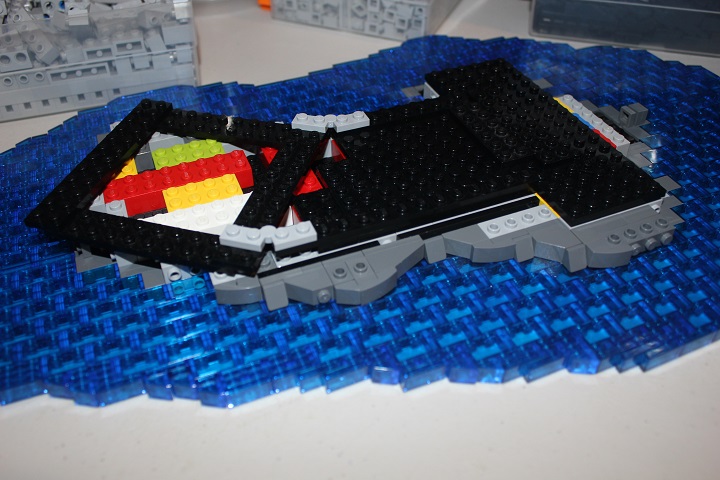
And then I could transition back to studs up building. The right end being tiled to accommodate the angled tower.
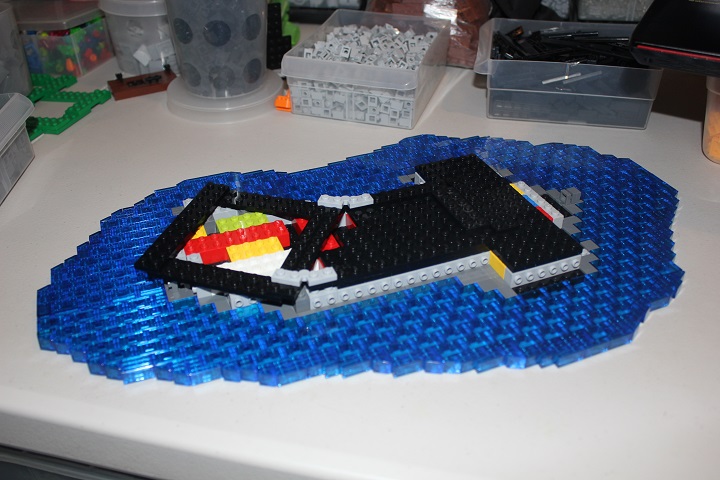
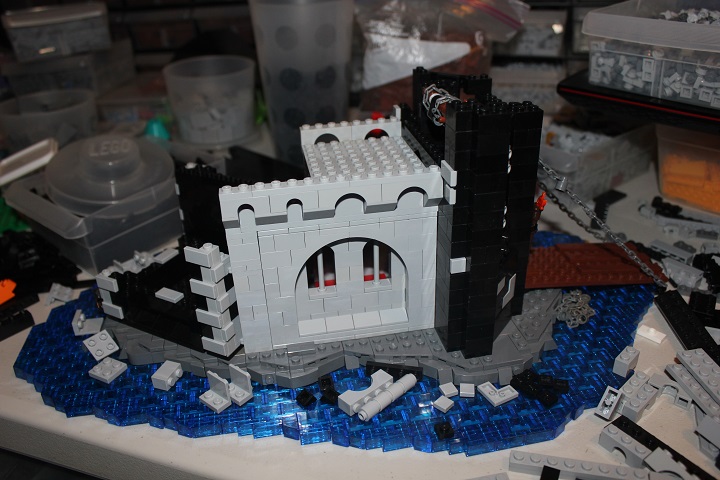
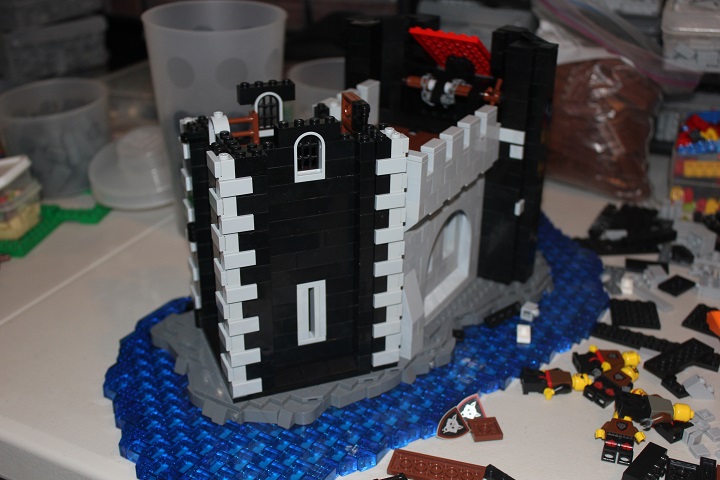
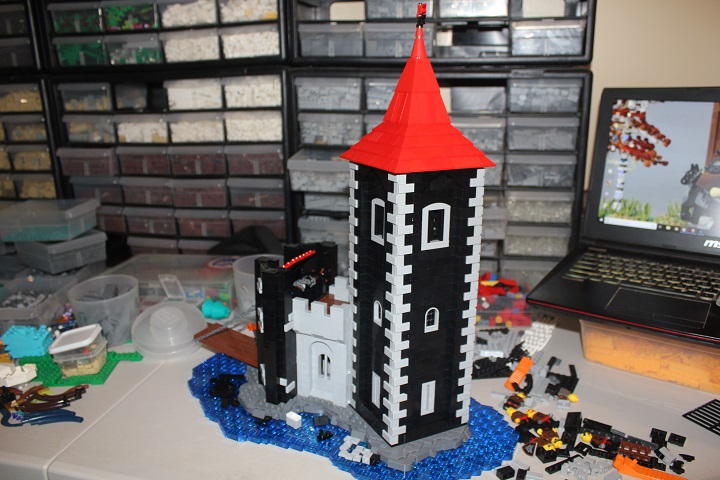
Finally it was time to actually attach the keep. As you can see in the background, I left the pattern of the layout together for easy reference.
I wanted easy access to the interior of the keep, so I included a few hinged walls. Though the bley one ended up being swapped for a removable wall section as the gatehouse tower next to it kept the hinge from actually working.

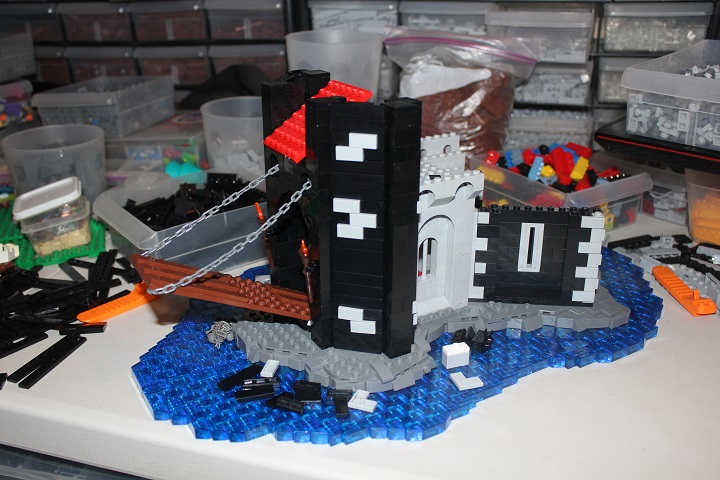
Working drawbridges often take a bit of experimentation to get functioning smoothly, so that was one of the first things I put in place on the gatehouse.
Black walls with grey highlights are a signature component of wolfpack castles, but I tried to avoid one solid mass of black by having a bley section between the gatehouse and tower.

Due to the angle of the tower one side of the bley portion was much longer than the other.
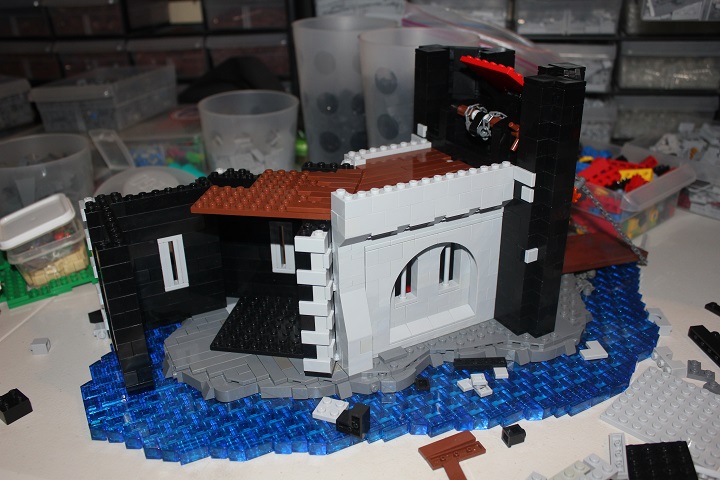
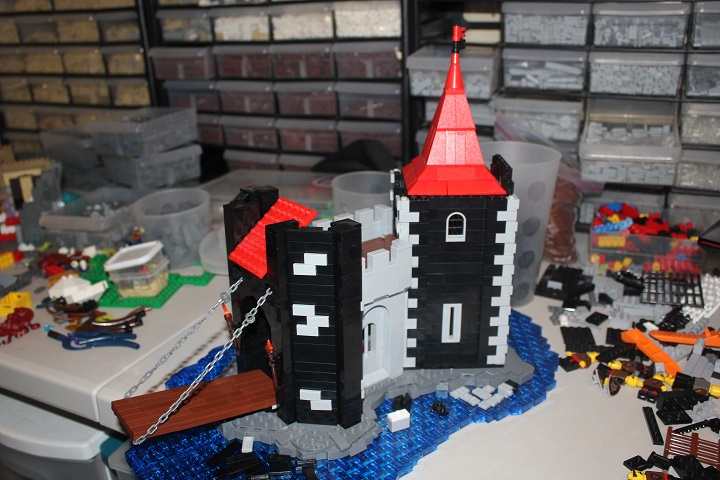
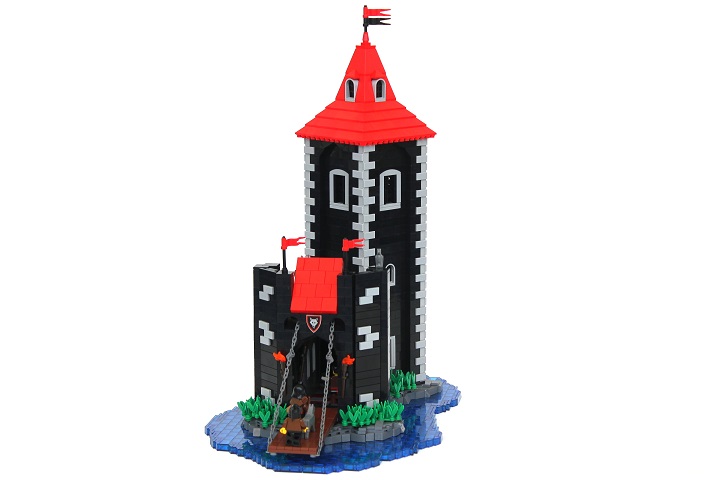
And of course red roofs were also required for the proper wolfpack look. By this point the gatehouse was practically finished, and it remains my favorite section of the model.
To avoid having gaps between the angled and straight floor sections I just overlapped some tiles. That basic technique is one of the easiest ways to avoid gaps in this sort of situation.
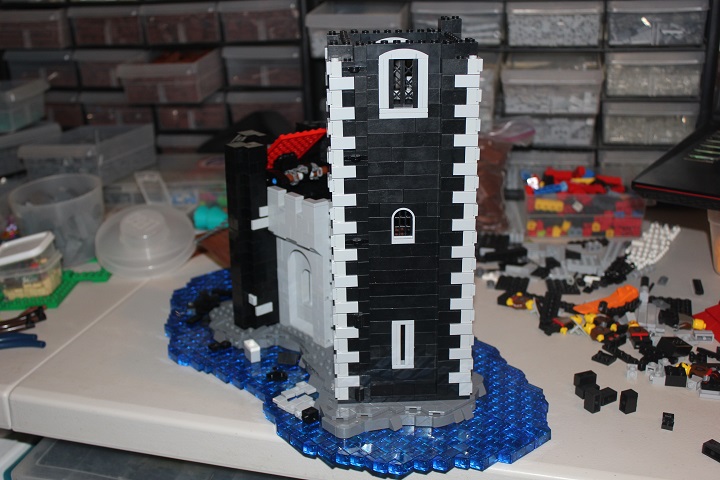
The tower windows get progressively larger openings the higher on the tower they are. But all of them have bley outlines.
I initially thought I might be able to get away with just a two story tower plus tall roof, but here I saw how much better a third story would look.
With the third floor windows being the largest, I had more options to work with and tried this design first

I ended up preferring this version which uses 1×4 fences to give some latticework inside the window.
Battlements around the roof edges didn’t look quite right.
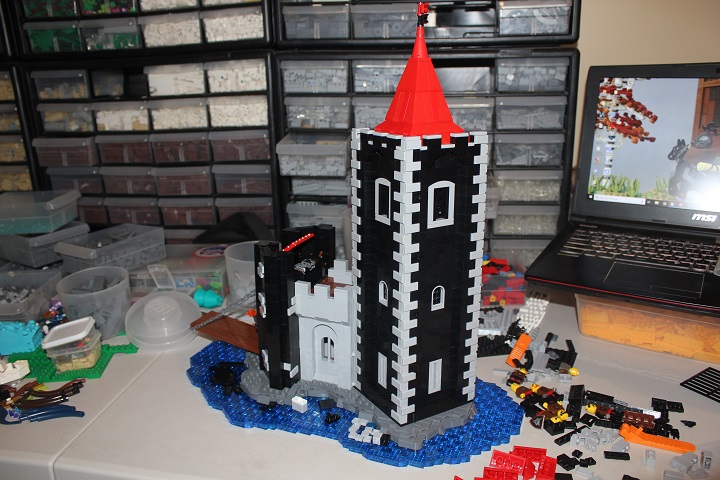
So I switched to an overhanging roof style.
And then all that remained was furnishing the interior. Several of the furnishing designs have already been covered in our furniture tutorials. One of my favorite interior details was the pair of men playing cards – one furious at having lost, the other quite smug as he plays the ace of spades.

Besides more mini-figures and animals, some green bushes using small leaves and green feathers gave the finishing touch.
Let us know if you have any questions or suggestions for future posts!


Between all the monorail, classic space, pirates, trains nostalgia, this is the only subtheme that really needs to get a comeback 😀
Loved it when I first saw it, but you could have added some additional shots of the final result. But anyways another perfect example of a perfect build. thanks for sharing!