


This is a useful design that’s been around for quite a few years in the LEGO community, and can really help add a bit of variation to your tudor style houses.
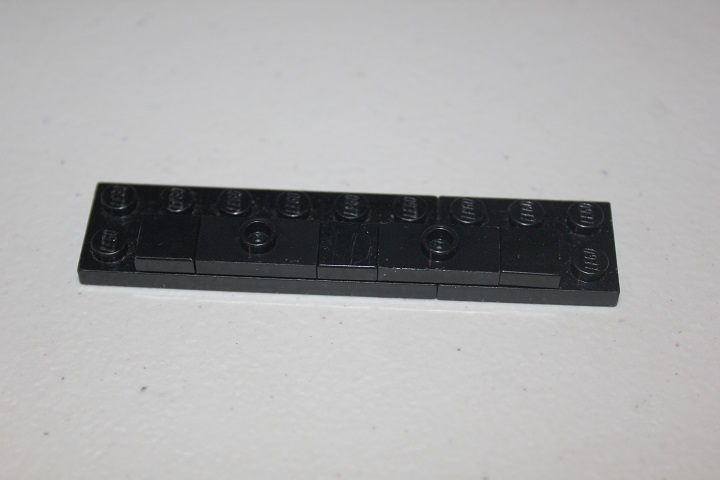
For this example we’ll start with a 2×8 plate topped with some 1×1 tiles and 1×2 jumper plates.
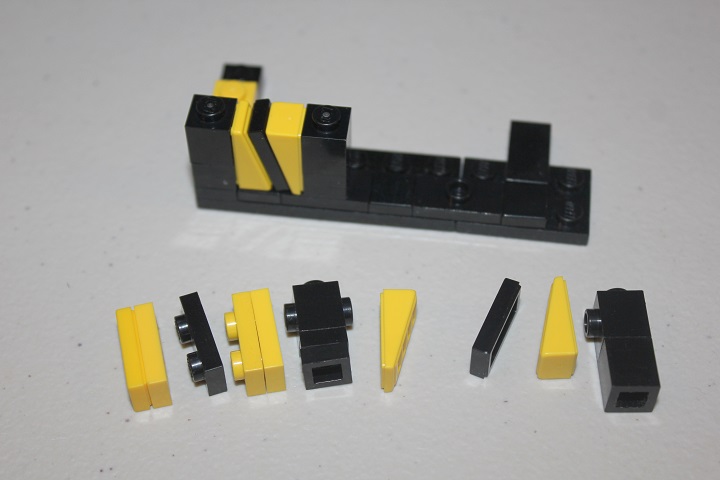
Then comes the interesting section. 1×2 grill slopes are the key element, and they allow for a 1×2 tile to be placed at a diagonal between them. A stack of four 1×2 plates capped with a 1×2 tile are used in the center gap.
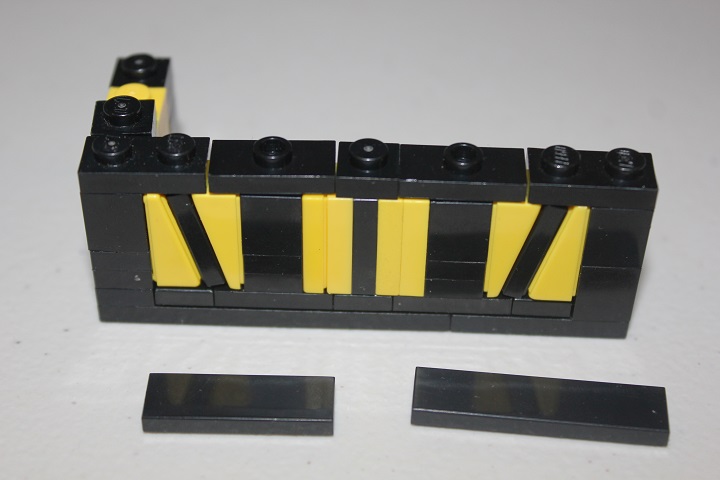
Next use some plates and jumper plates for another horizontal beam.

Between a 1×3 and 1×4 tile it’s easy to attach those jumper plates and the 1×1 plate.
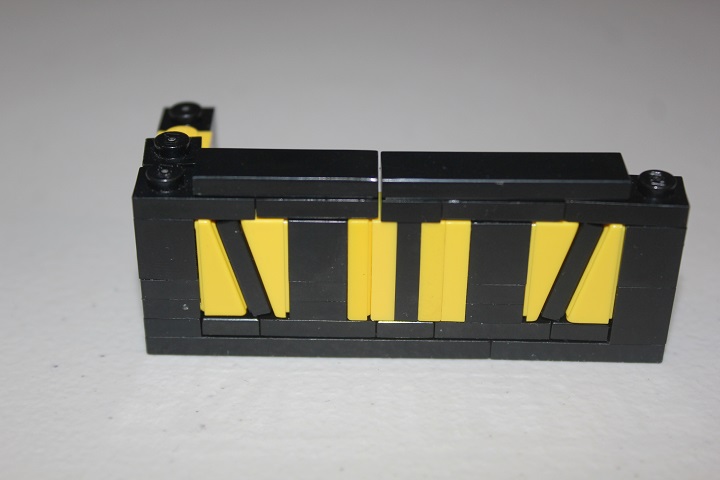
Making a smooth surface ready for another layer of SNOT tudor elements.
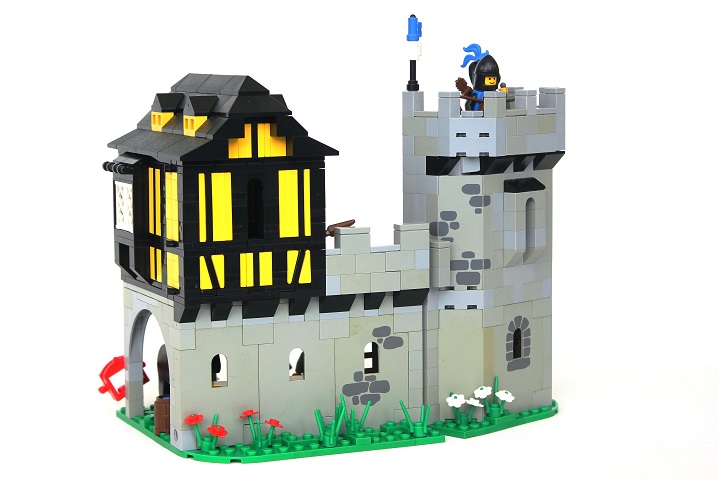
The build below gives an example of what the design looks like when used on an actual house.
If you have questions about the technique, or suggestions for future tutorials, let us know!

