


This was easily my largest build in 2018, and it took right around one week to assemble.
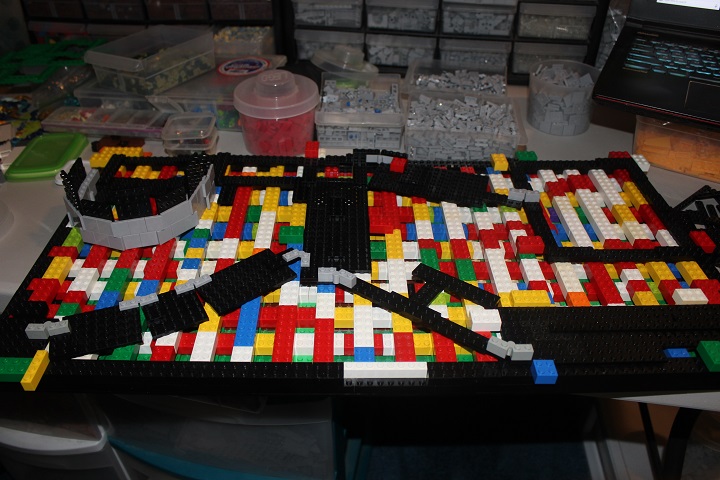
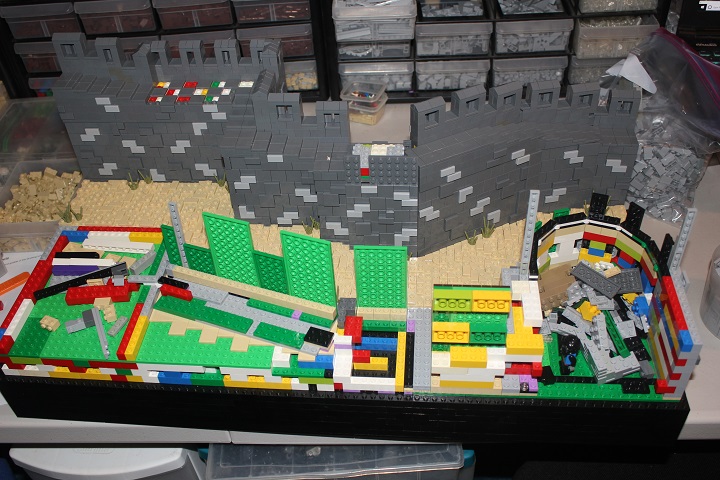
I started off with a large rectangular base and used a few layers of filler brick to make sure it was quite solid. Next I experimented with layouts for the walls and towers, until I found a setup I was happy with.
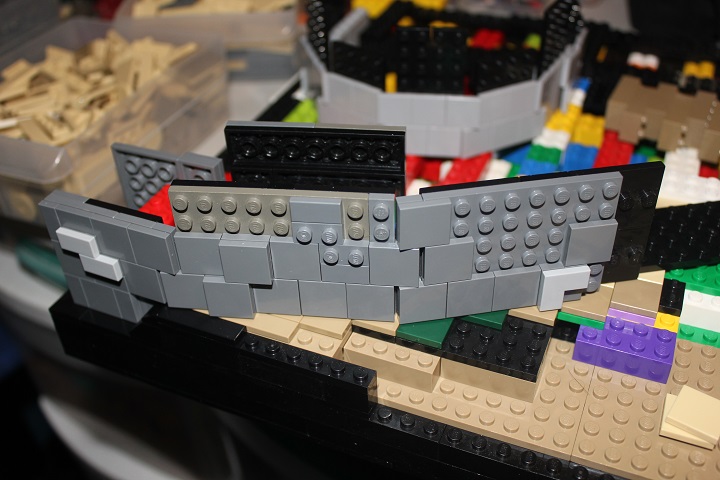
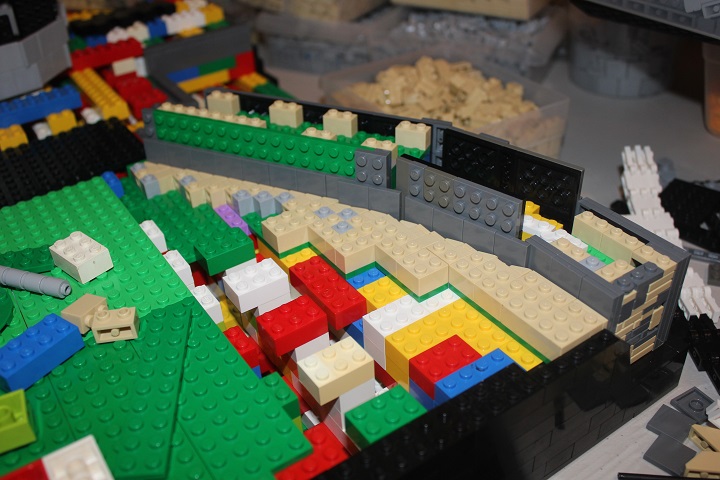
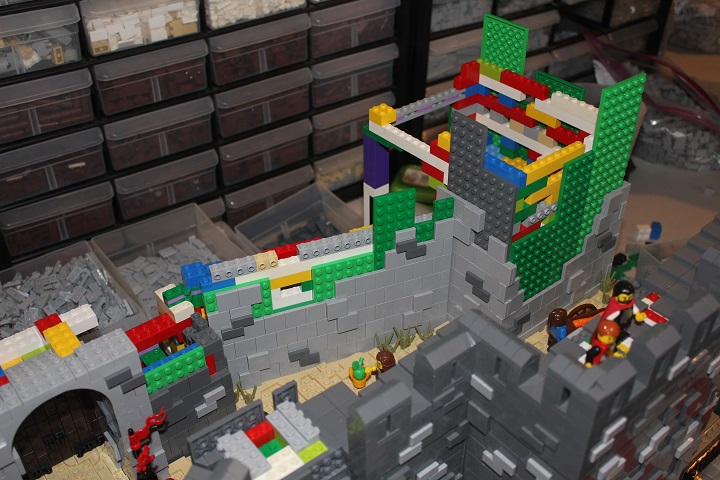
I wanted there to be plenty of slope in the terrain, with the walls matching those elevation changes as that’s a signature component of the real fortified city of Carcassonne. Likewise I wanted quite a few off the grid angles, and this little section of wall let me figure out how to smoothly handle those.
The outer wall of Carcassonne doubles as a retaining wall with the ground behind it being quite a bit higher than what’s in front. Replicating this took loads of filler brick but did make it easier to make the second wall have an appropriate height.
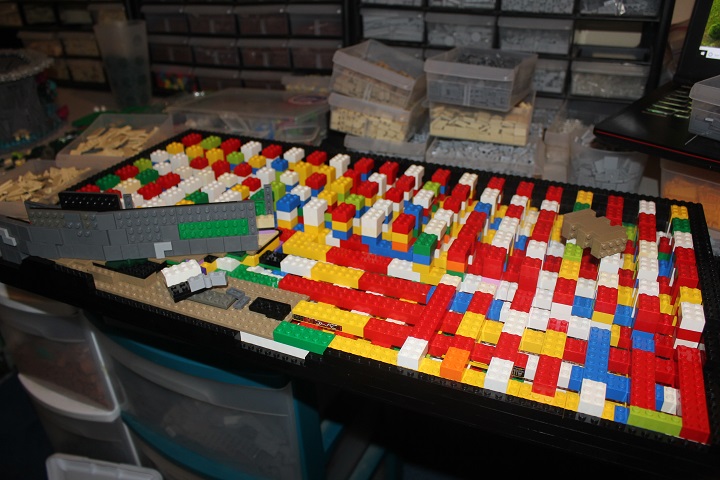
So in this case the terrain steps up from front to back, and left to right. Large plates over the filler brick gave a sturdy base when the proper height was reached to place foundations for towers and walls.
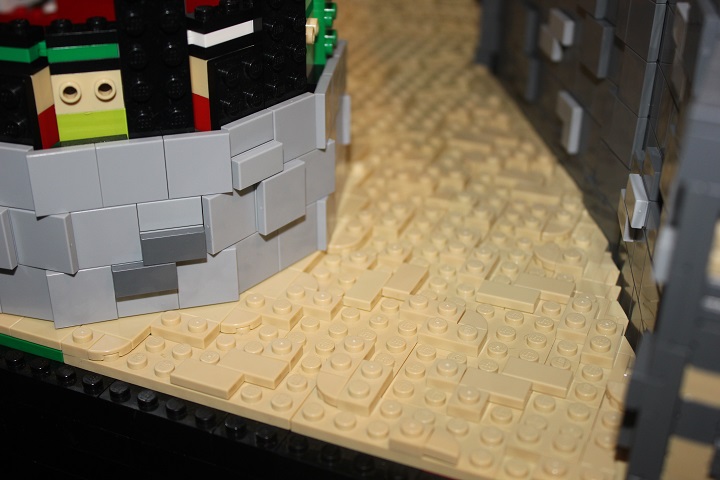
I used SNOT cheese slopes and tiles to fill the gaps between the angled wall sections and ground behind the walls. Alternating headlight bricks with brick modified with stud allowed the cheese slopes to fit as closely as possible.
Building the rest of the outer wall was a pretty straight forward task.
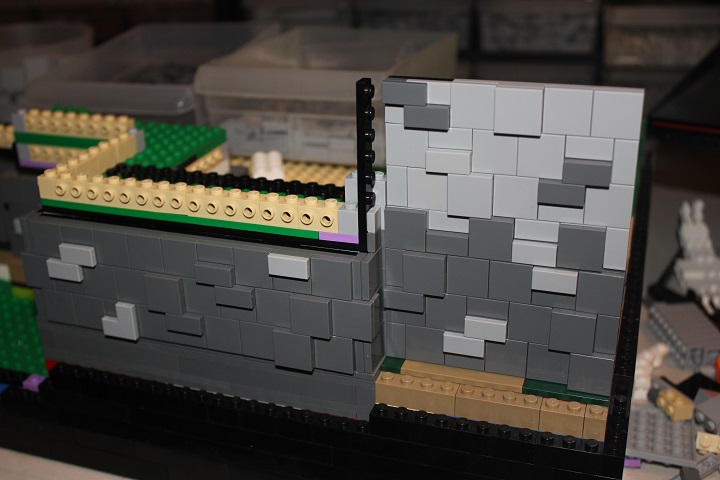
John helped me with tiling the walls, and we were able to progress very quickly.
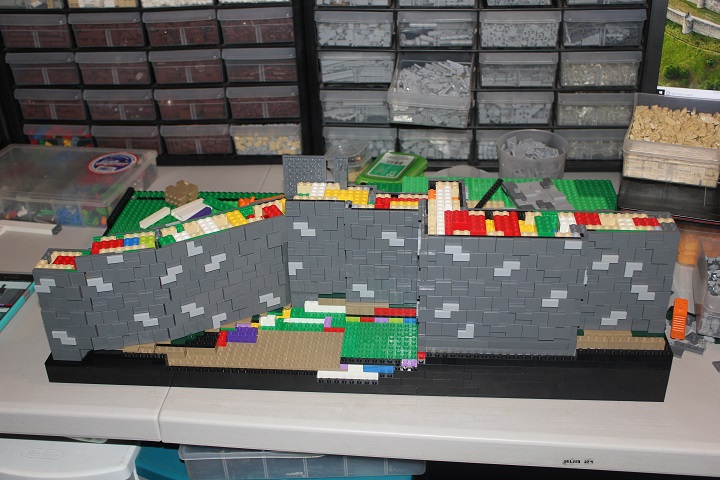
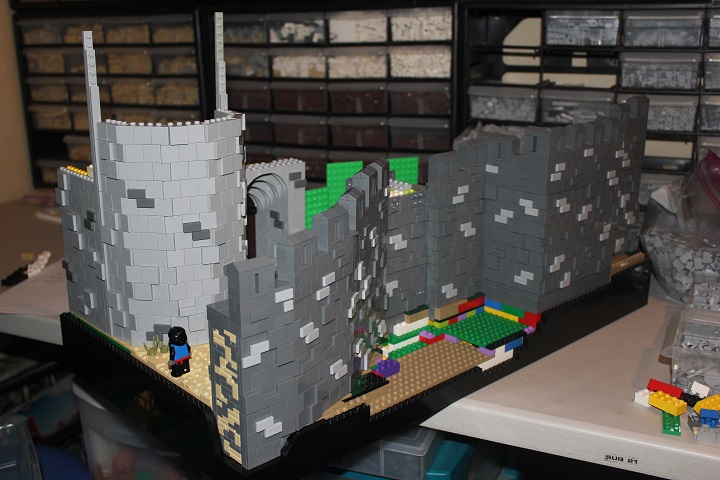
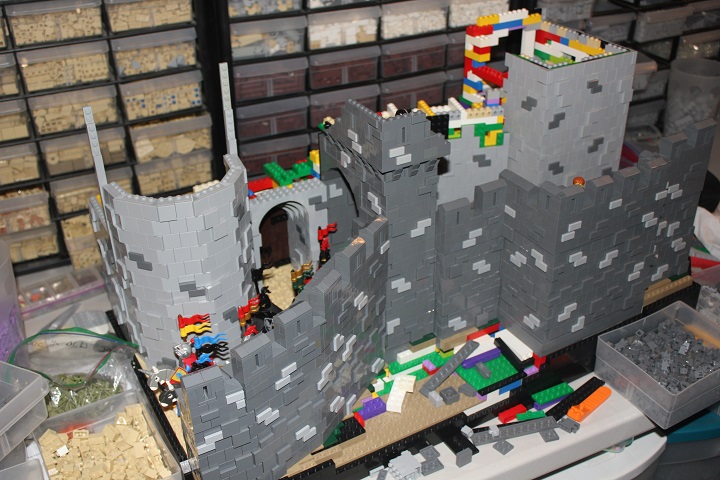
The base of the wall is a plate thicker than the top, and I did try switching to light bley for the upper half as you can see in this picture. Ultimately I settled on using all dark bley for the outer wall, and light bley for the inner fortifications. And I think that worked out much better.
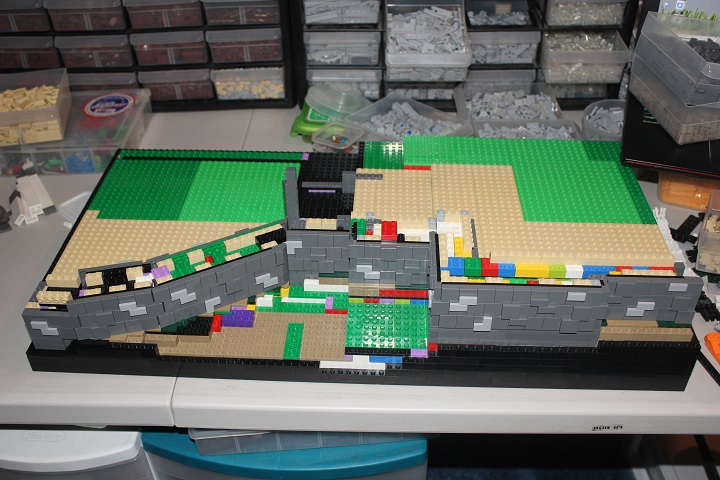
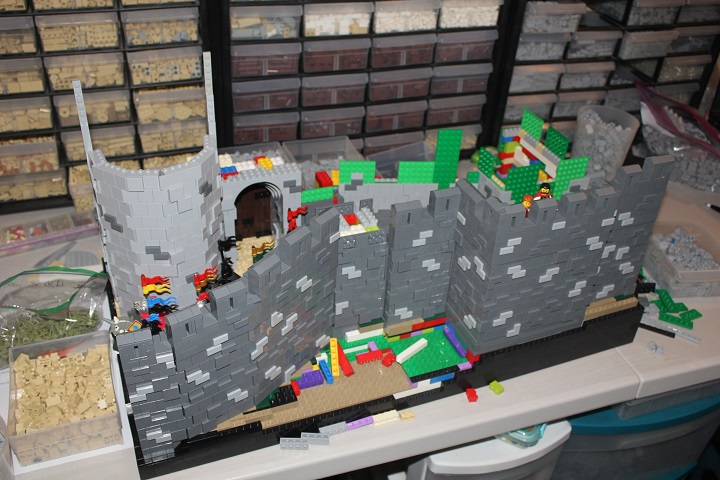
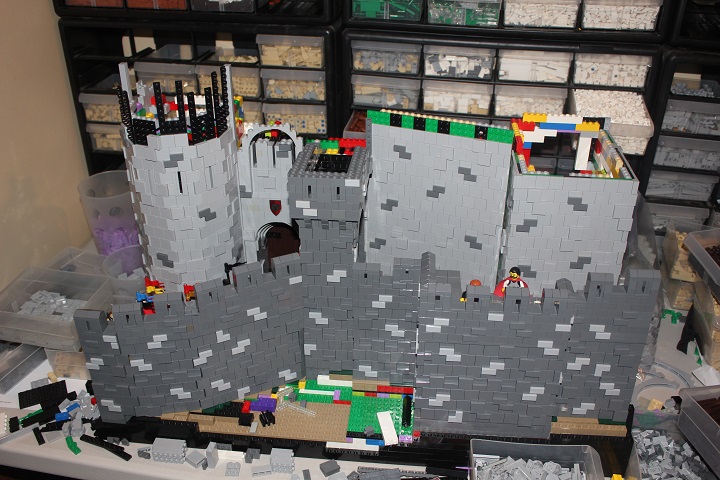
In one Sunday afternoon we had the wall this far along. I was quite pleased with how it was looking so far.
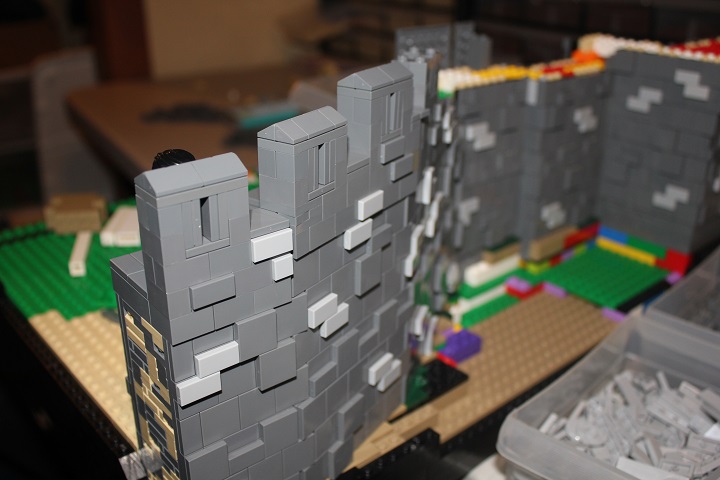
The top of the wall was made of studs up building and once I again I made sure the battlements stepped up to mirror the ground below.
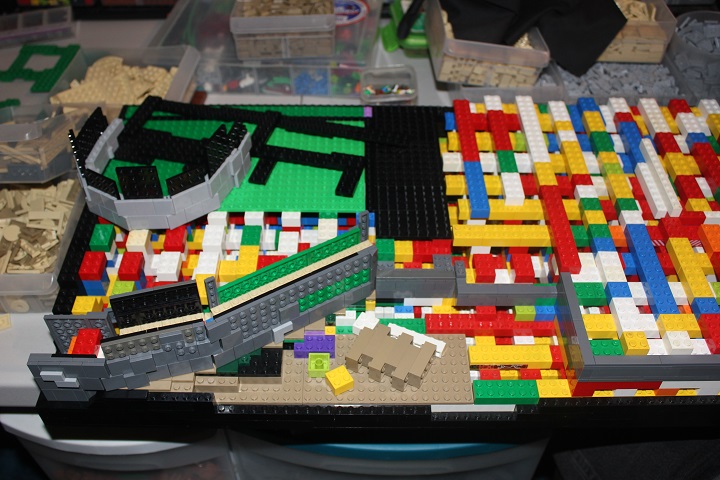
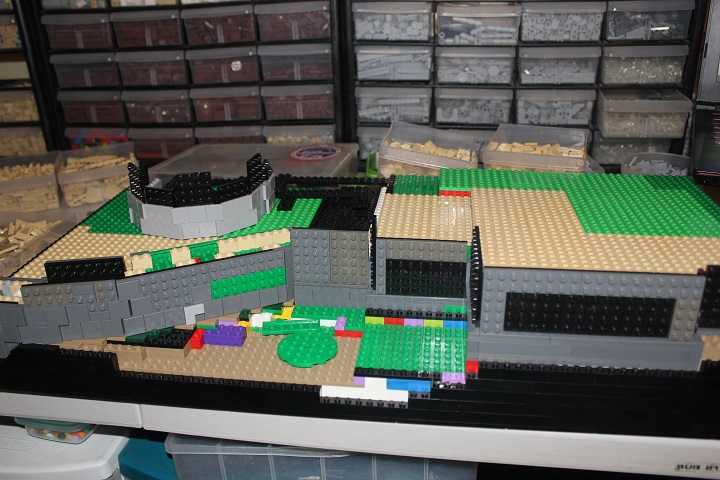
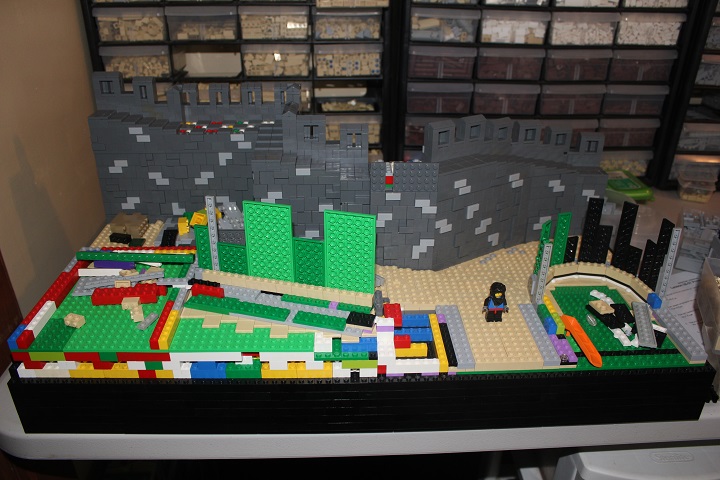
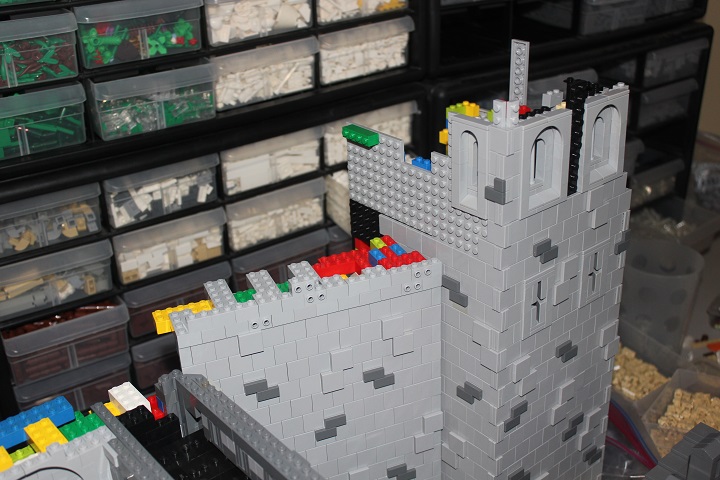
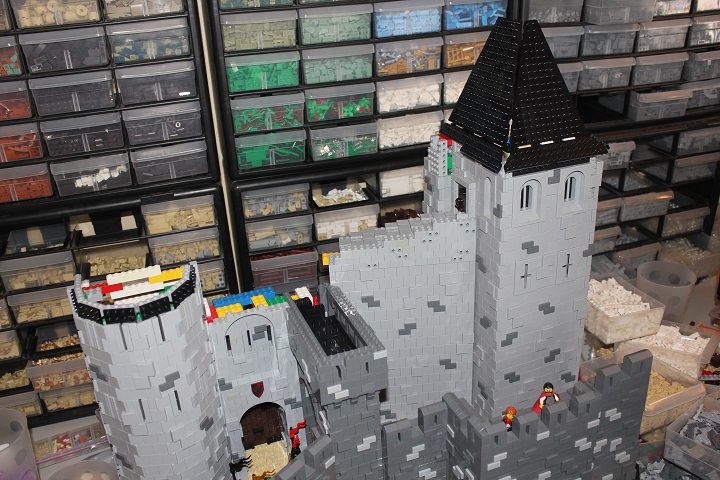
I also made sure to tile the back of the wall before getting too far with the inner wall, since I knew it would be difficult to reach down between the two. Here you can see the setup of the inner towers and wall, which were built at an even larger scale than the first.
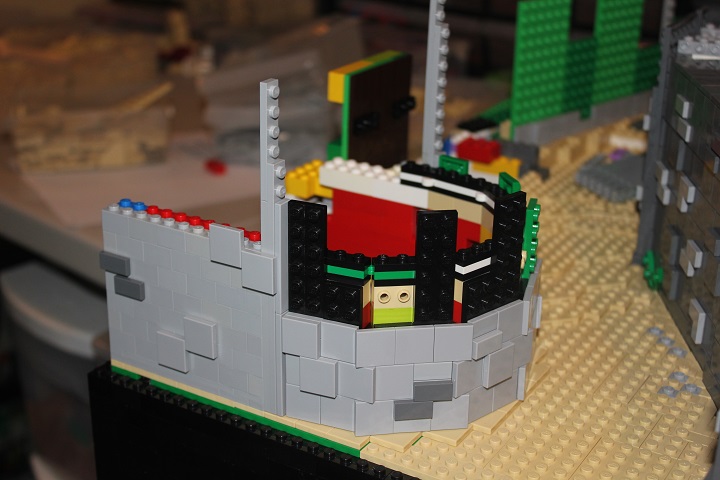
This round tower design is one I’ve used numerous times before, but never on as large a scale as this.
Plates and tiles in tan were used to texture the dirt road, along with some 1×1 quarter circle tiles that we had bought in LUGbulk.
The road ended up mostly hidden in the final pictures, but the way it wound and climbed between the walls looked great.
The first tower progressed quickly, especially since I didn’t need to add any windows for the first few stories.
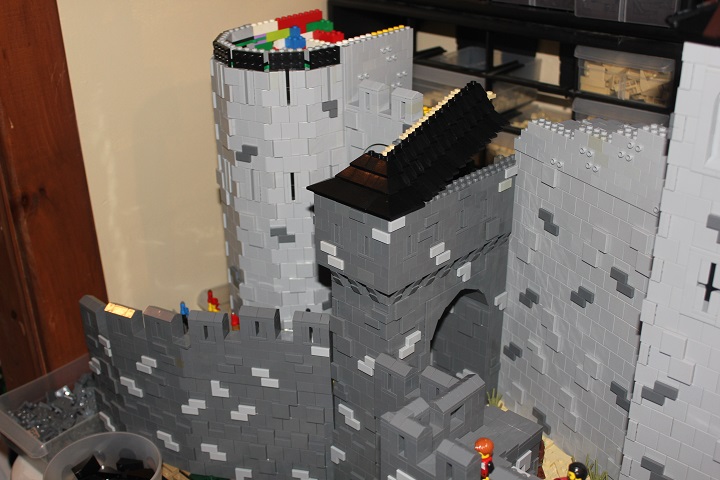
Stacking arches were used over the gateway, and at this point basic tiling was all that was needed to continue the walls.
I left the towers as hollow as possible, to preserve pieces and save time.
And now that the inner wall was well under way I could finally complete the archway between the two walls.
And continue placing tiles until my hands were quite tired of that particular task…
Finally I reached the top of the wall where I switched back to studs up building again.
And then came the challenge of roofing the rectangular tower. You can also see the start of a large chimney on the side of the tower here. I didn’t bother making that go the full height of the building – only adding it at the top where it was visible over the wall.
For the roof over the wall archway I tried stepping slopes in this fashion first, but didn’t like the result.
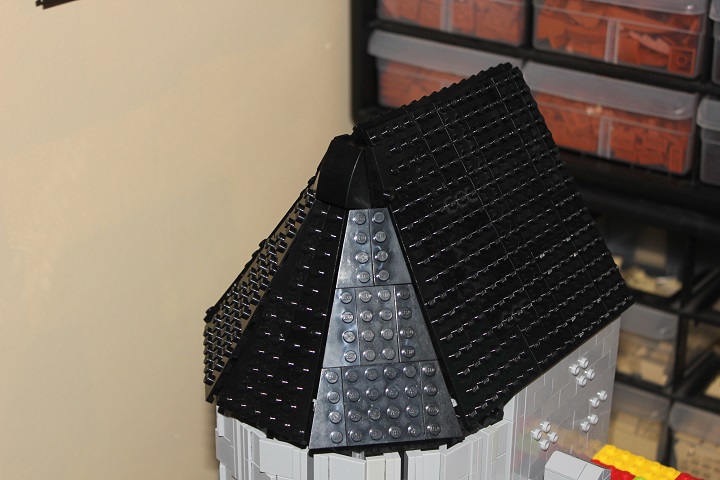
The half conical roof was definitely the trickiest design challenge of the model, but wedge plates gave a pretty good fit.

Later I added some black spears and cones in the seams between wedge plate sections.
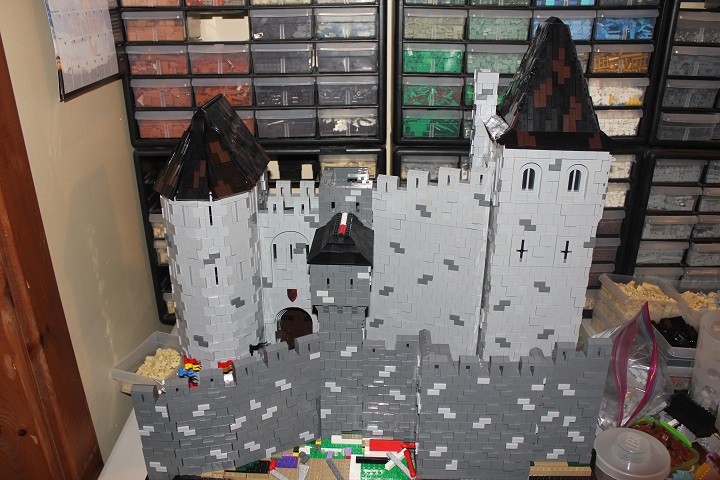
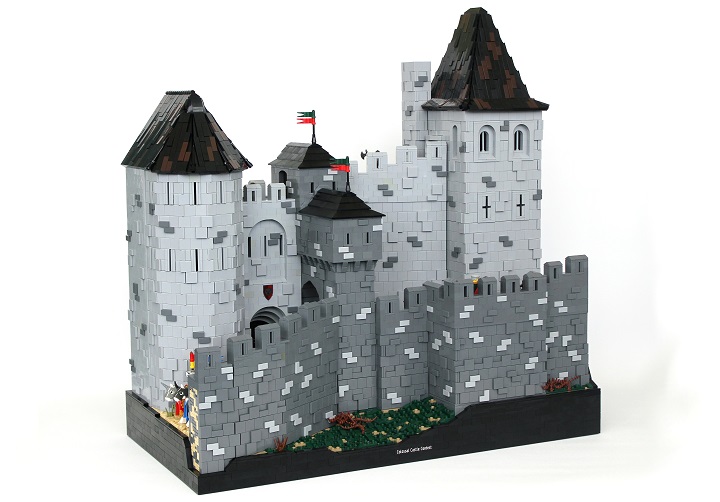
Then I tiled the roofs in dark brown and black, and added the inner wall crenelations. The exterior landscape was the last thing to be completed.
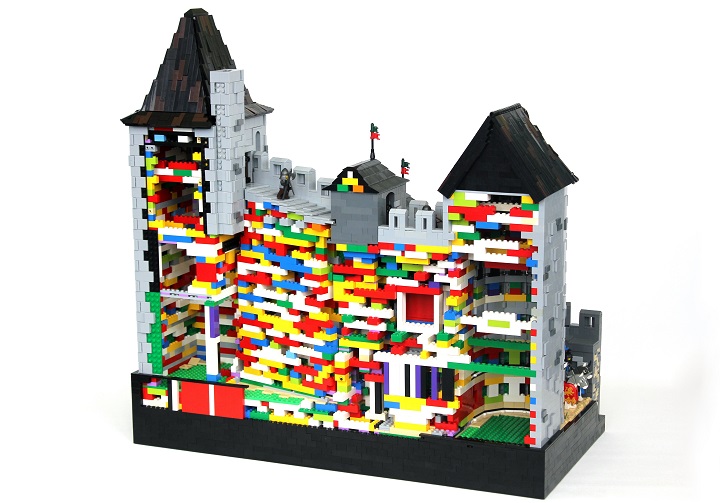
And here’s a fun shot of the rainbow colored backside of the model.
Let us know what you thought of this build log, or if you have any suggestions for future posts by commenting below!


Incredible build! Thank you for documenting and showing the building process. I am a huge fan of your guy’s work!
Thank you Carl!