


This is one of the more complicated fireplace designs I’ve come up with, and I think the core technique could be very useful in a variety of settings.
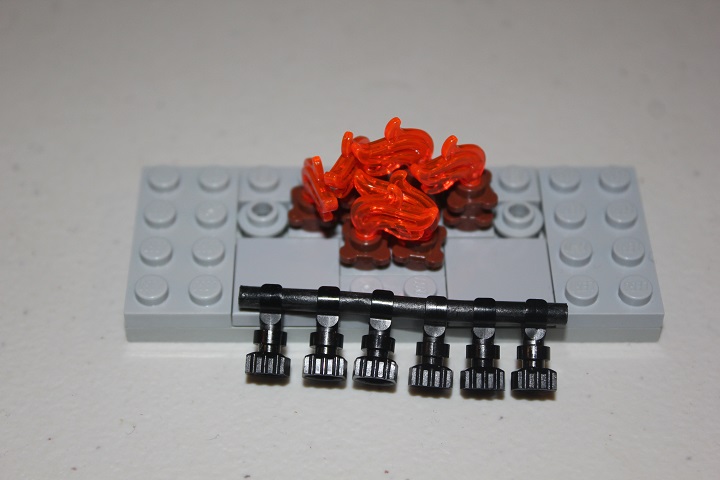
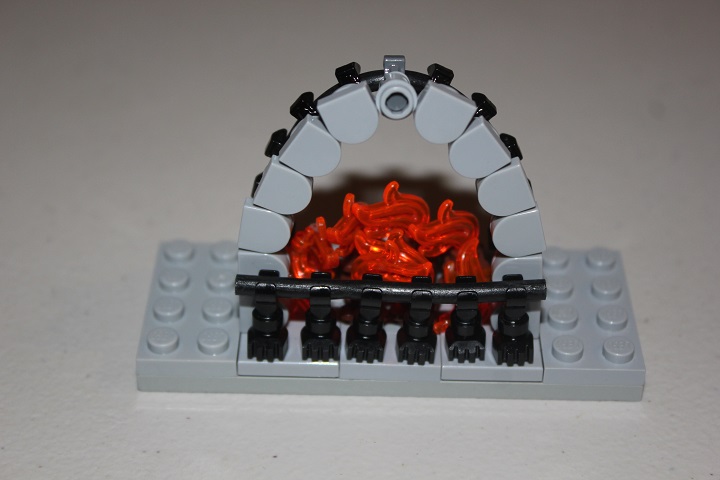
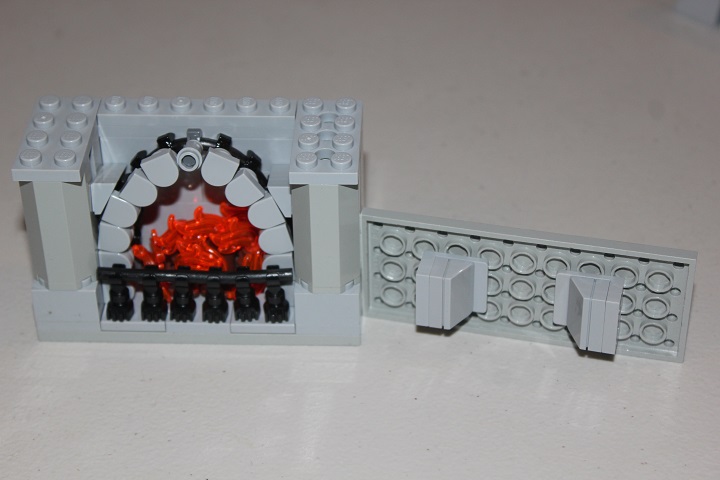
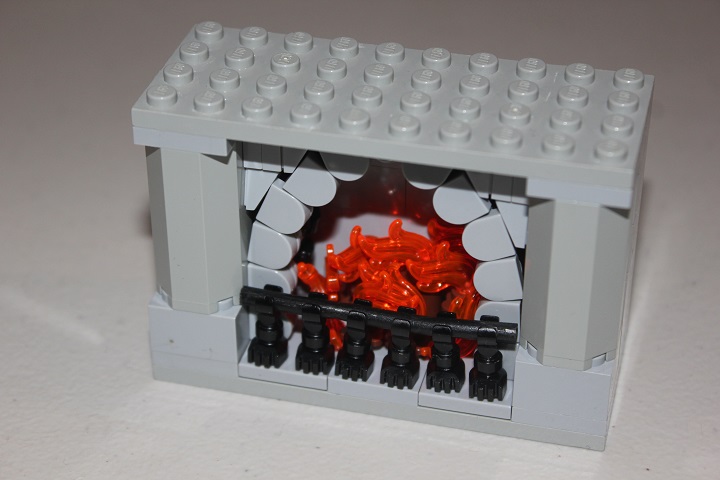
It starts off with a simple plate base. Note the location of the 1×1 round plate with hole as those will be important in future steps. The fire itself is made up of brown friends flowers with flames in the top. I used skeleton legs and flex tubing for an elaborate metal grill in front of the fire.
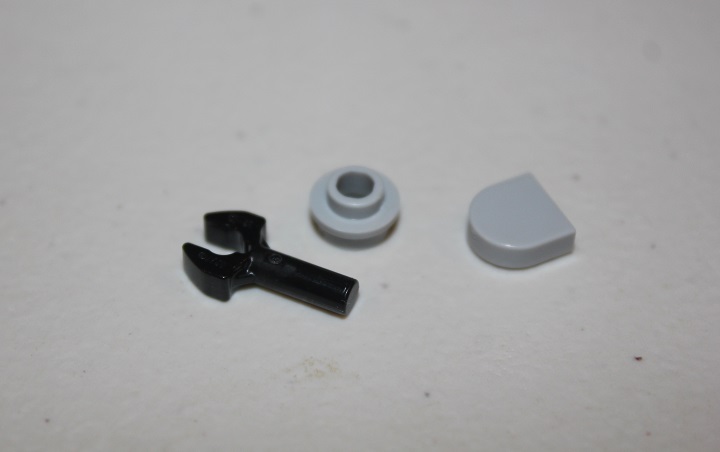
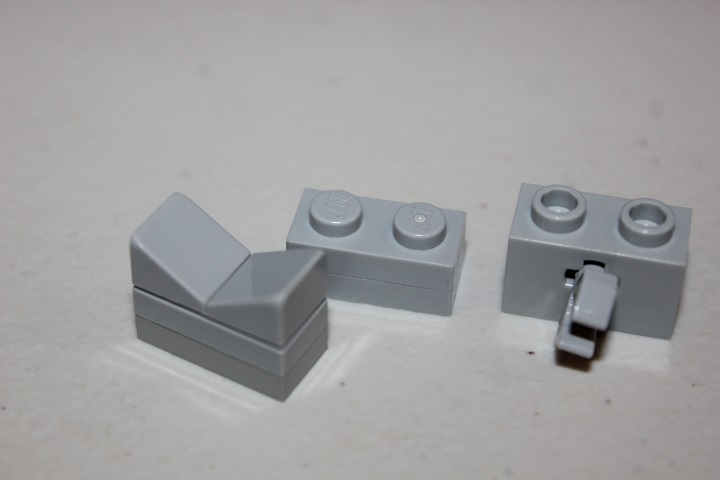
Now comes the interesting section. These three parts make a simple assembly that allows the stadium tiles to be attached to a bar.
Or more accurately, to a flex tube. The shape of the stadium tiles allows for a nice smooth fit despite the arched shape, and the black clips and flex tube are barely visible in the finished fireplace.
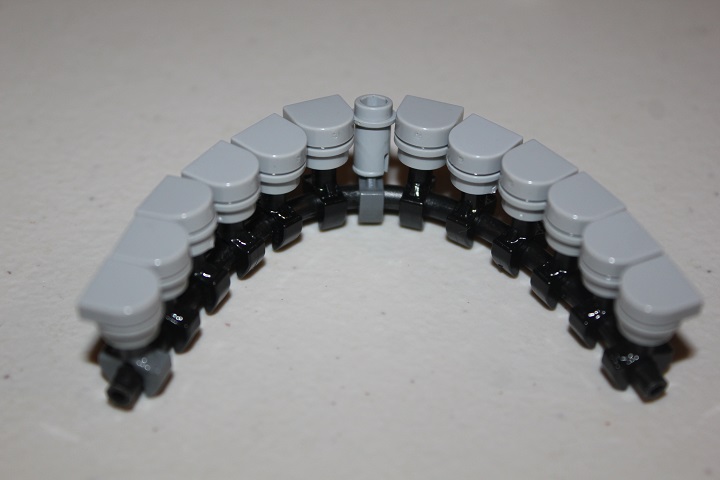
The ends of the flex tube are placed into the 1×1 round plate with hole already in position.
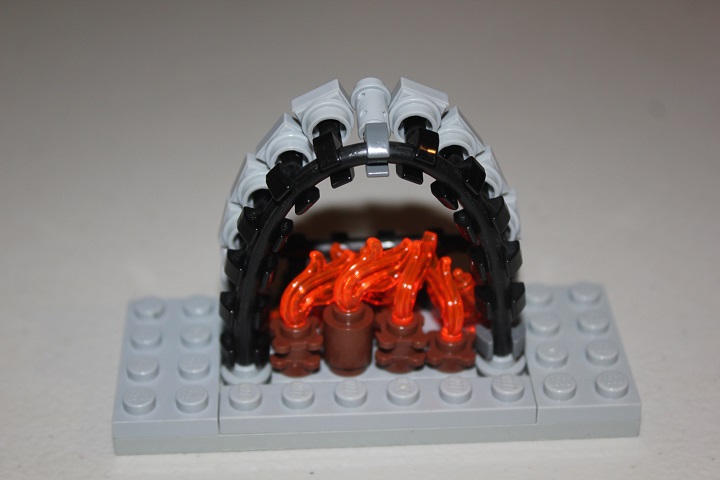
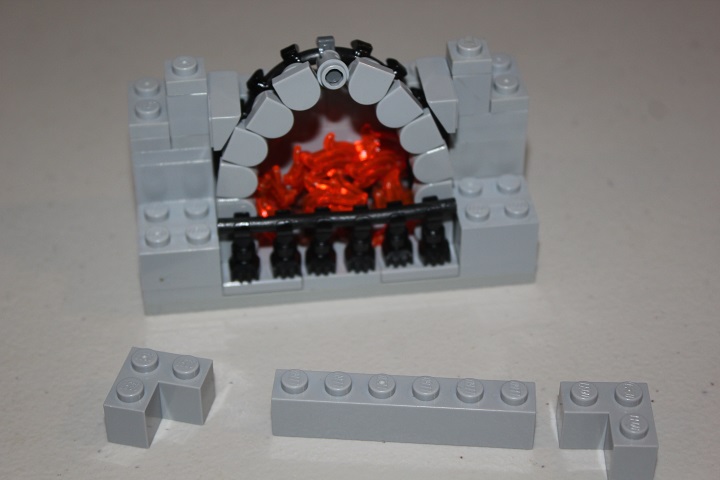
Then it’s time to build the rest of the fireplace, starting with some simple bricks.
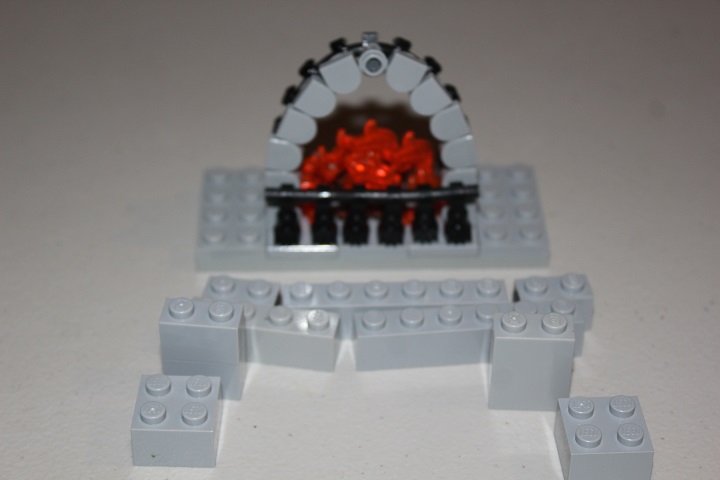
More bricks and a few plates continue the walls.
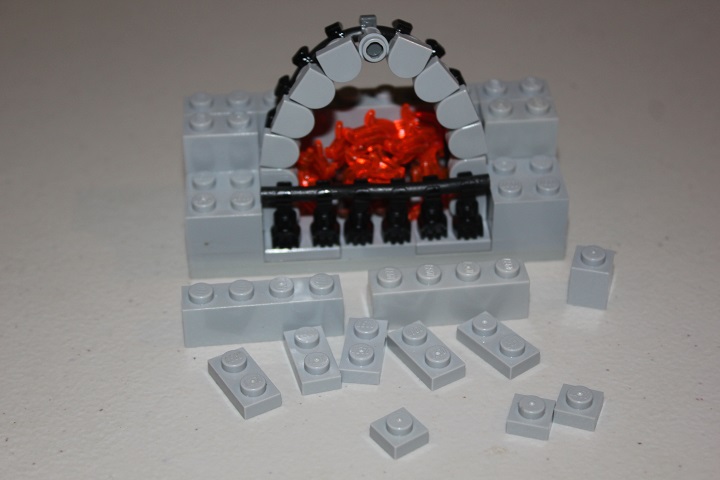
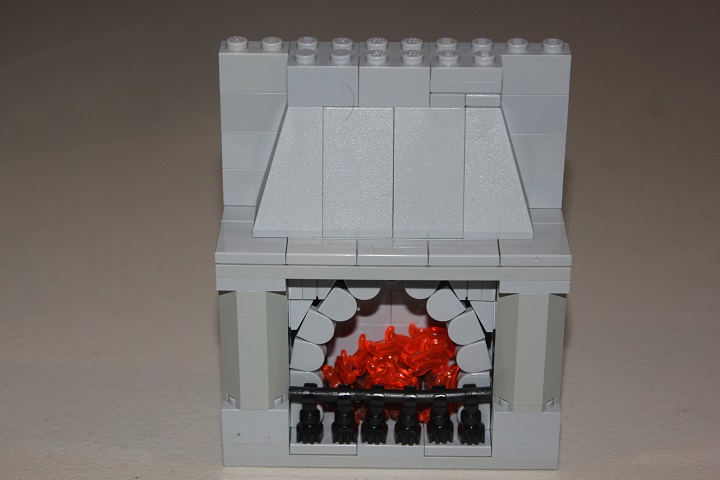
And then a 1×1 brick modified with stud is used to attach a sideways cheese slopes that starts filling in around the arch of tiles.
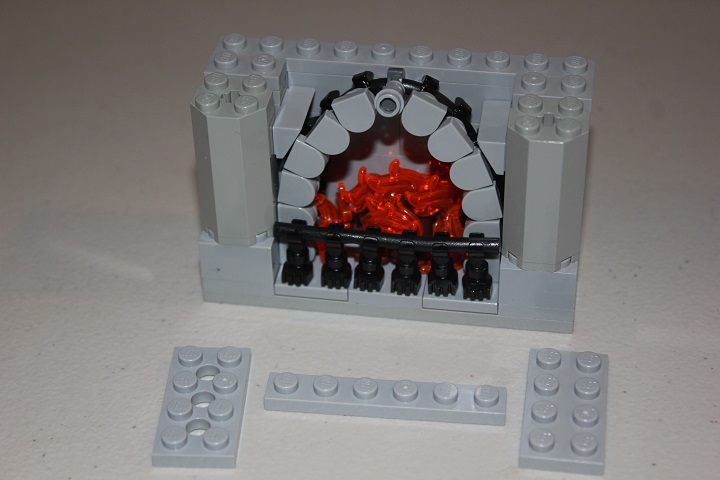
More bricks.
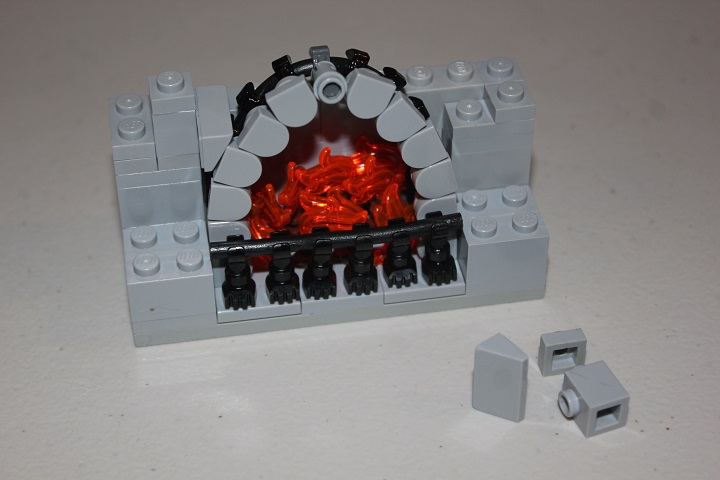
These octagonal 2x2x3 pillars make for some nice stone columns, or you could replace them with some standard 2×2 round bricks.

Add a couple more plates.
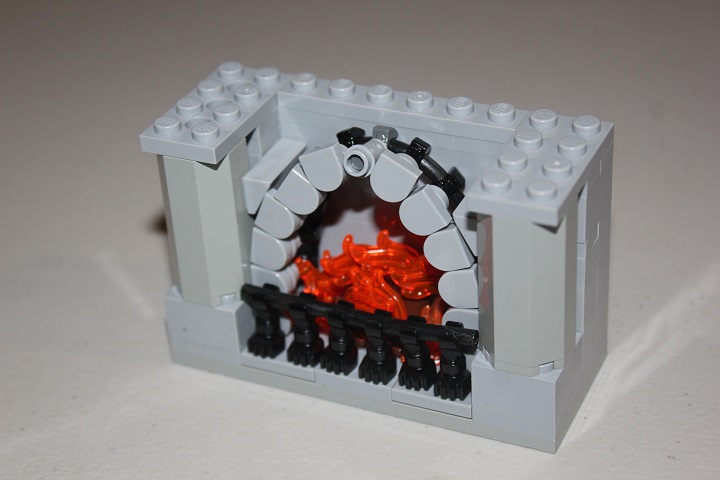
And then a 4×10 plate with some brackets attached to the underside can be used to finish filling in around the arch.
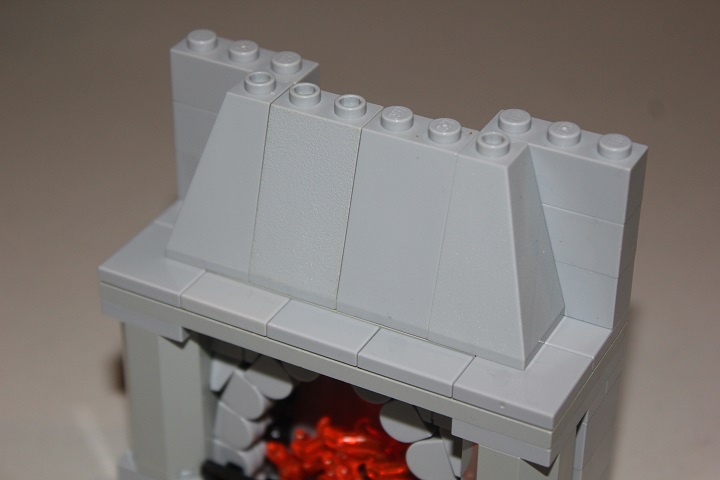
Some tiles make a simple stone lintel.

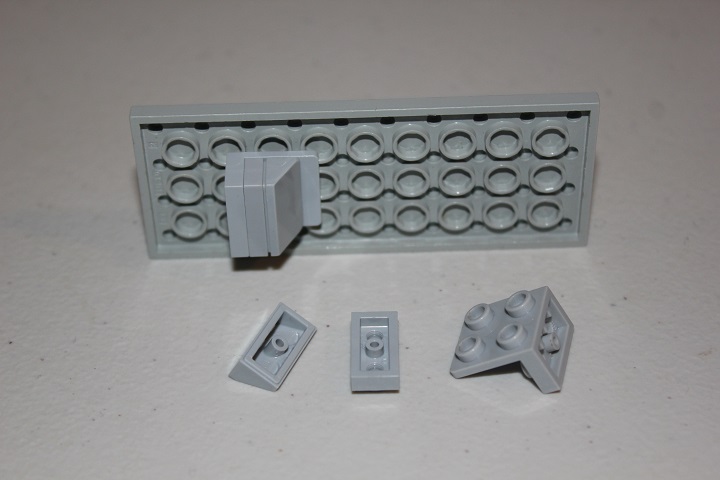
And then 2x2x3 slopes start the chimney.
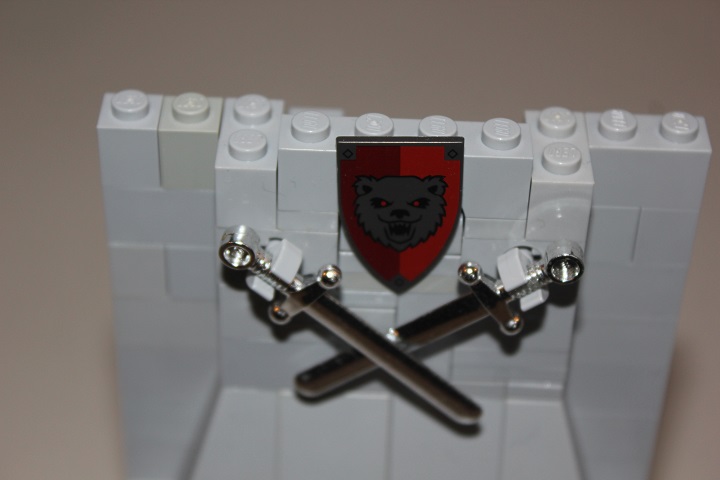
These elements will be used to incorporate a kite shield smoothly into the wall.
A 1×4 arch fits over the shield handle and clip covering any gaps.
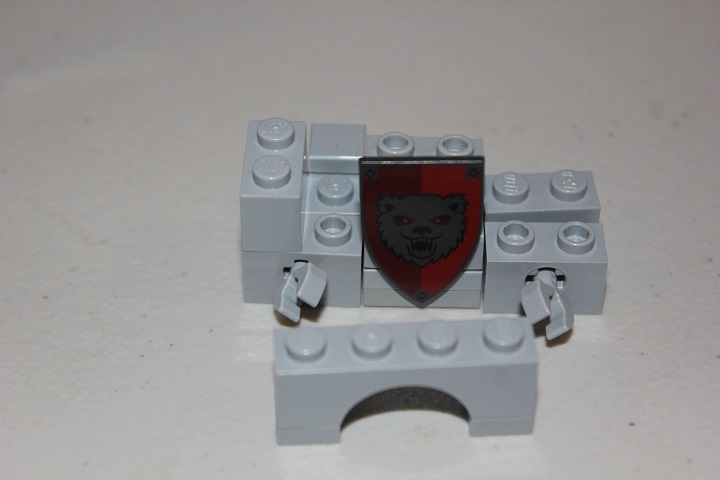
Crossed swords are easily added around the shield.
And that finishes off the build! See more pictures of the fireplace in a completed scene here.

We hope you found this guide helpful, and feel free to leave any questions or suggestions you have in the comments section!

