


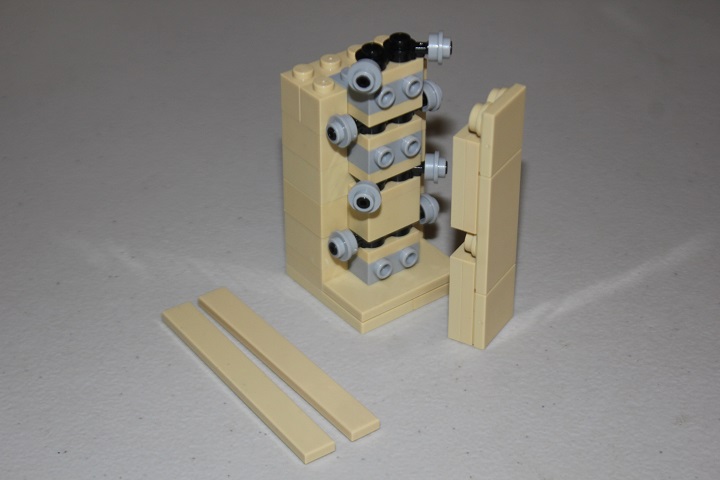
This is a new technique I came up with for my King or Puppet? build. A relatively new piece, Bar 1L with 1 x 1 Round Plate with Hollow Stud, is the essential element of the design.
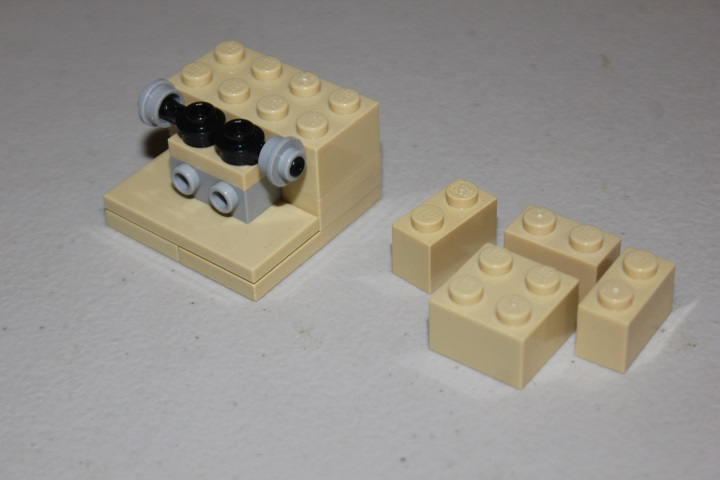
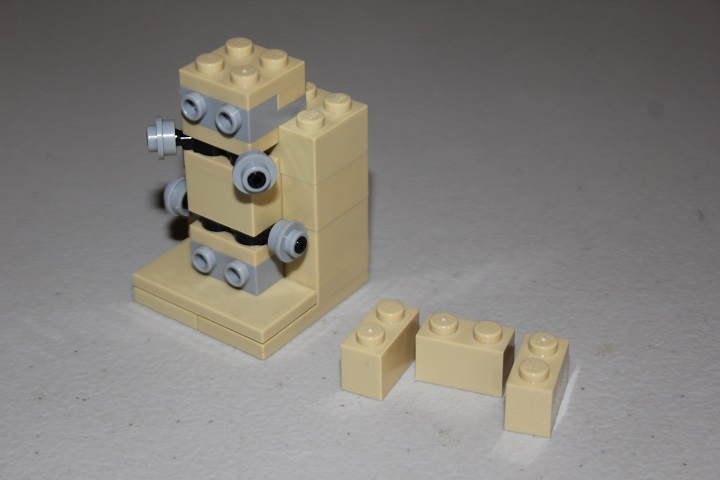
A simple 4×4 base starts the column.
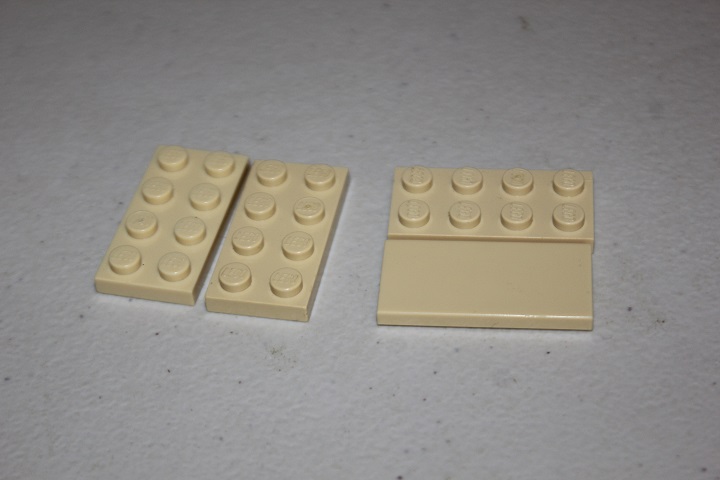
Next one 2×2 plate modified with stud and three 1×2 plates are added.
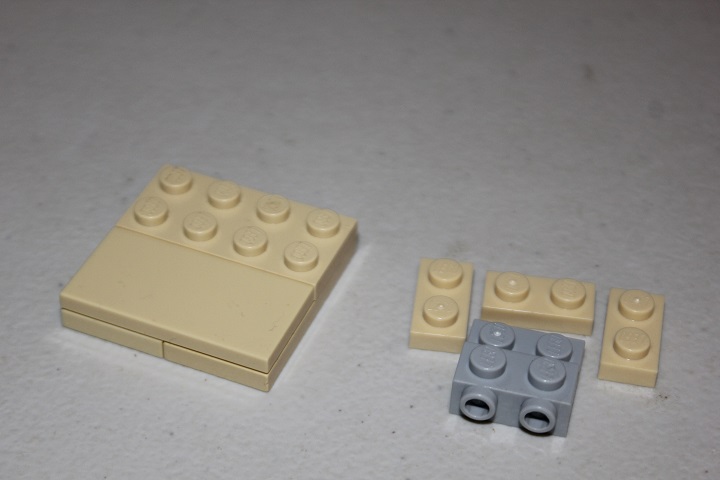
Then the plate with bar element is used in combination with 1×1 round plate with hole to give additional SNOT connection points.
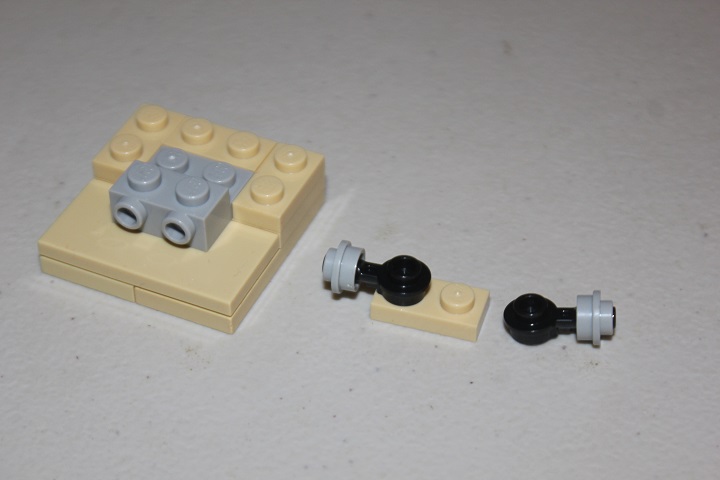
Behind those goes a 2×4 brick.
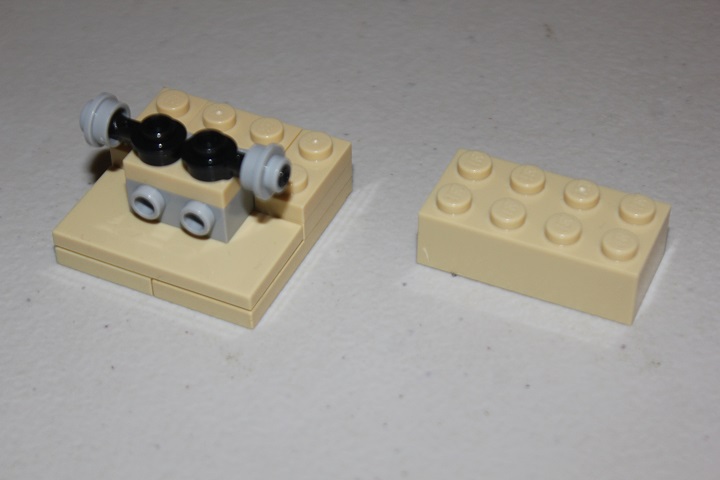
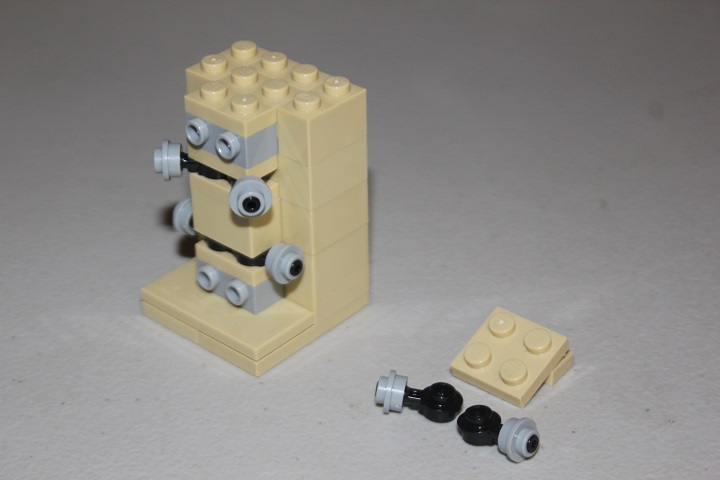
Followed by another layer of bricks, this time locking in the plate with bar elements.
You need four plates between each of the round plate with bar and 1×1 round plate with hole assemblies.
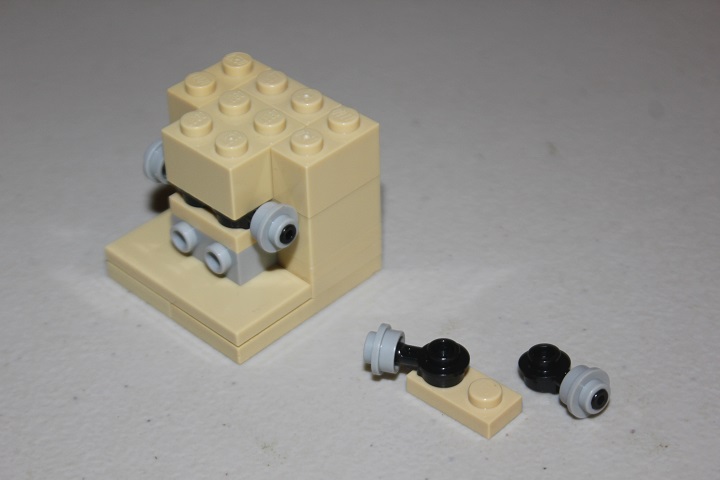
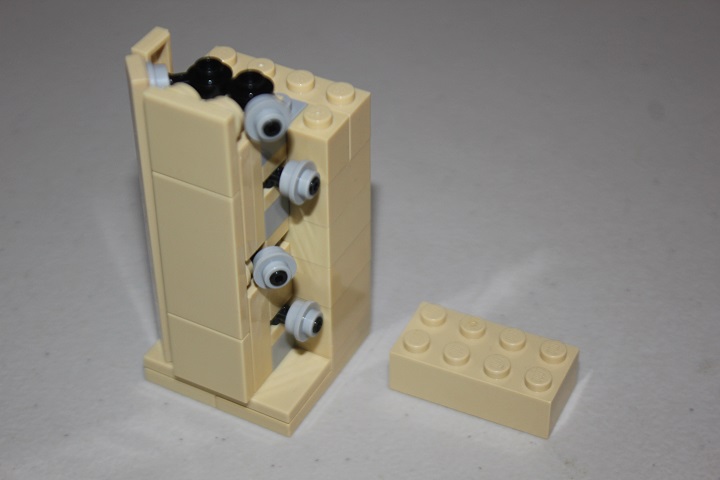
Again a 2×4 brick is used at the back, and a 1×2 plate at the front. At this point there is a SNOT connection point for each of the column sides.
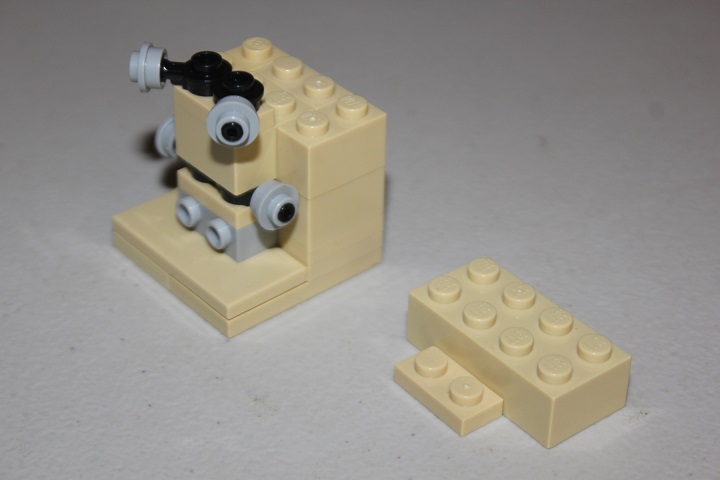
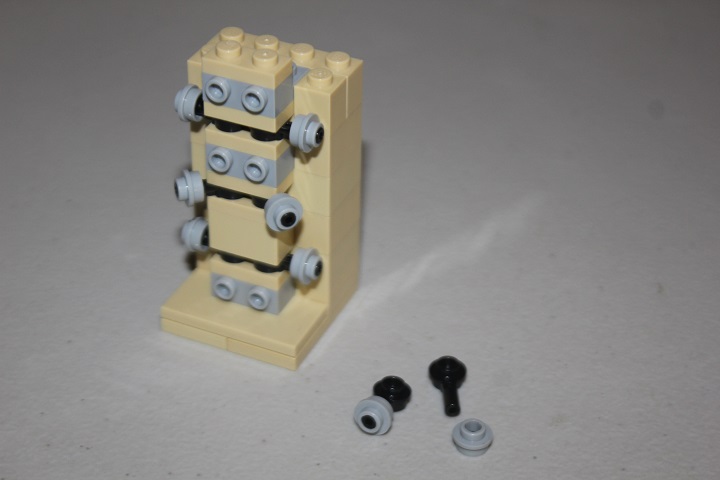
Next it’s time to incorporate a 2×2 plate modified with stud again.
Surrounded by 1×2 bricks.
Then it’s back to adding the plate with bar and 1×1 round plate combination.
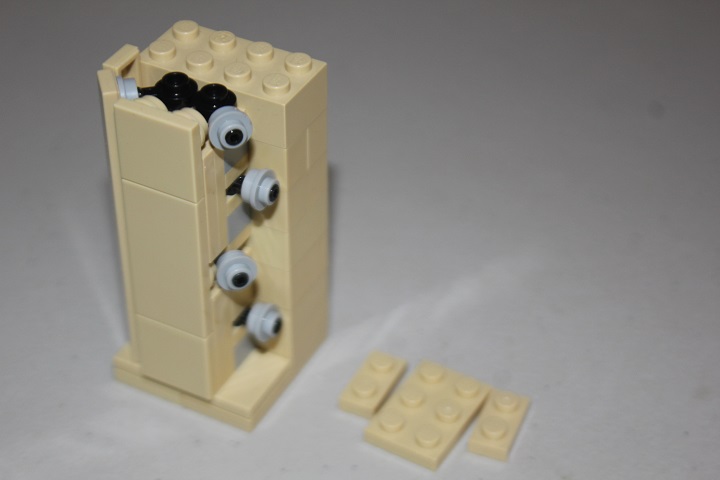
And some more bricks.

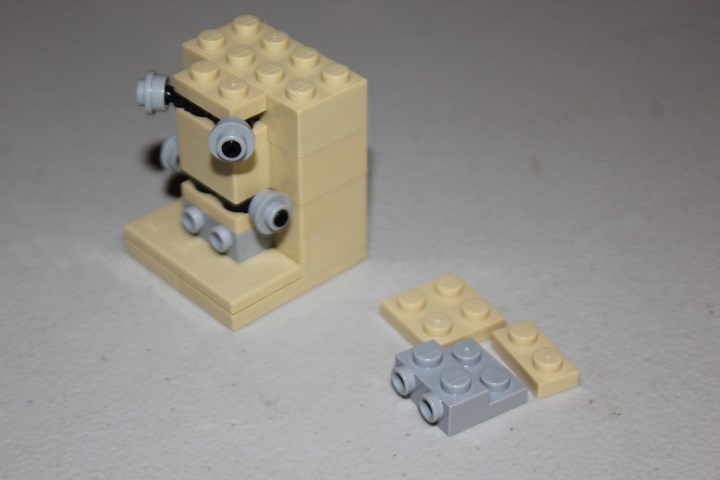
The same pattern can be repeated for as tall as you want the column to be.

This example is only 8 studs high, so this is the final layer of plate with bar.
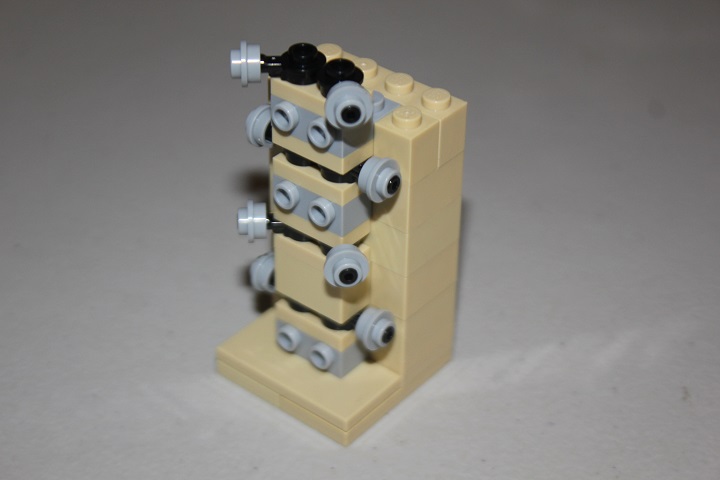
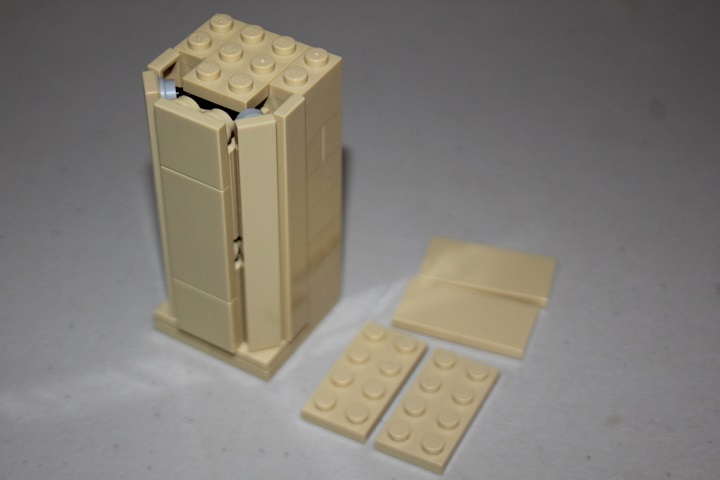
Meaning it’s time to add the column components! This assembly of tiles and plates goes on the front two studs.

The 1×1 round plates are necessary to fit around layers where the plate with bar elements are at an angle. 1×8 tiles go on the sides.
Two more 1×8 tiles are added on the near side.
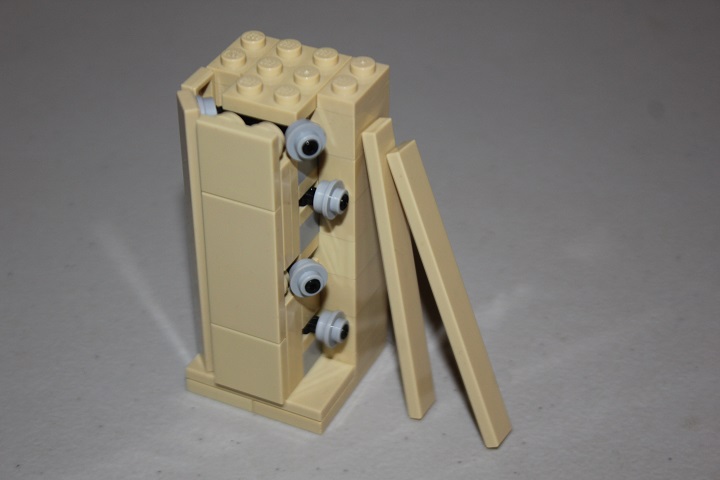
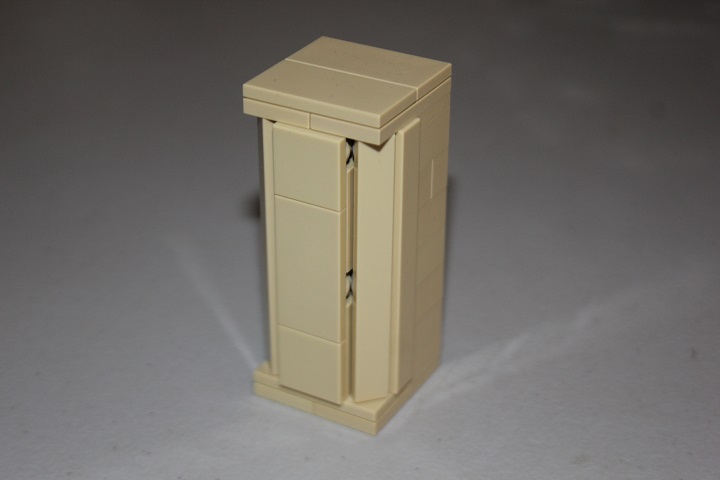
And then it’s a simple matter of capping the column with 2×4 plates and tiles.
This gives a super rugged column, and the basic technique of using plate with bar to attach SNOT elements could be useful in a variety of situations.
Here’s what the design looks like in a finished build:
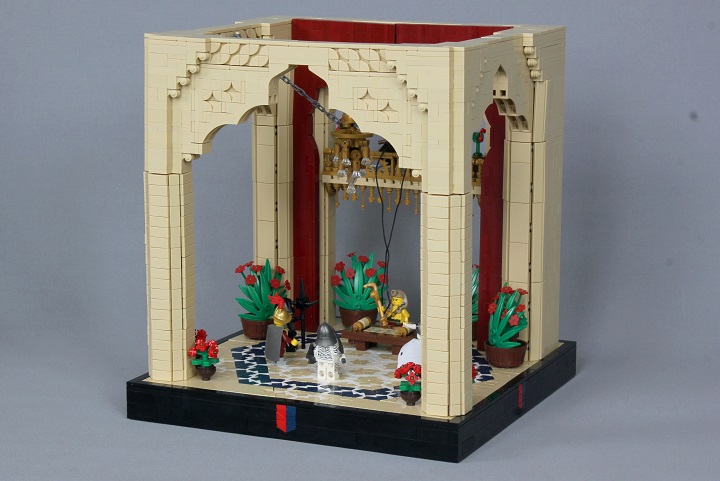
Thanks for reading!

