


This is the last build log featuring one of our 2018 models – fitting since it was also my last build of 2018!
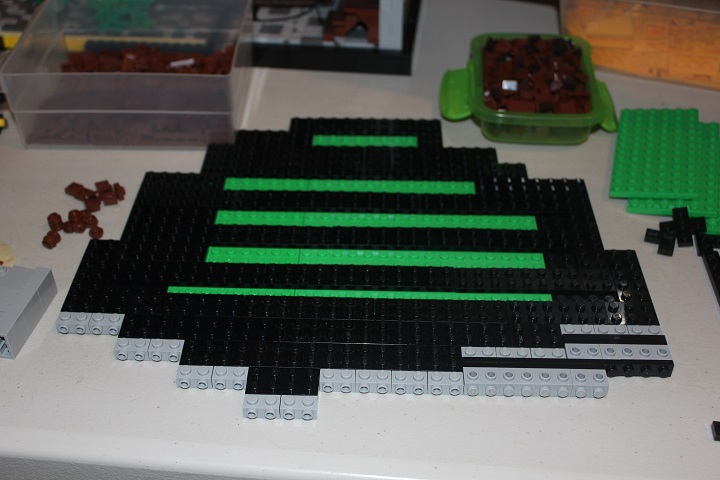
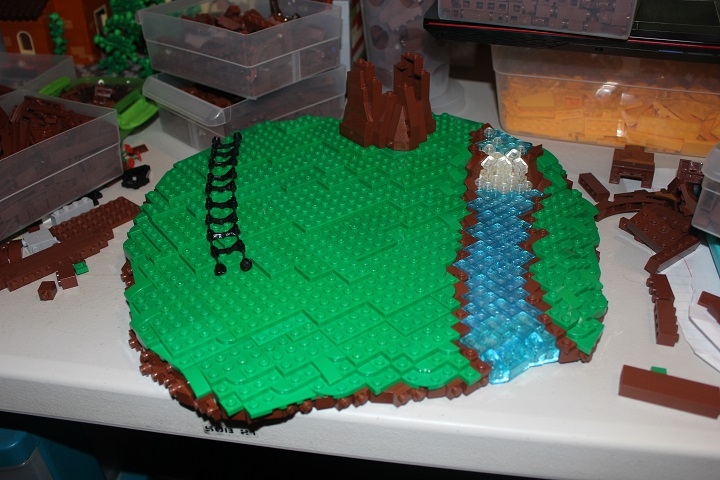
Two layers of plates put together in the rough shape I planned the base to be got the model started.
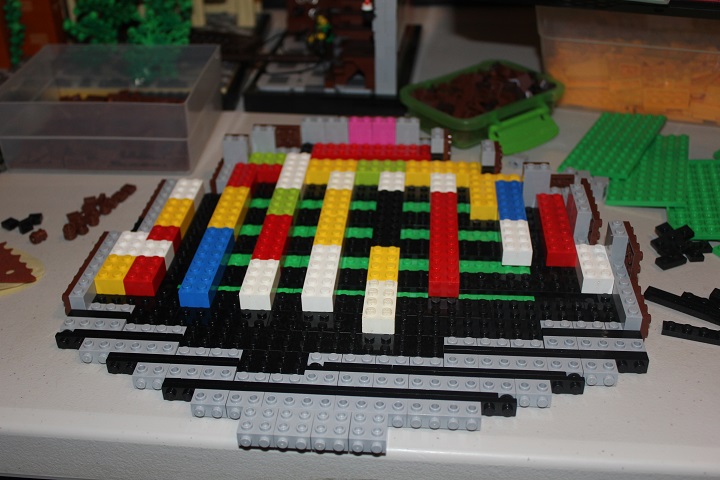
Like I mentioned in our guide on this base style, the very front most section was a single layer of SNOT bricks. Like many of my CCC builds I was building without a whole lot of advance planning.
One thing I did know for sure I wanted to incorporate was elevation change across the base. So at the back the dirt edge gets up to four studs deep, while on the very front it’s just a single stud.
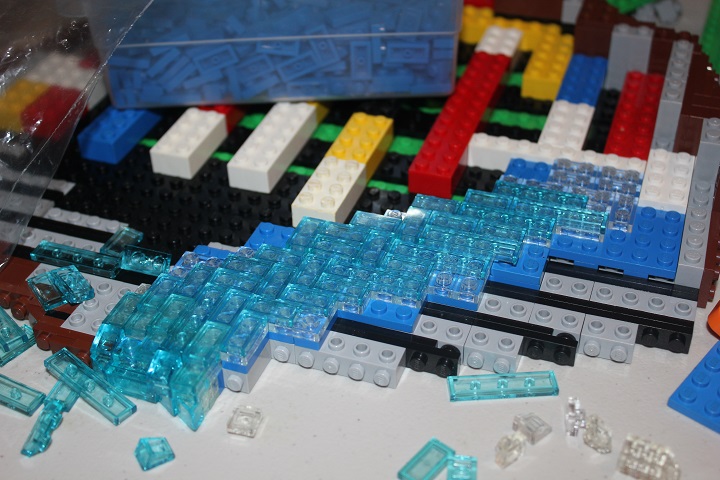
As usual there was a rainbow of filler brick inside the build. The little stream was made of blue plates topped with a layer of trans clear and then trans light blue tiles. This gives a very vibrant color to the water.
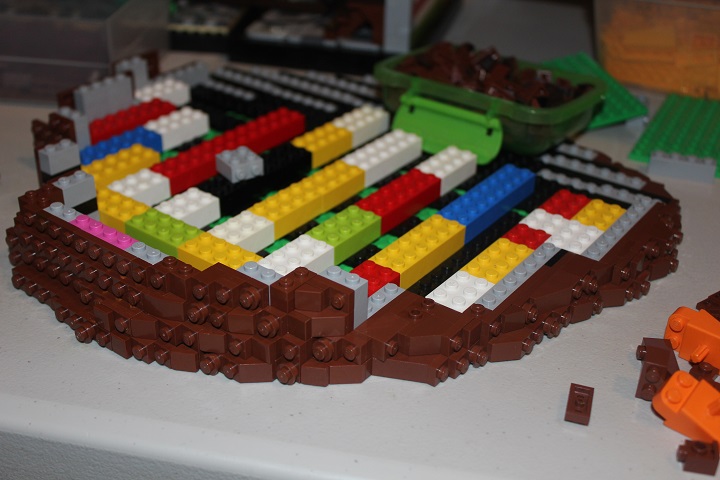
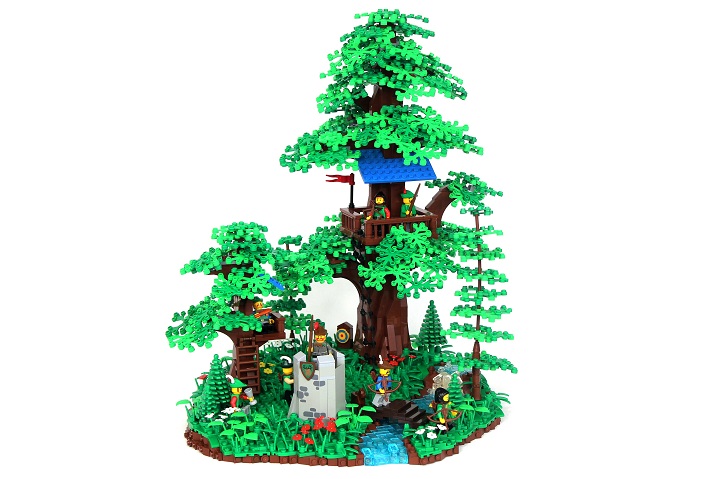
After getting the base edges completed and stream in place I could add green plates as the start of the landscape. It was also time to start work on the focal point of the build: trees!
Tree houses are one of my least favorite things to build. The mix between tree and structure is a difficult balance to achieve. At times like this I often find it hard to make progress on a build as I want to have a clear picture of how everything will fit together beforehand. My solution is just to dive in and build, even if it ends up failing horribly.
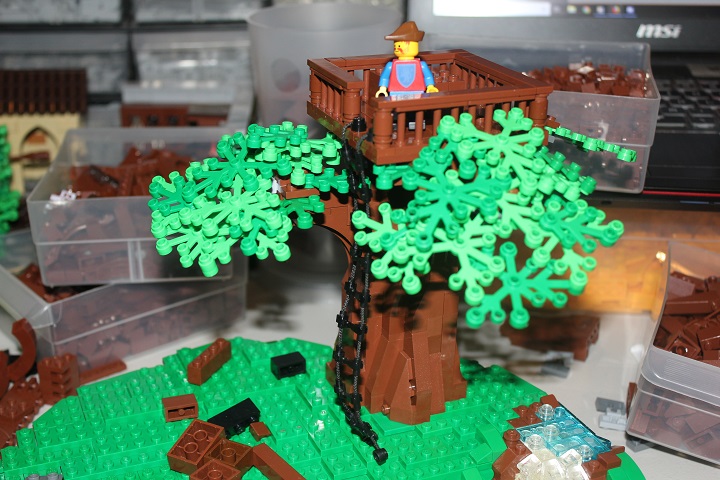
In that way you at least learn what not to do, and are able to keep going again. Fortunately these particular trees came together fairly quickly. Mixel ball joints were what I primarily used to attach the leaves, since they give so many angle options. As you can see on the laptop screen I was looking at the old Forestmen sets quite a lot while building.
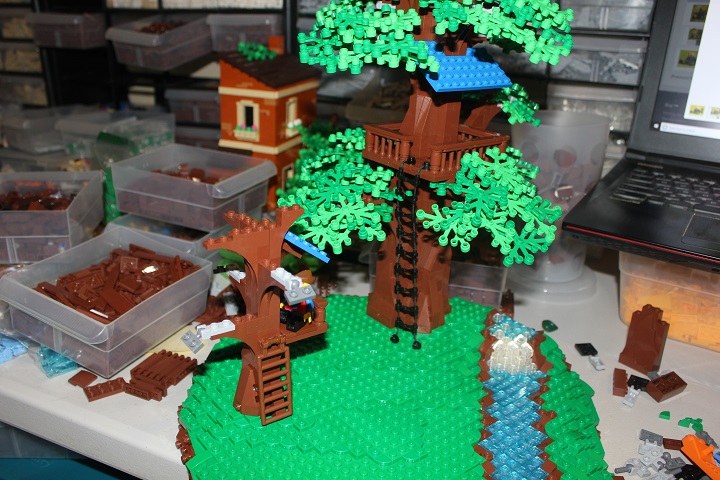
In keeping with the Forestmen theme I used only classic minifigure parts, and primarily older plant elements too. Below you can see the start of foliage additions after I had figured out where all the figs would be. Quarter circle tiles in green helped smooth transitions between different plate layers.
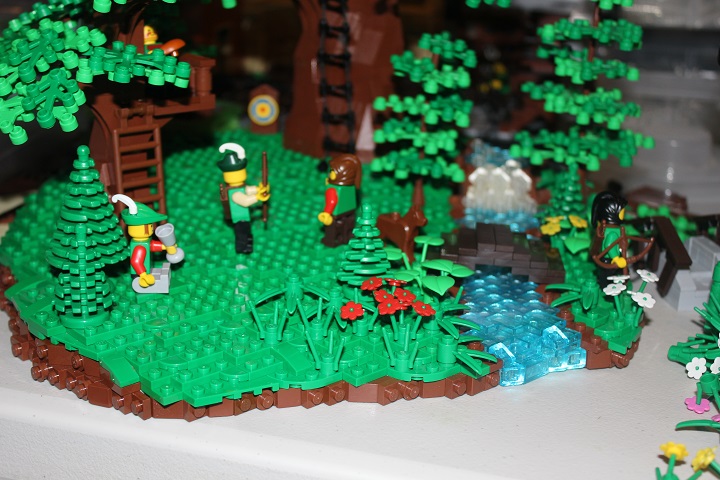
I went pretty heavy on grass and plants, except for the clearing between the trees. And a few flex tubing trees helped flesh out the forest. But there was still something missing.
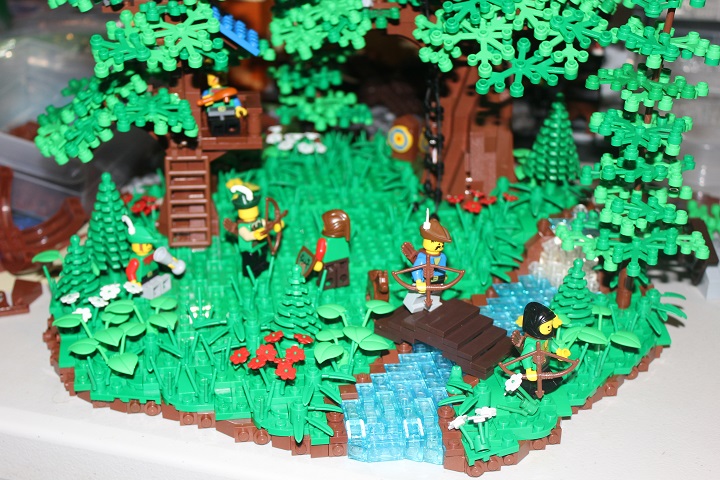
So I decided to add a mini-castle of sorts to help fortify the camp. I think the old school wall panels went a long way in establishing a nostalgic castle setting.
I hope you enjoyed this post, and now we can finally get onto 2019 models in our build logs!


Great Work! I would love to build one like that one day!!!
Thank you! I would love to see your rendition of a Forestmen camp.
Thanks, but how could I show you?
I defilingly will build a Forestmen camp though
By linking us to some photos, or sending us an email with them 🙂
All my LEGO MOCs are on samw.org/cc/ if you want to check them out.
Very inspirational!
Here is my rendition. Here’s the link:
https://sites.google.com/view/bishons-lego-creations/forestmans-hideout
Thanks for sharing, it turned out great!
I think it’s one of your best builds yet, and has some of your best photos too 🙂
Thanks!