


Our third tutorial showing a variety of minifigure scale furniture designs. See the 1st, and 2nd furniture tutorials.
To start with, here is a nice rack for storing firewood.
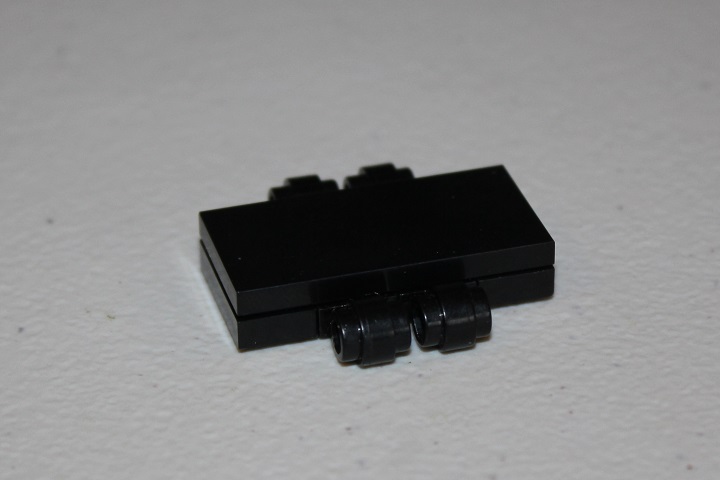
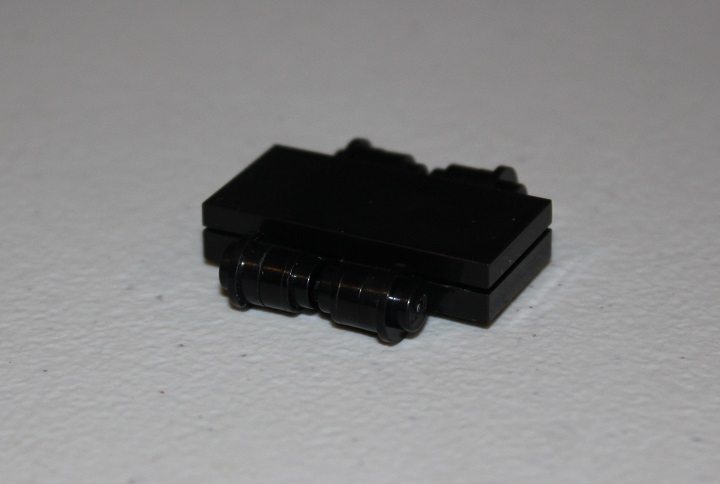
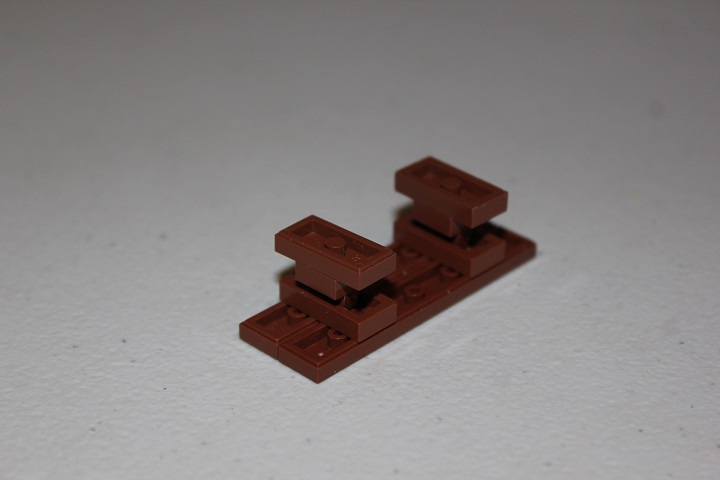
The 2×4 tile hooks everything together nicely.
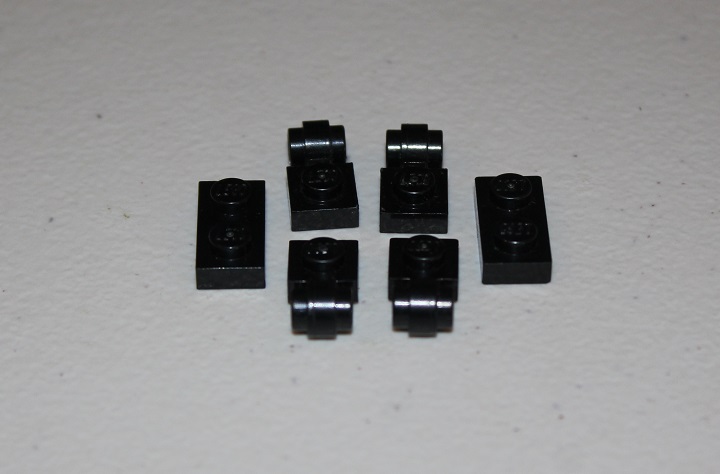
Next, one 1×1 round plate is added to each of the exposed SNOT studs.
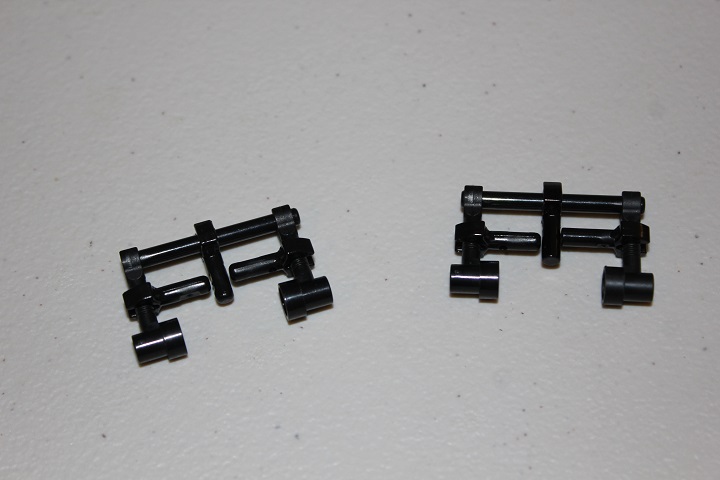
The sides consist of several bar/clip parts and a 4 long bar.
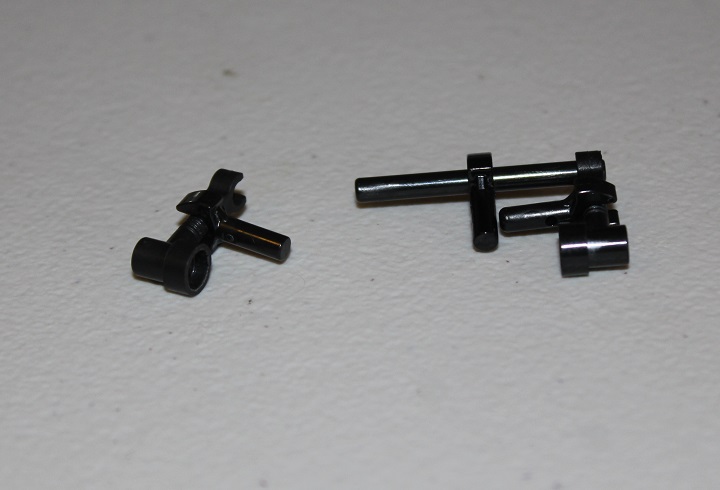
You will need 2 of those.
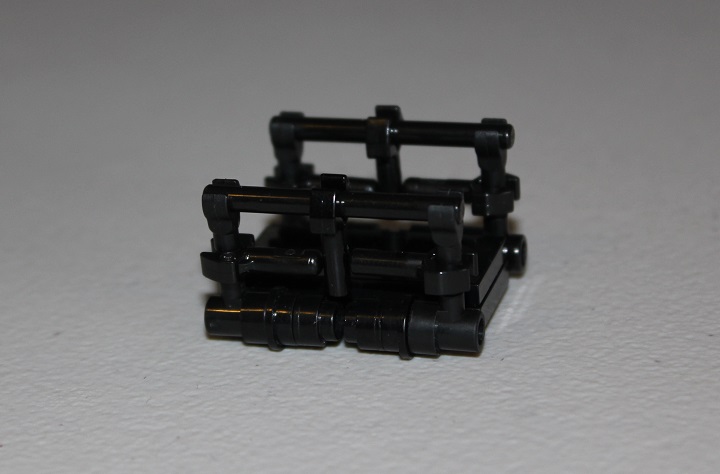
Then you simply attach them to the base, and you have a finished firewood rack.
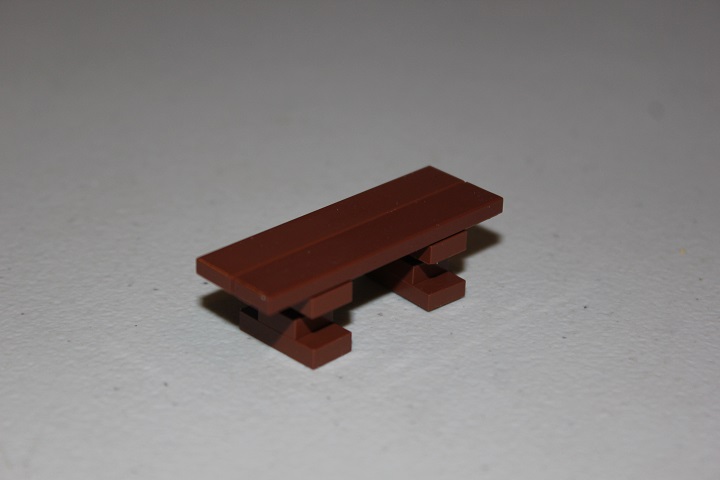
Benches were very common in medieval times, and this design utilizes clips to make a more unique shape.
1×2 plates attach the 1×6 tiles, and the the clips attach to the bottom of the 1×2 plates.

While not as strong as a standard stud/tube connection, it still holds pretty well.
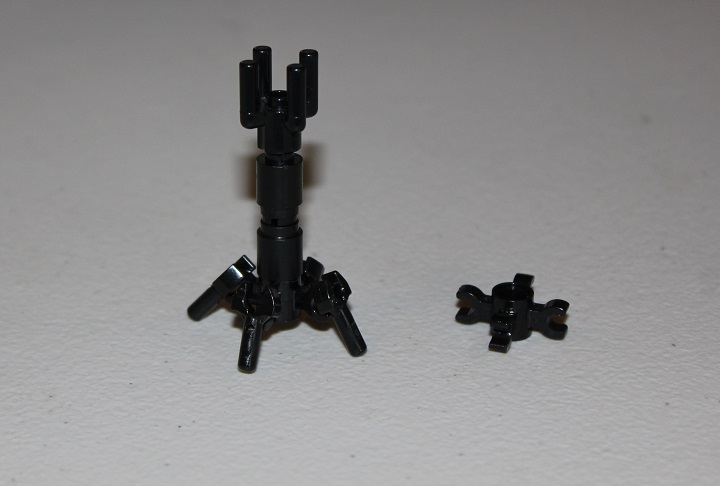
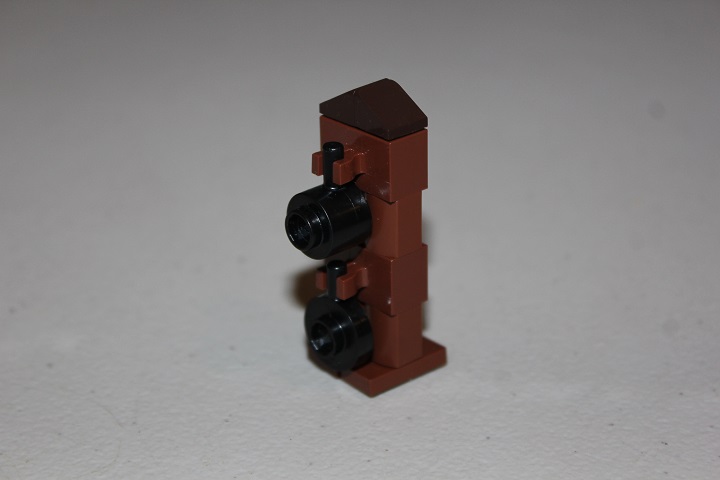
Need a coat rack to finish off your interior? Then this design should be useful.
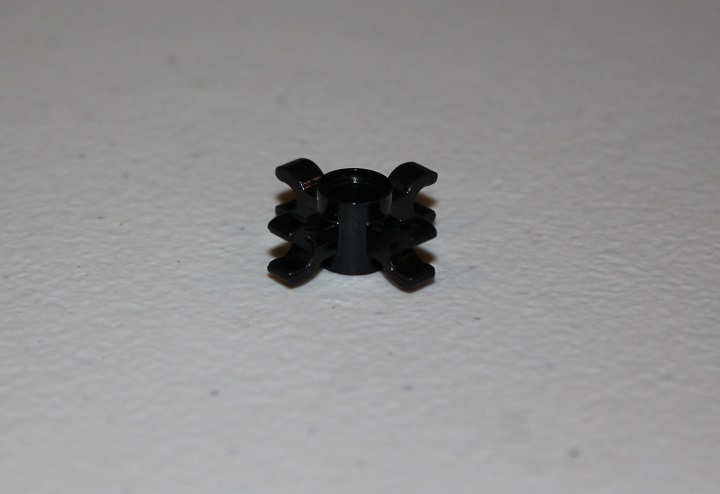
The core is made up of this interesting part.
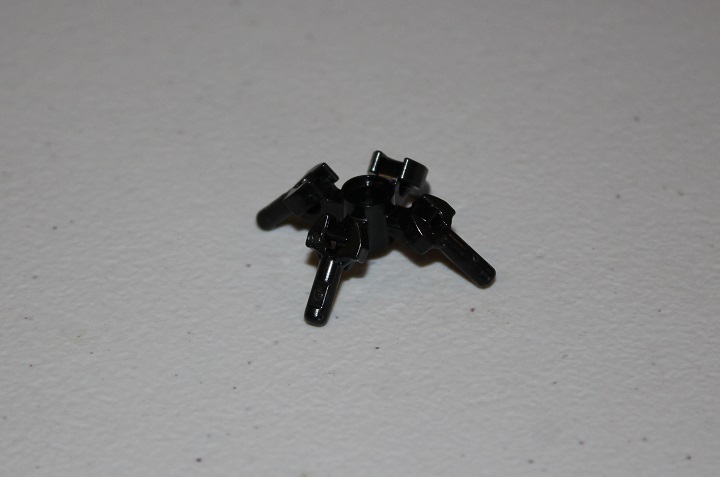
Some clip with bar parts attach to form a nice looking base.
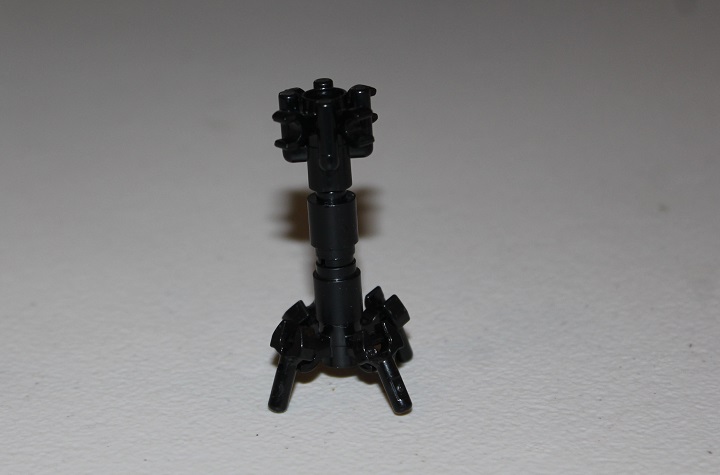
An upside down 1×1 round brick and standard technic pin are added next.
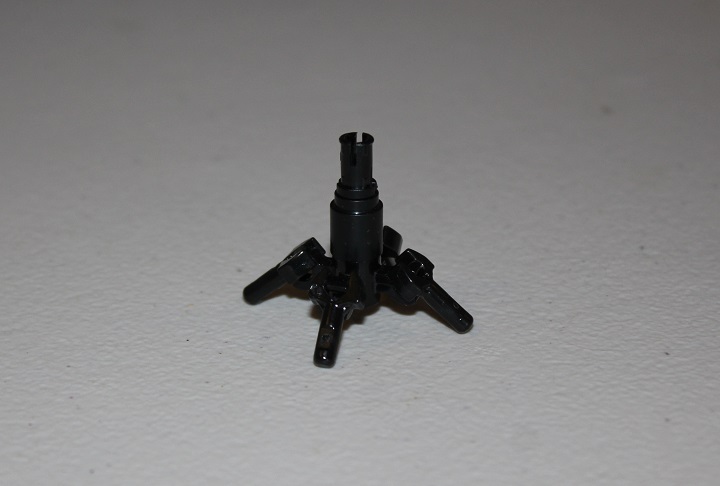
One more round brick, and a torch holder set up the top to receive another of the core parts.
This sits nicely into the torch holder.
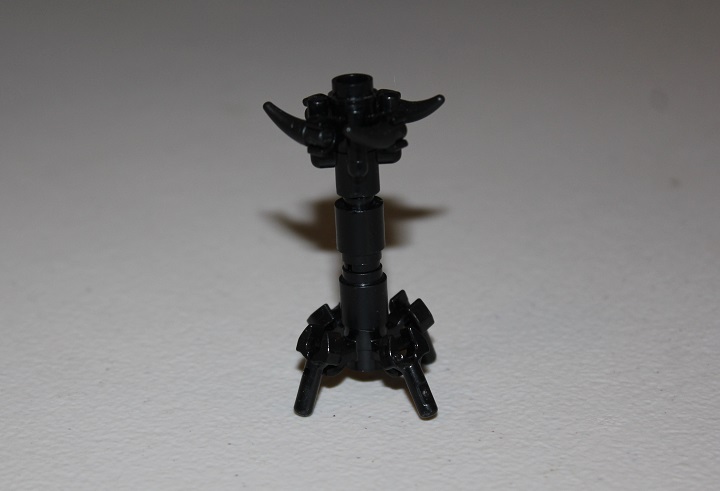
Then a horn is clipped onto each side and some hoods or cloaks can be hung easily and effectively.
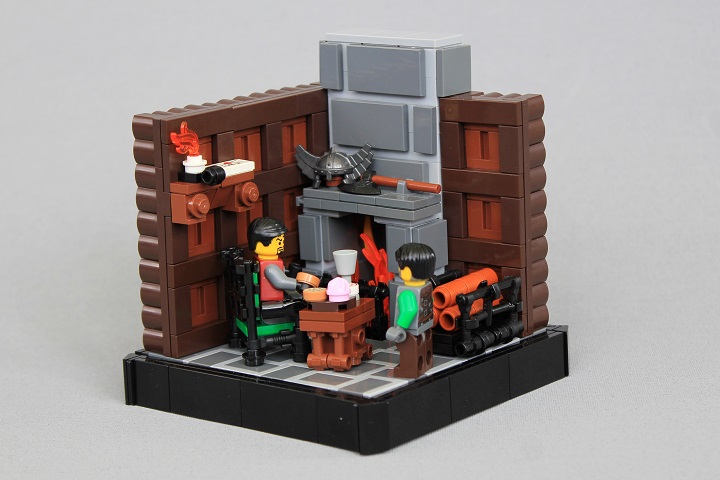
This very simple shelf holds some pots and pans.
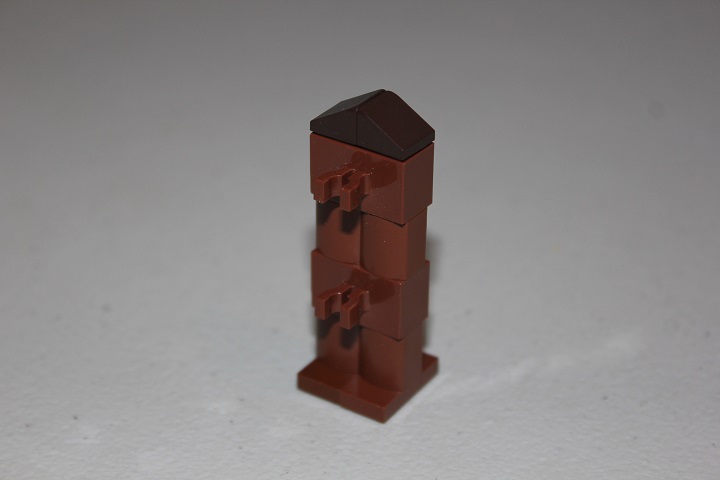
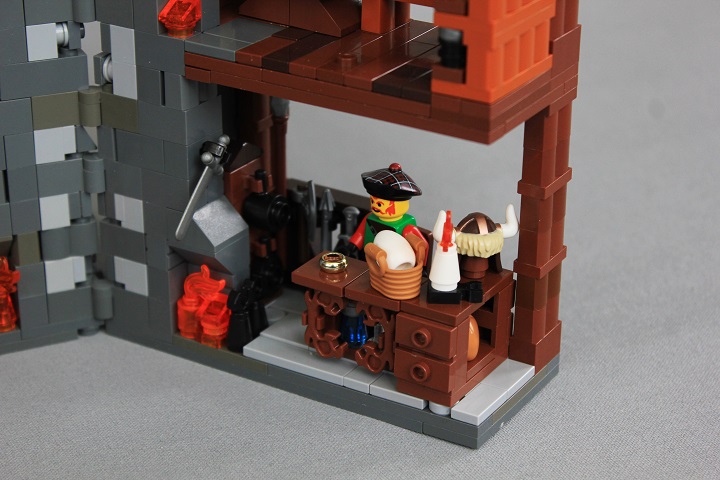
I used this design in Sigurd’s General Goods.
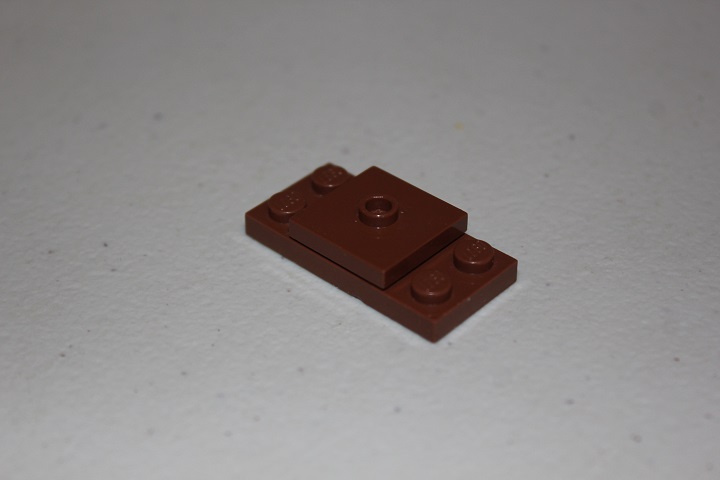
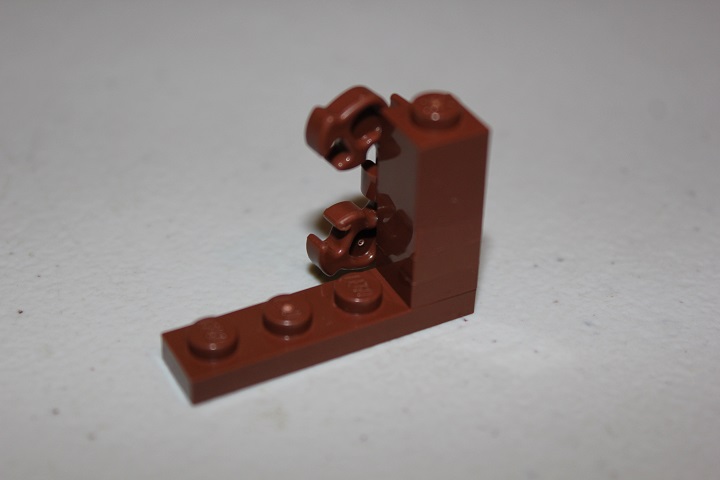
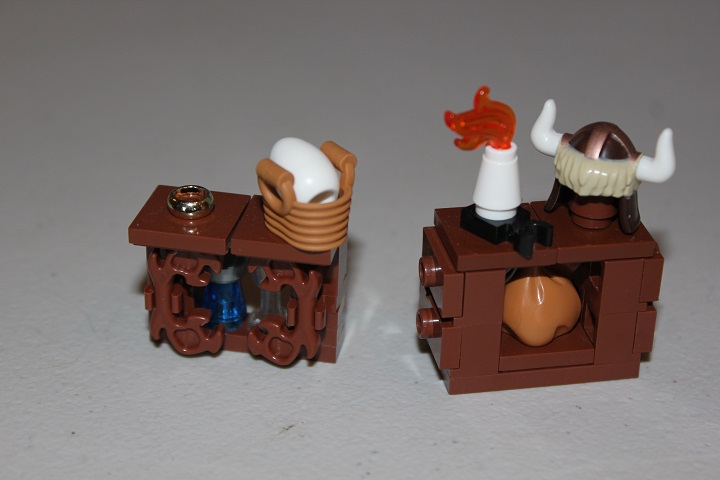
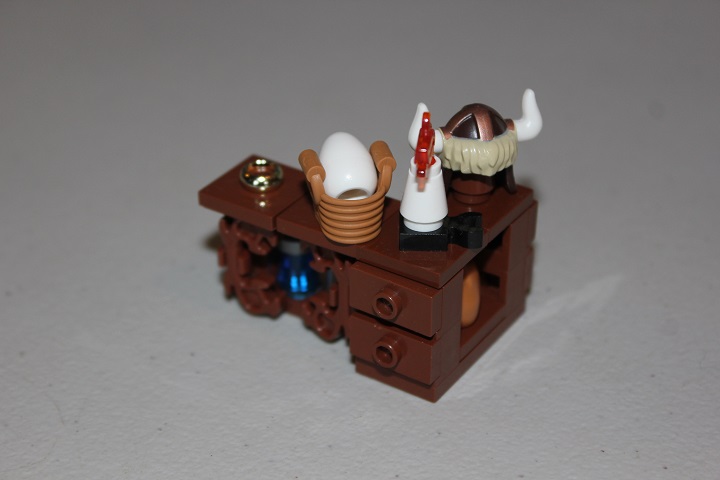
And the last piece of furniture for this tutorial is a shop counter/display case.
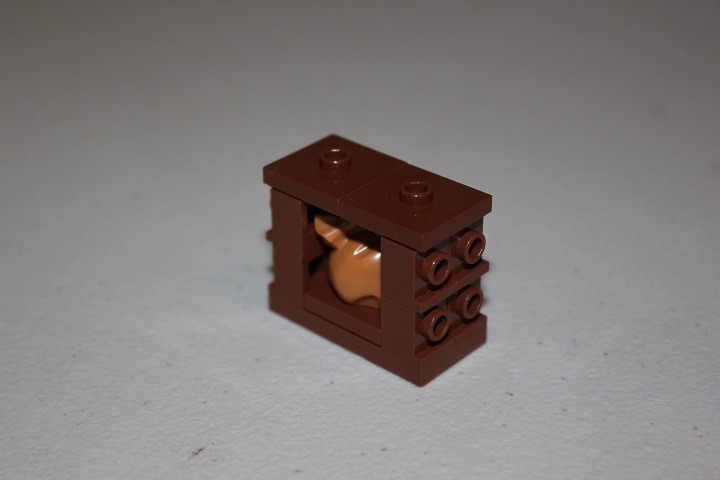
The first section is built off of a 2×4 plate.
A bag fits nicely into the middle space and then the counter is topped off with a few more 2×2 jumpers.
Standard jumper plates give the look of drawers, and some more details on top finish off the first half of the counter.
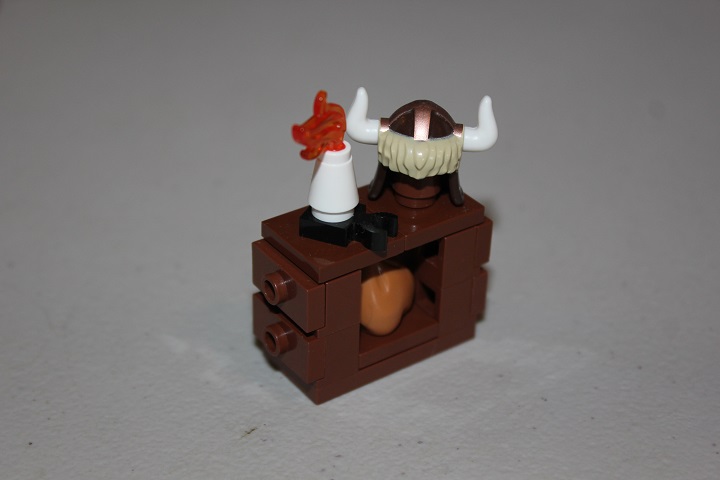
The next section utilizes the new antler part for some ornately carved woodwork.
Putting some glasses, bottles, or other goods on the 2 middle studs gives the look of a nice display case.The plate with clip is sandwiched between the two standard 1×1 plates.
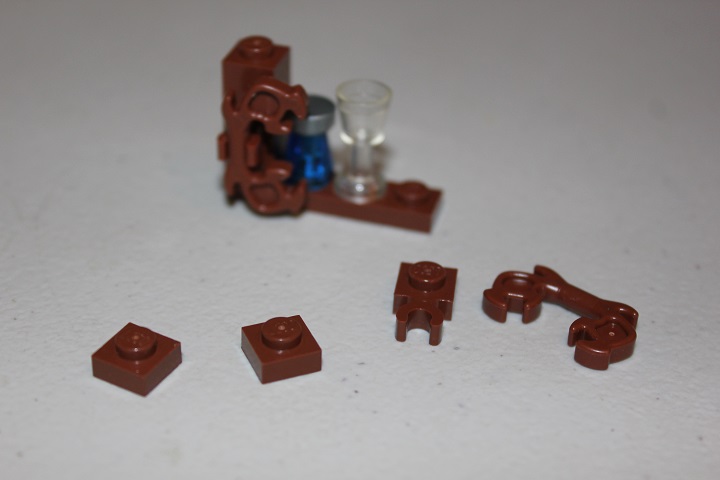
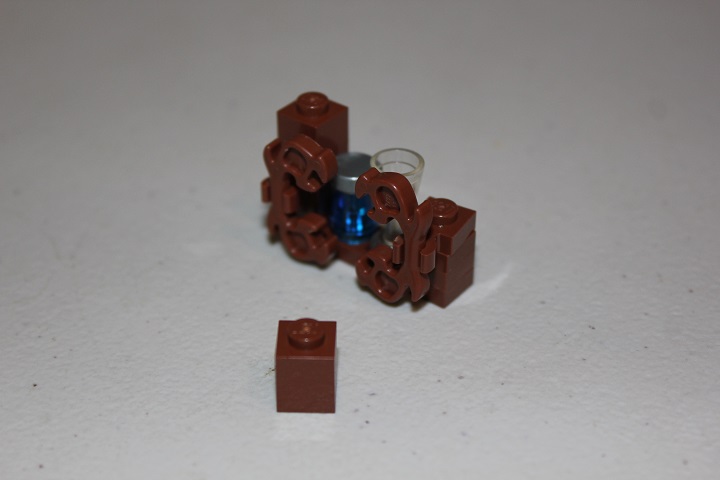
Again jumper plates are used at the top.
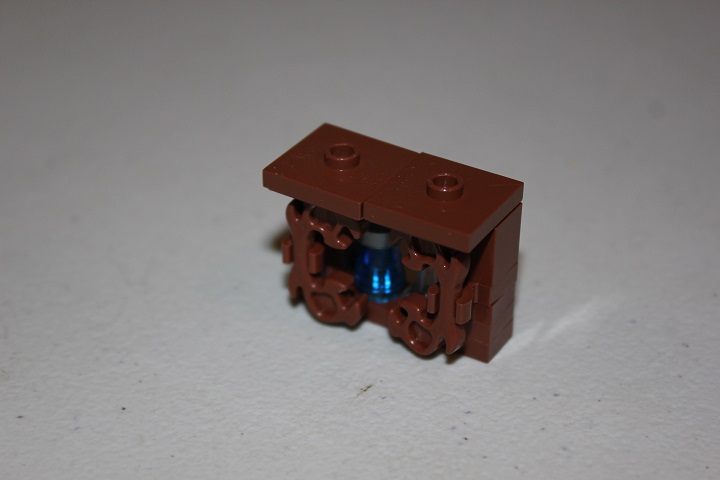
This side is where the customers will pay, so don’t fill it up too much.
And there are 5 items of furniture to help spice up your interiors and give you ideas on how to create your own designs!
If you ever think of a specific design or technique that you would like to see a tutorial on, just let us know.


Wow! Awesome! I have got to use these sometime! These are just great! My favorite would have to be the last one, but the log storage. Keep it up guys!
Nice! I especially like the first table 😀
Thanks guys! Glad you found them useful.