


Roofs are often one of the trickiest sections of a model to make. Especially avoiding gaps or blocky steps around roof ends. This tutorial shows how to make some effective gables for a standard slope roof or plate and tile roof.
Slopes are likely the most basic roof, and can still make some good looking roofs. But they come with a problem, how do you cover up the ‘stair step’ look of the slopes?
Some plate modified with clip make covering those unattractive steps easy.
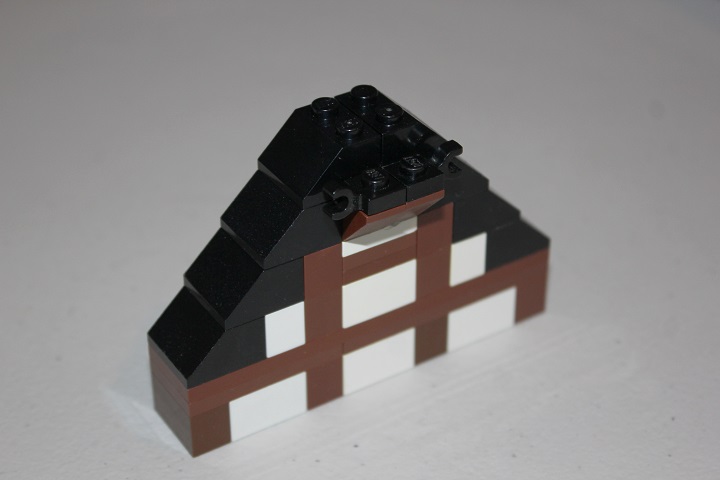
Plate modified with handle will attach to the clips shown below, and allow you to build gables out of standard plates and tiles that can easily match the pitch of the slopes. Round plates on the bottom of the gable give more decoration.
Compare the left side covered with our new gable, to how the roof looks on the right with the slopes just stepping up the building. Some cheese slopes and a convex slope finish off the roof peak.
And here is what it looks like completed. Using this basic technique, you can vary the style and size of the gables easily.
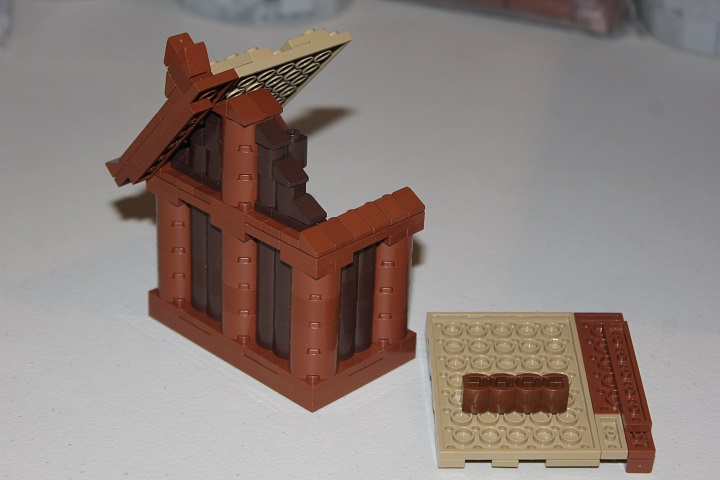
This next method shows how to handle a custom roof built out of plates and tiles. This little building section will have a thatch roof added with wooden gables as an example. If you’re curious how to build this style of wooden walls, check out our previous tutorial.
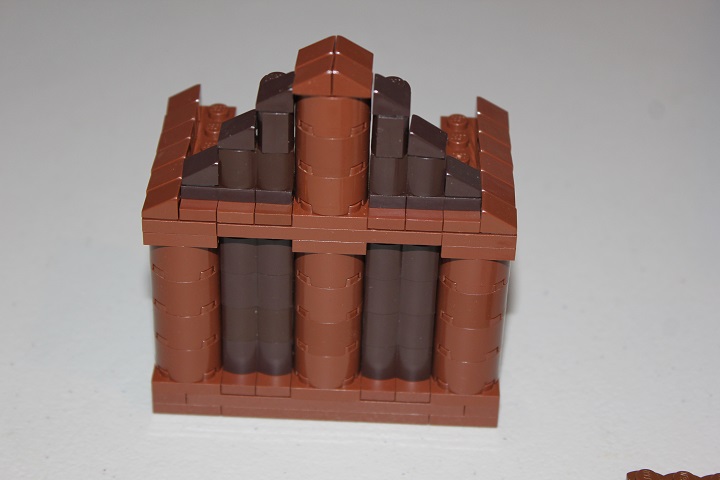
Since we want the gables to be wooden, we need to incorporate reddish brown plates into the roof end. Using a 2 wide plate for some of the upper gable portion, then switching to a 1 wide section for the bottom allows the gable to be easily attached yet look like it is only 1 stud wide when finished.
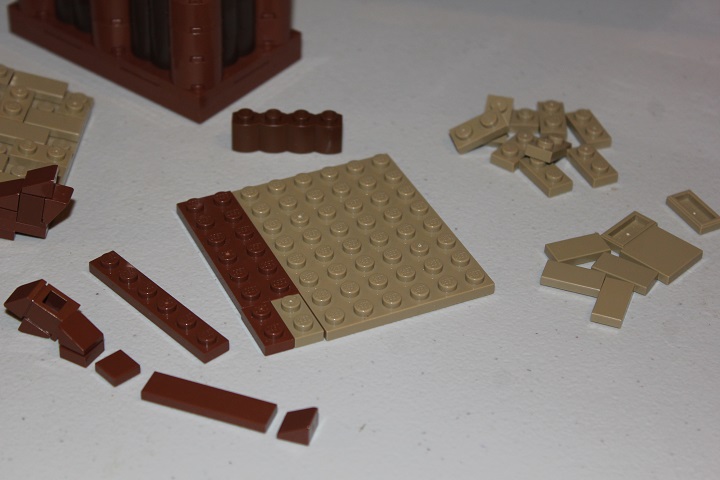
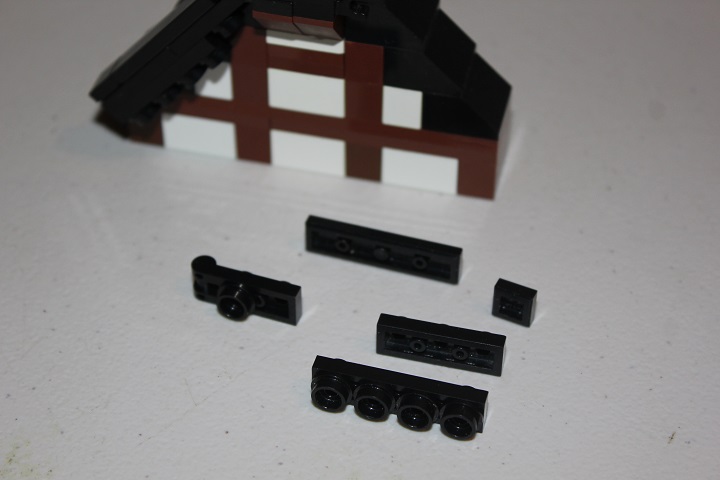
The next step is to add some texture to the thatch portion, and detail the gable itself. The 1×6 plate is attached to the bottom end of the roof, to cover any small gaps that would otherwise show under the roof. You can make this portion thicker, or add 1×1 plate rounds like in the first example for different situations.

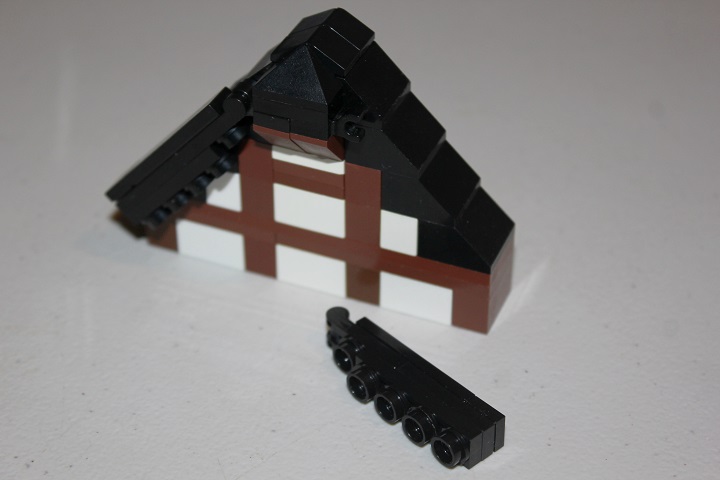
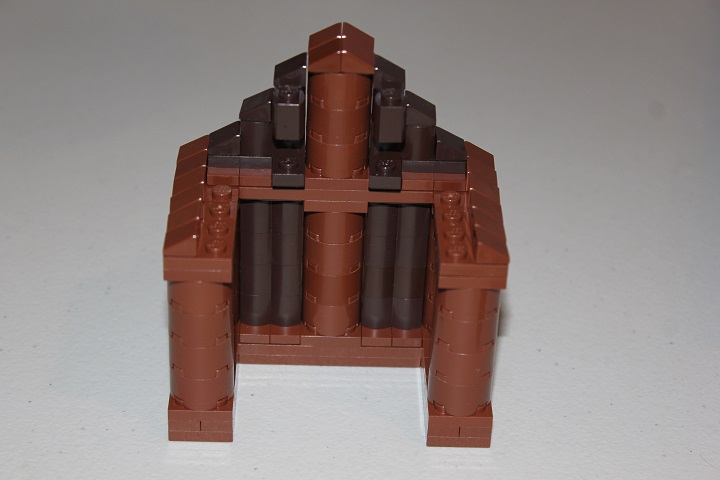
Here is a look at the back side of the roof sections, the 1×4 log bricks will allow the roof to rest nicely in place. I find using a method similar to this is often the simplest and most effective way of attaching a roof, as when it gets knocked out of place, or you need to remove it, it’s super easy to replace.
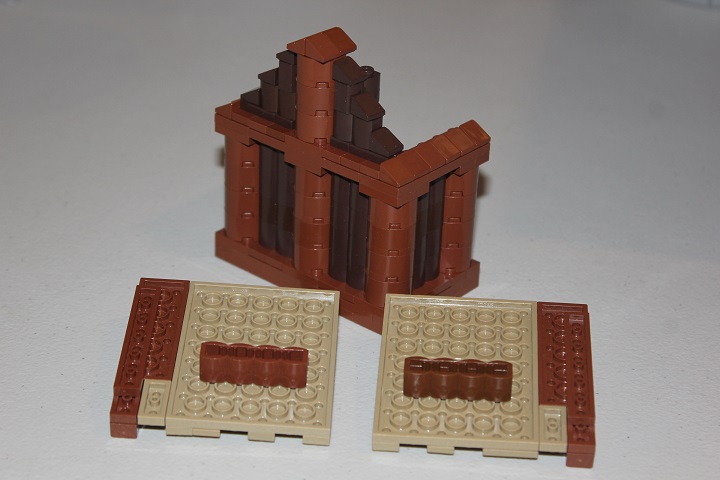
One side set on.
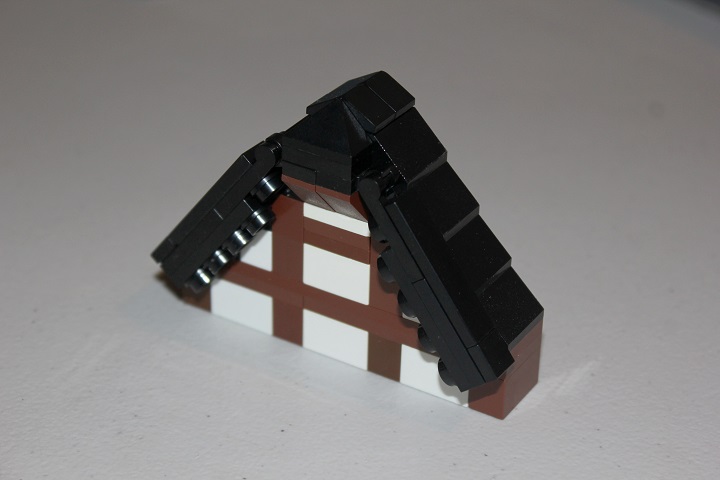
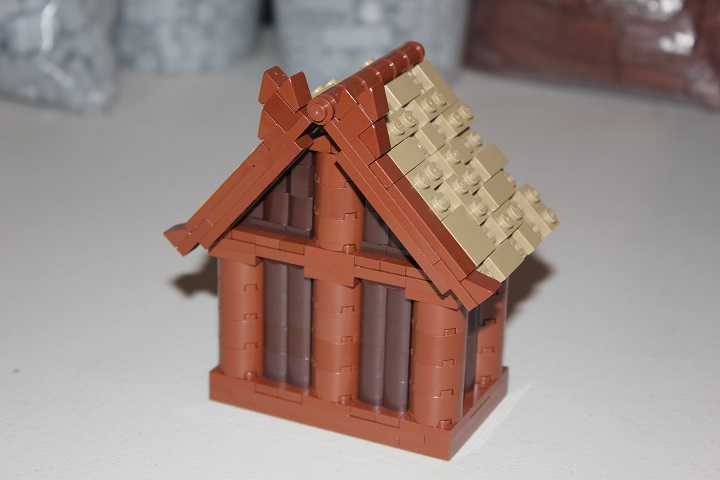
A stack of 1×1 round bricks fits nicely between the two sides on top.
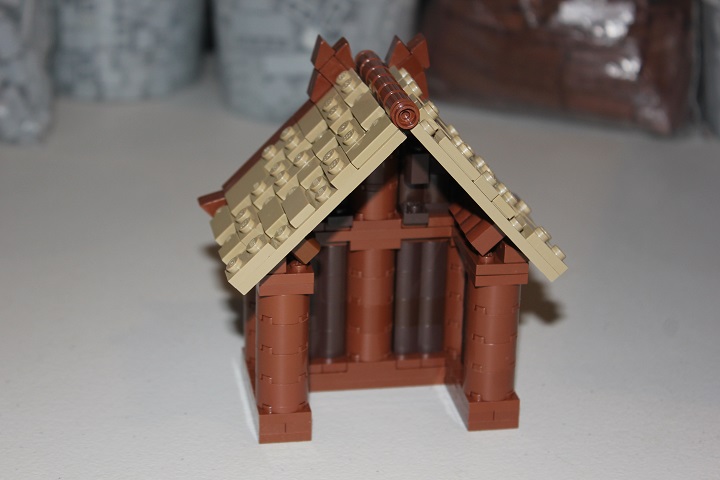
And there you go! Simple ways to handle transitions between roof and building via gables.
We hope you found this tutorial helpful, and if you have any specific techniques you would like to see a tutorial on, just let us know!


Awesome! I’ve only ever tried the bottom one once with brown and tan like that…
Awesome!!! Makes me want to build something with this technique!!! Keep it up! 😀
This is really cool! I’d like to see a tutorial/guide on how to fit a castle/structure into the landscape. These are all really cool!
I’m glad it was helpful guys!
@Gunnar: We could do a tutorial on that, thanks for the suggestion.