


Quite an old build now, but I only remembered that I had WIP photos when John and I were compiling our top 5 builds from the end of 2014 for our Finest Creations post. The pictures are pretty poor, as at the time I was building this the camera I had been using was not working, and the new camera I replaced it with didn’t arrive until the build was finished. Leaving me with just a borrowed cell phone to take WIP pictures with. Anyways, let’s get onto the build!
This was my intro build for the 2015 Tourney on MOCpages, which was open during December of 2014 which allowed me to also enter this build into the Colossal Castle Contest. Halhi141, Brick Productions, Infernum, and Kai Bernstein were all giving me feedback about these WIP pictures as I built, which played a large role in shaping the build.
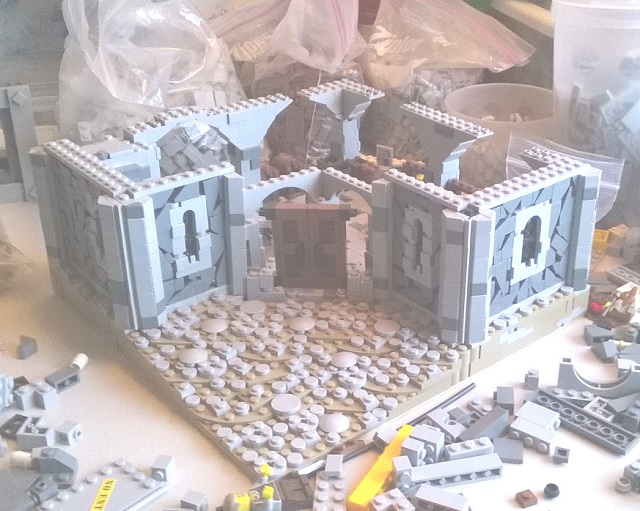
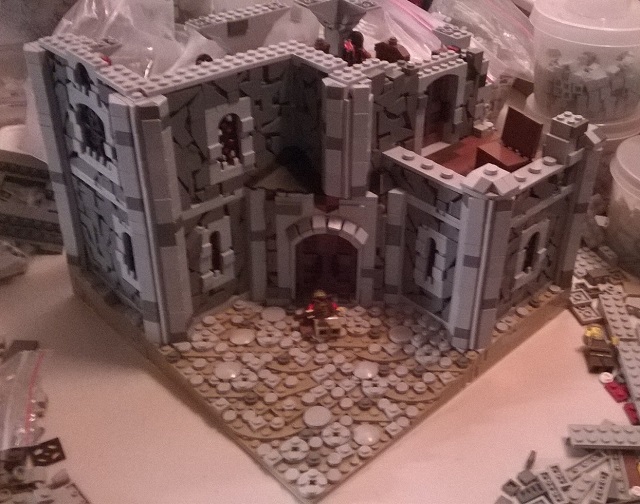
I knew that I wanted a large impressive stone building, and had the layout planned from the start. What I wasn’t sure about, was what wall style to use. So I mocked up several options and got some suggestions on which would work best.
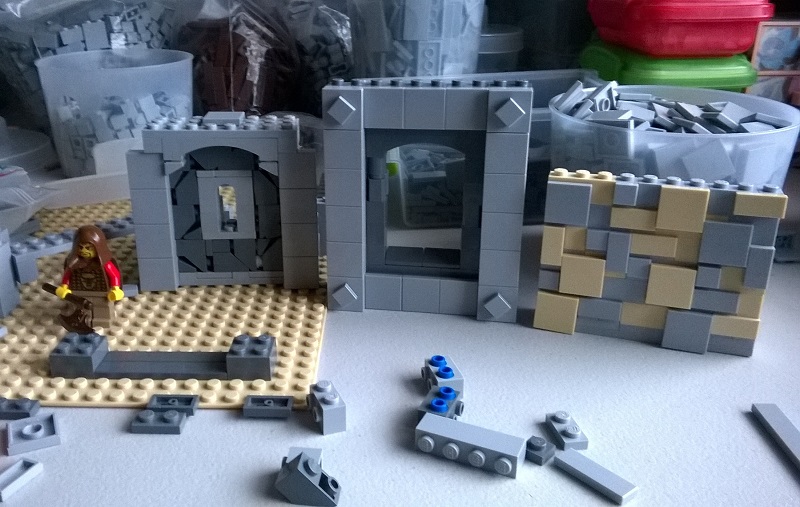
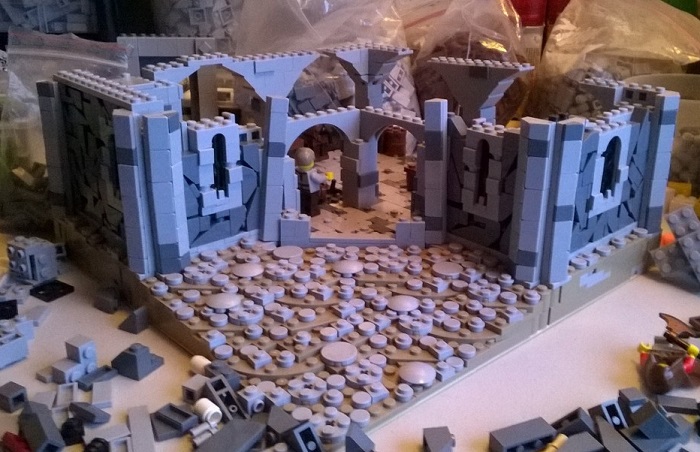
Of course the left most option was chosen, at which point, I had a lot of wall to build! You can see the building layout established here, with hinge bricks used to achieve the angle.
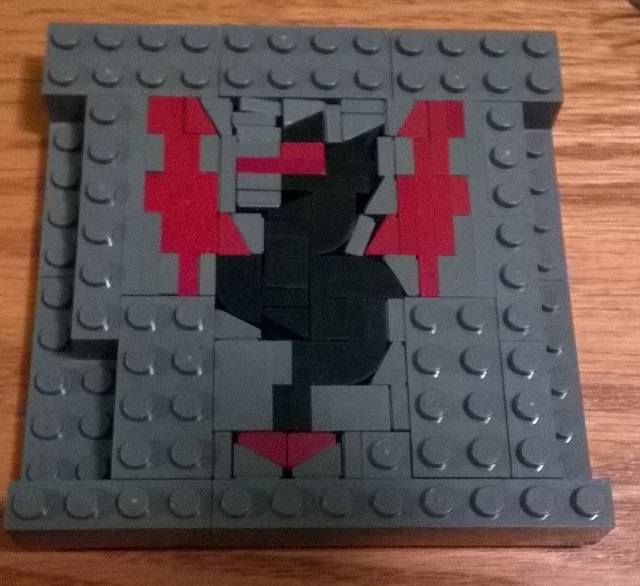
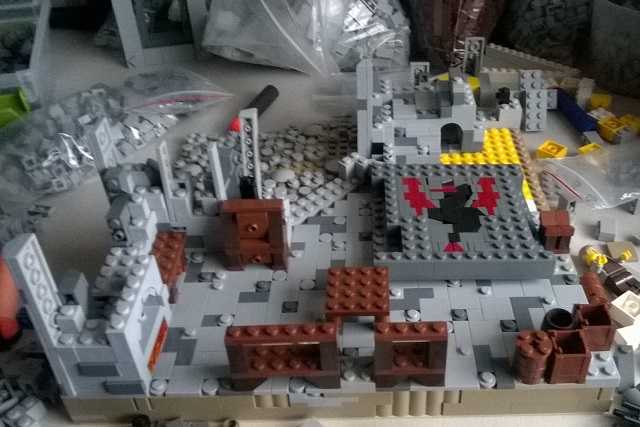
One of the main features I wanted to include inside, was a floor mosaic of this dragon shield:

The colors were changed to black and dark red and below you can see my first try.
Which was then refined slightly into this version.
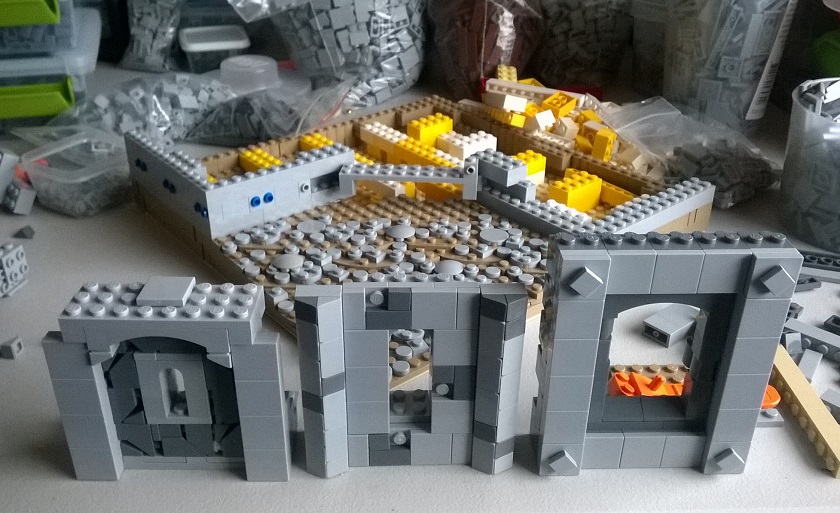
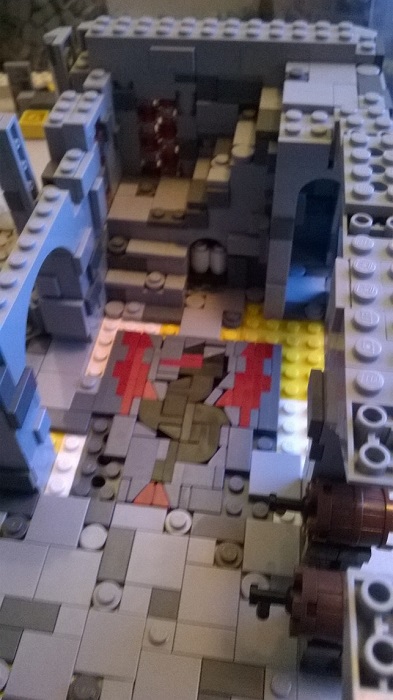
Once I had the mosaic designed, I could fit it into the actual building’s floor. I chose to put it near the entrance and stairway. You can also see the kitchen on the first floor beginning to take shape with a fireplace and other furniture.
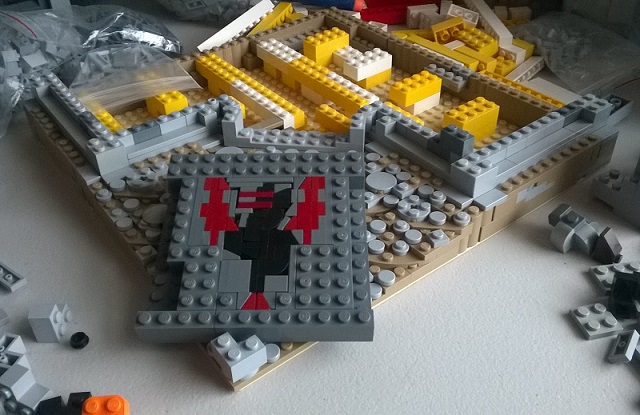
Rebuilt into the floor.
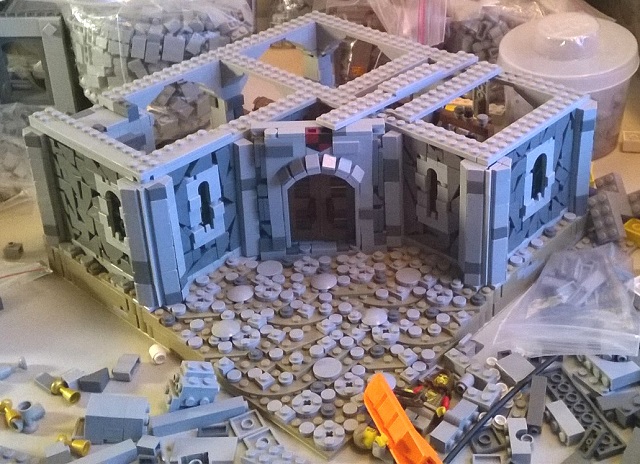
The wall texture was achieved by attaching dark bley slopes SNOT, or studs up from the bley outline sections, and then when necessary wedging additional dark bley parts into place. It ended up being pretty sturdy, with no pieces falling out despite the build being carried around a bit.
I finished the floor next, and started working on the doors and bits of wall that went around them.
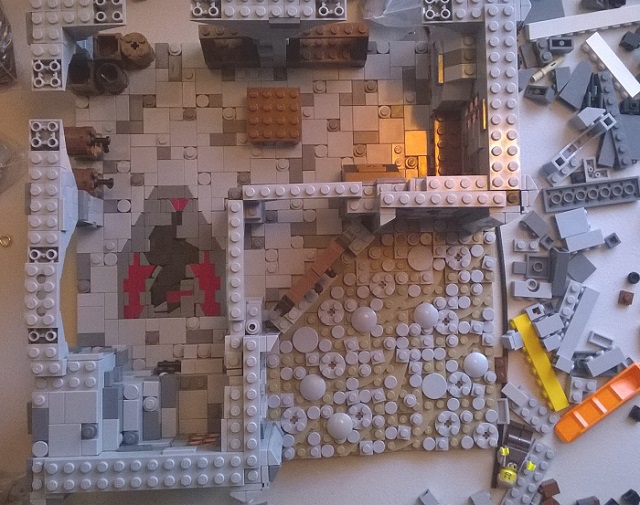
Once the first floor was finished, I needed to decide the second story layout.
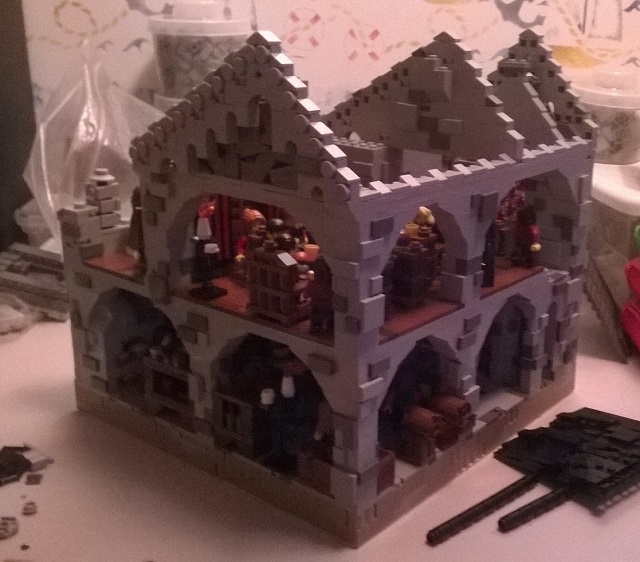
Eventually I went with an L shape for the second story, with a balcony on the right and a small sections of roof to cover the angled portion. The upstairs’ main purpose was a dining hall, so I roughed out the large table and some chairs first to see how they fit.
I used a very similar door design for the balcony entrance, and added some banners to spice up the walls. A nice thing about the wall designed used here, was that the interior wall could be a simpler studs up wall that allowed for a full interior, and also served to keep the exterior wall in place and no light shining through.
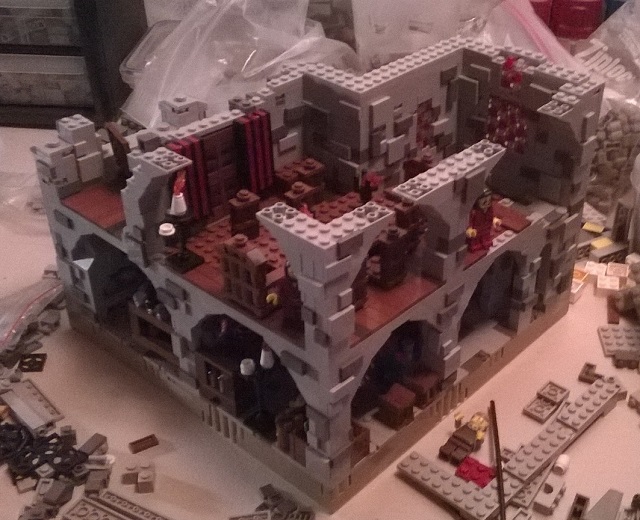
Here the second story is nearly complete with mainly the roof left to finish.
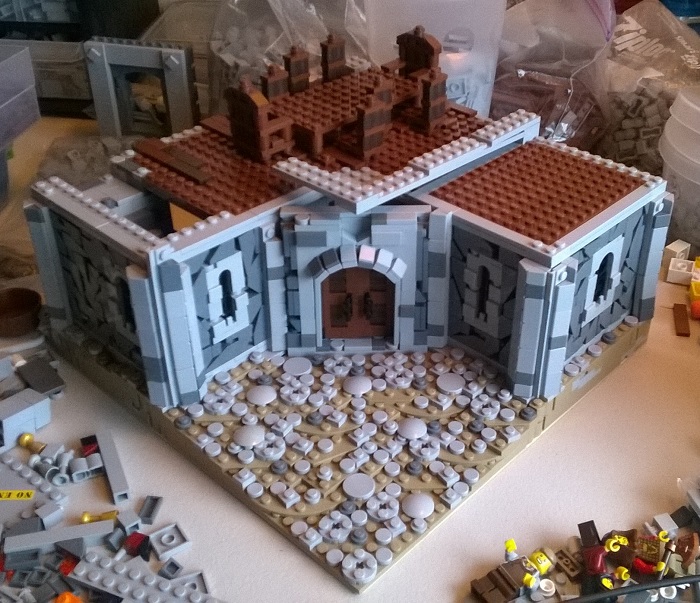
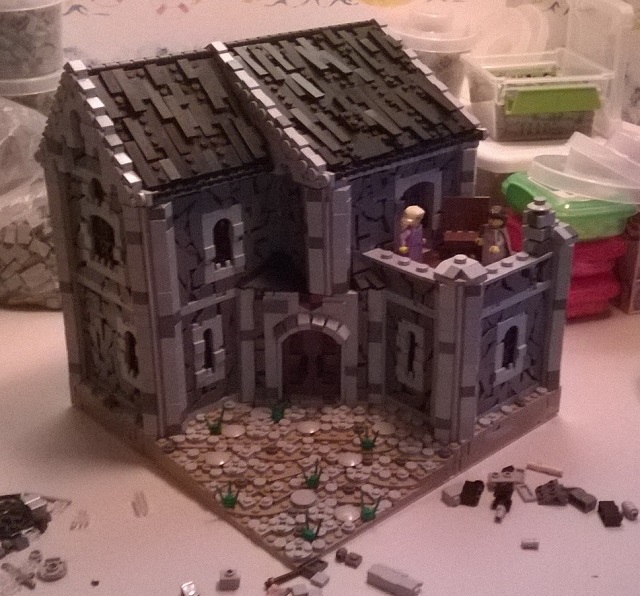
The L Shape made the roof a bit more interesting, with 2 separate sections being needed.
At this point I thought I was done, but my teammates recommended adding dark brown tiles to the roof to spice it up a bit. Which ended up working nicely.
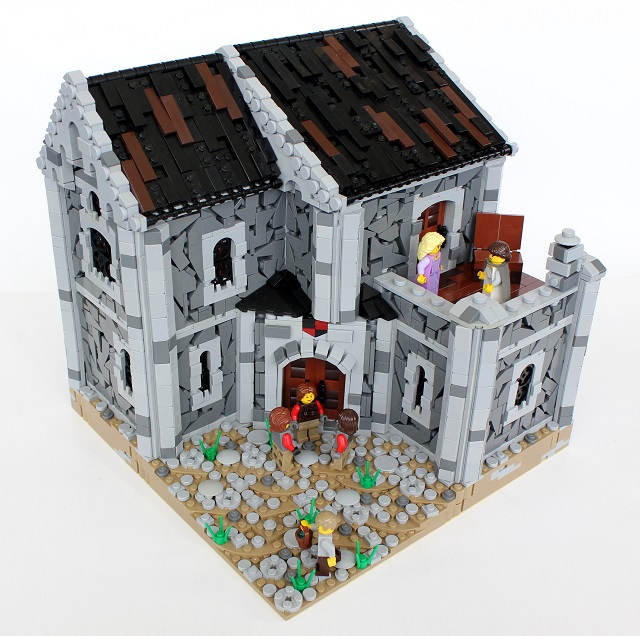
With my new camera arriving just in time, I was able to get some good pictures of the completed model. Perhaps somewhat surprisingly given the popularity of this wall design, I have yet to use it again.


😀 More build logs! And this one is just as awesome, you had a fantastic first Tourney! 🙂
Nice! I actually never noticed the interior before! But it also is epic! 😀 Keep it up! 😀
Thanks guys! I debated posting this one, as the pictures were so bad, glad to hear you liked it 🙂