


This month’s featured tutorial was contributed by Hacim Bricks, and shows how to build a neat sand green pine tree.
“Today I’ll be showing you how to build a simple pine tree using almost entirely parts from the Lego Pick-a-Brick wall. This pine tree only requites 4 different molds of pieces. Most of the travis bricks (bricks with studs on 4 sides), and 1×1 round plates also aren’t visible in the final build, so they can mostly be whatever color you want.

We’ll start building the tree from the top down, with each segment simply stacking on top of the next. This is the very top of the tree.

With each step I’ll show what we have already built on the left, and the new segment on the right.
These first three segments are the only ones where the travis brick will be remotely visible, and this step is the only one where the studs will be visible, so from here on the color of the studs and travis bricks doesn’t matter.


This step you’ll actually build four times.

This step you’ll build three times. Also not how not all the clips are facing the same direction. this is necessary for everything to be fully attached.

This is the final step and will be build two times.


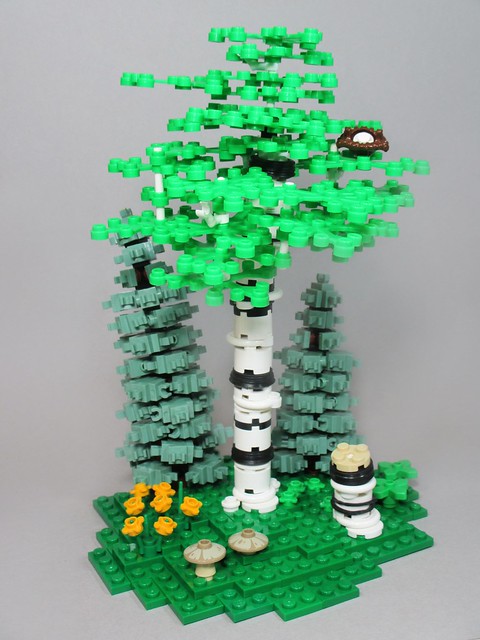
And the final product should look like this.
In conclusion, once again this is a pretty simple concept, and could definitely be expanded upon to make larger, smaller, or fatter pine trees.
I hope you found this tutorial interesting or useful.
Thanks to Isaac and John for letting me do this.”
Thank you for sharing your design, Micah!


That is pretty cool! Very tempting to try, or maybe an excuse to go to the Lego Store. 😛 Thanks Micah!