


LEGO fountains can be used in many settings; perhaps you would like to have one in a large mall or town square, or maybe you’re building in the medieval genre and would like to include one. Regardless of the setting, sometimes they can be a challenging subject to build. Today we’ll take a look at one design that I developed in the past.
I built this fountain to be included in a Medieval elvish setting, and as such wanted it to have quite an interesting shape. I achieved this by using macaroni bricks, and filling around them with cheese slopes, plates, and bricks in trans dark blue.
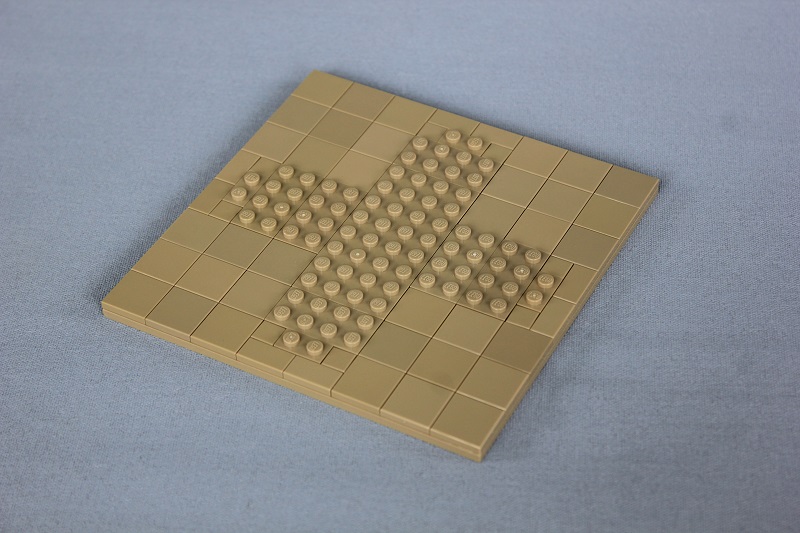
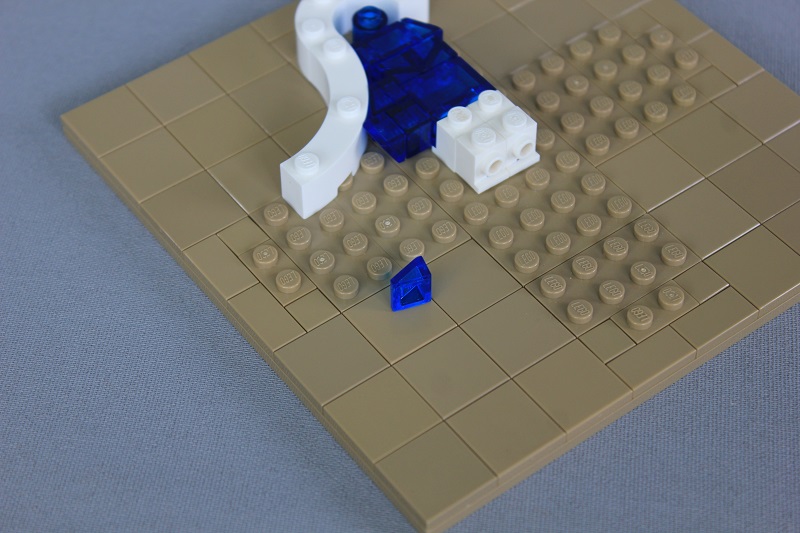
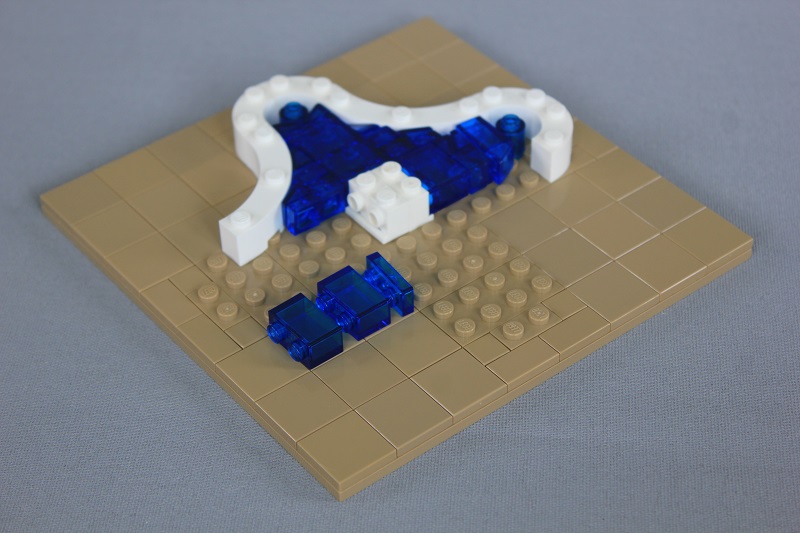
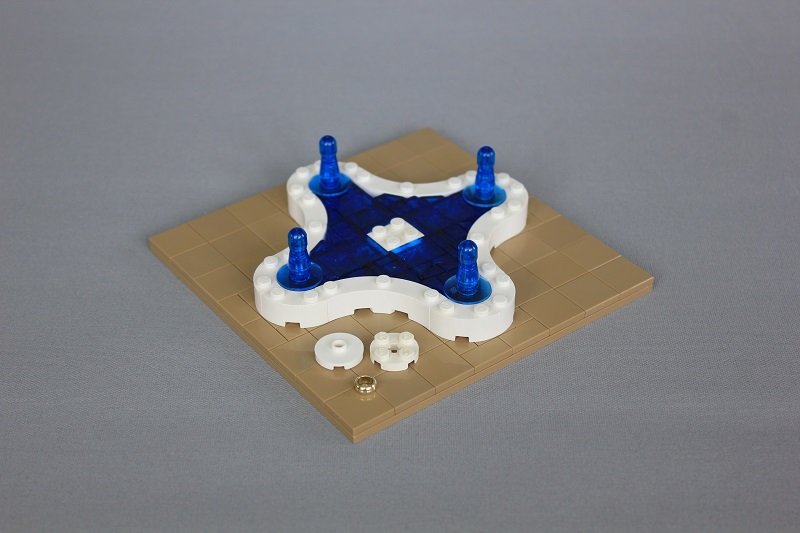
A 16×16 plate gives a sturdy base to put the courtyard surrounding the fountain on. The exposed studs are where the fountain will sit.
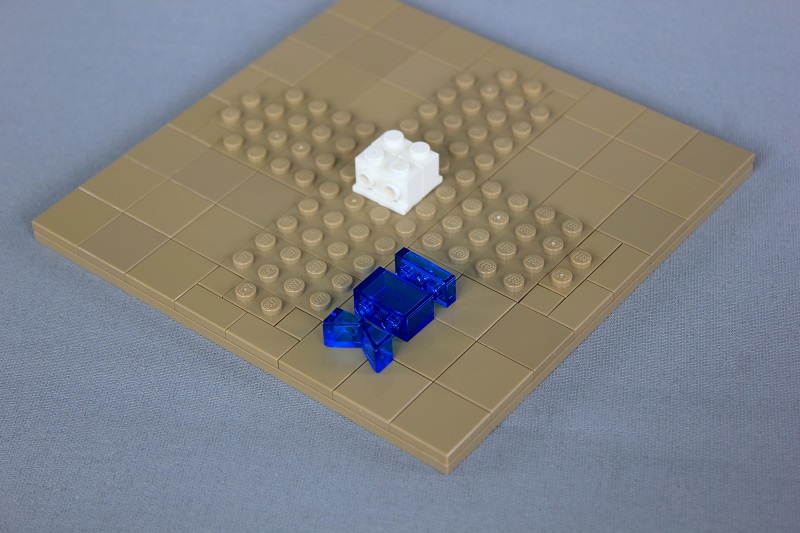
4 white headlight bricks then form the core of the fountain. And the assembly of trans-blue parts shown, will then attach to the headlight bricks.
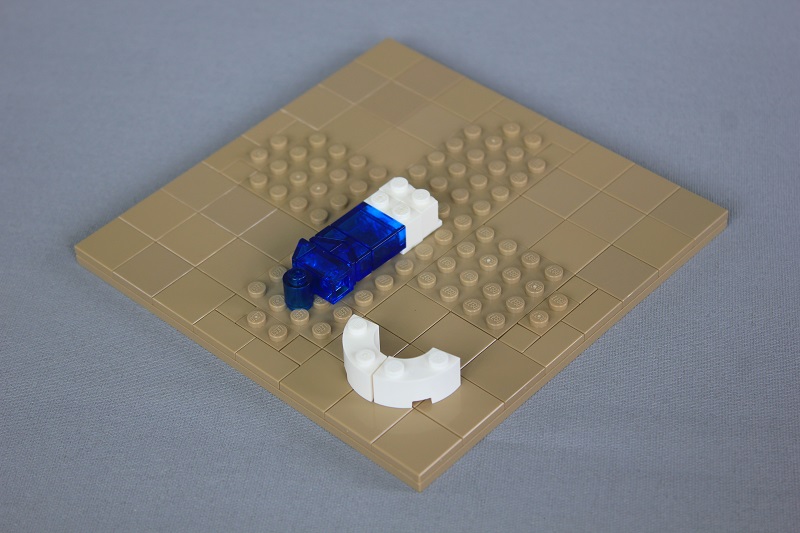
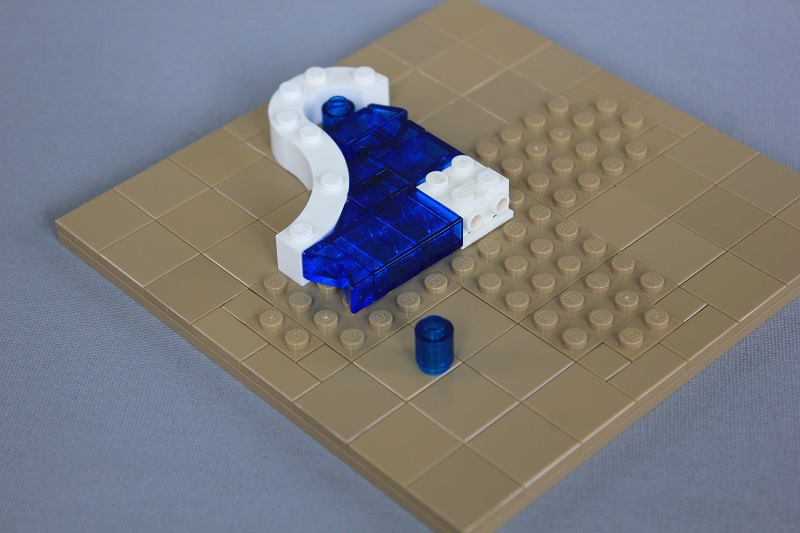
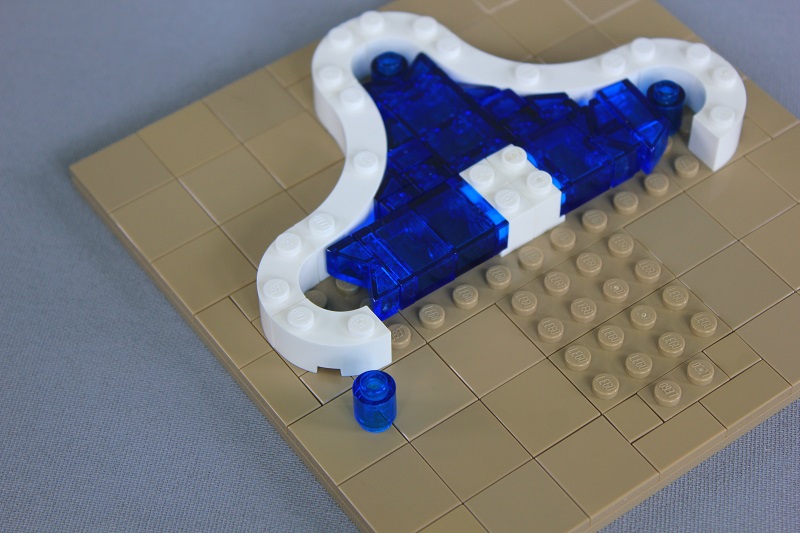
Afterwards you can place two more cheese fitting inside the previous cheese, and create a 3 piece stack from a cheese slope, 1×1 brick, and 1×1 plate.

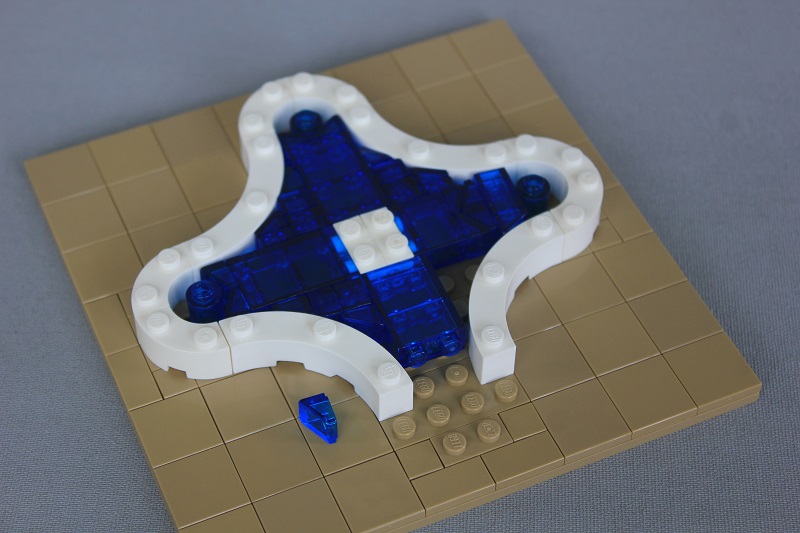
Those three parts slide in front of cheese previously put in place, and is then held in snugly by a 1×1 round brick placed in the center of 4 studs as shown.
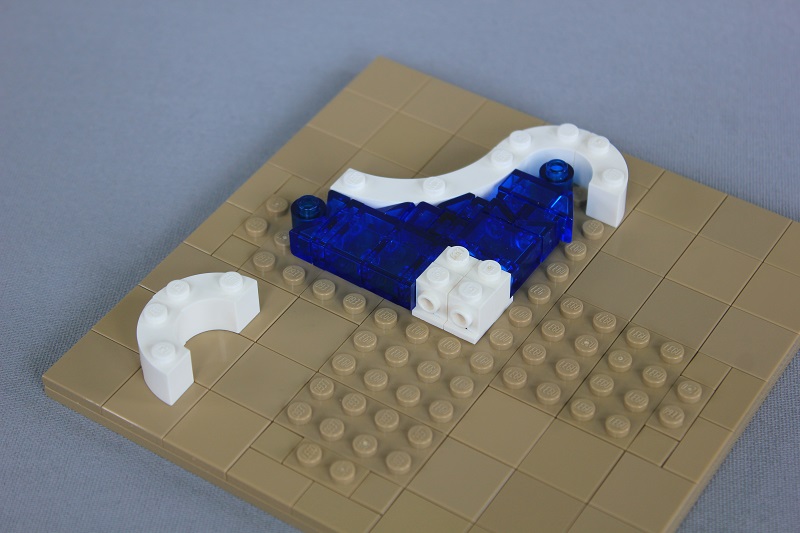
Next some macaroni bricks are used to make the first section of fountain wall. The 1×1 plate with cheese will slide into the space between the 4×4 macaroni brick and the trans-blue parts already in place.
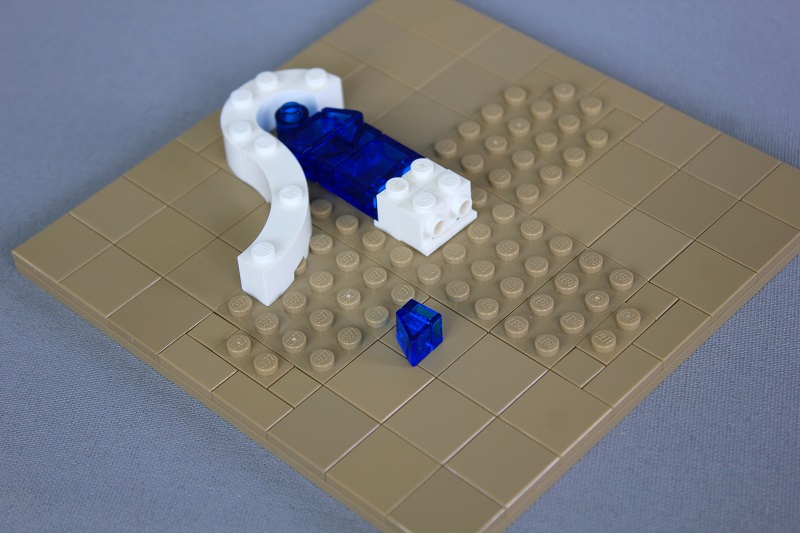
Then two more 1×1 plates with a cheese on top are slid next to that. The single cheese slope shown here will finish off the curve by also being slid into place.
Some 1×2 plates and bricks topped again with cheese then lock in those loose parts.
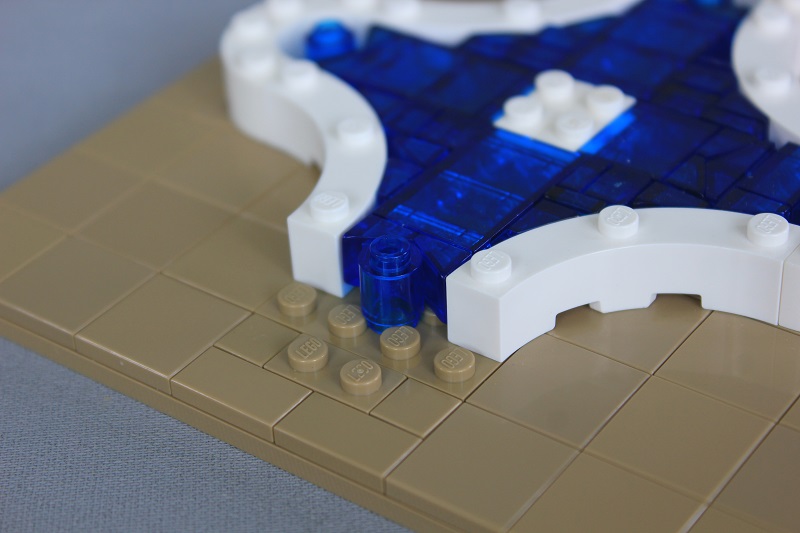
Here the 1×1 round brick can sit right inside the cheese.
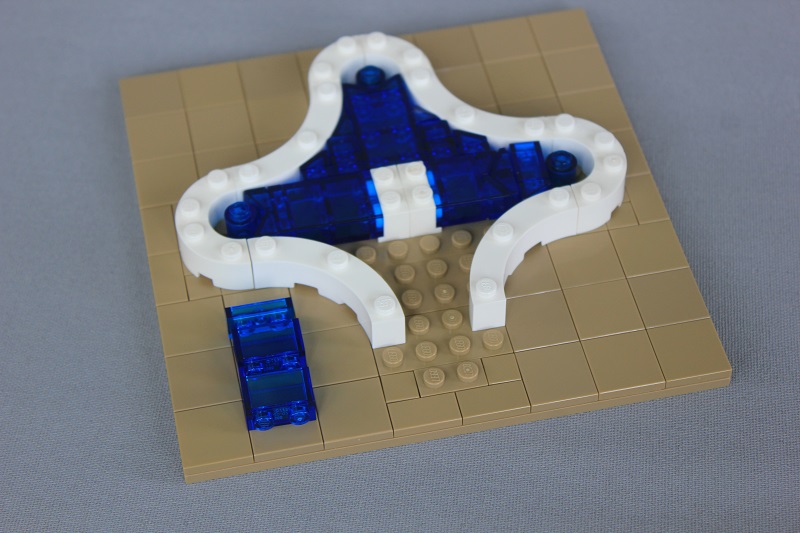
And with some more macaroni bricks in place, you can fill in the gap as shown before – just mirroring the assemblies.
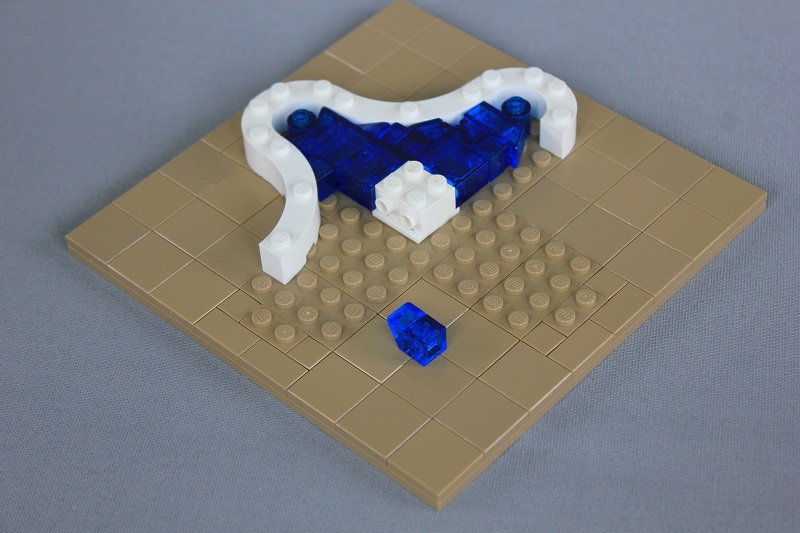
Again some 1×2 bricks with a 1×2 plate are attached to the white headlight bricks.
And after being capped with more cheese slopes, the 1×1 round brick can fit in nicely.
Just one side left now!
By this point the part combinations should be pretty familiar, and you can easily reference the finished sides if you forget.
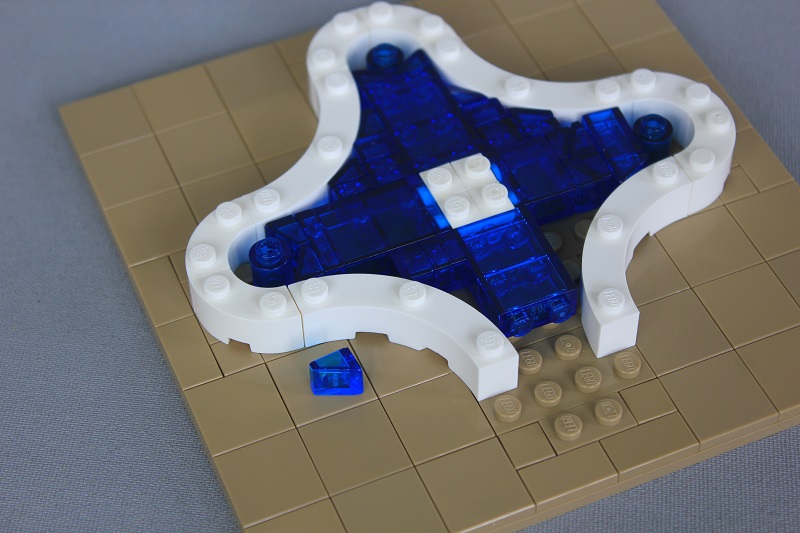

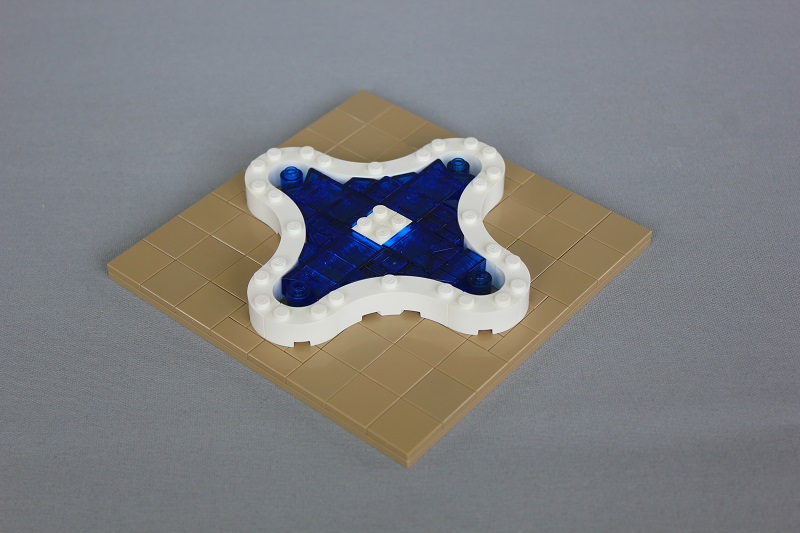
Which leaves you with an almost perfectly filled shape. The tip areas around the 1×1 round bricks still need their finishing touches.
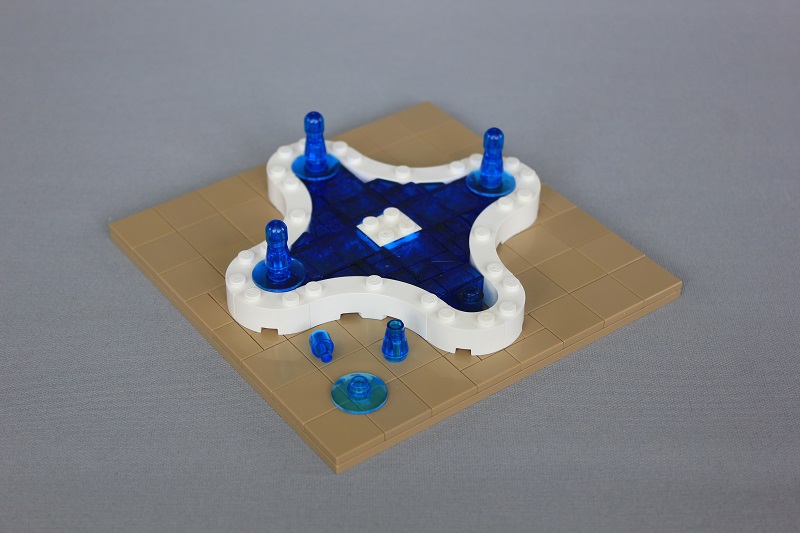
Using 2×2 dishes, cones, and lights both fills the gap well, and also creates some additional water spouts.
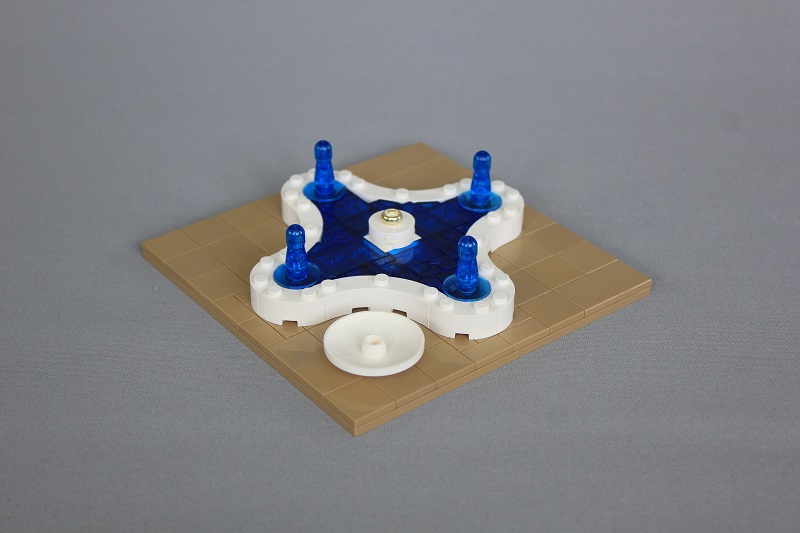
Lastly I chose to finish off the center portion with a nice tiered design. A 2×2 round plate and 2×2 round jumper are used at the base.
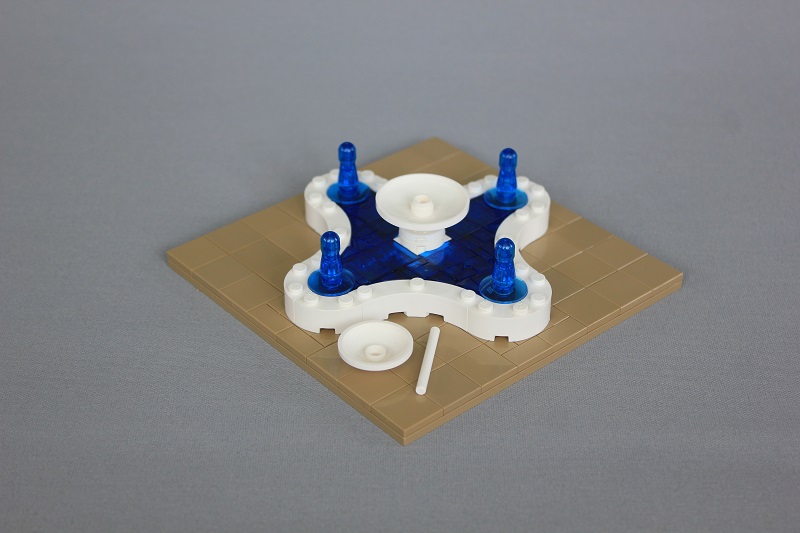
With the ring allowing for a 4×4 dish to be inverted for the first tier.
Then a 4 stud long bar can attach a 3×3 dish.
At the top I used another cone with jewel this time.

All that’s left is piling some 1×1 round plates in the inverted dishes.
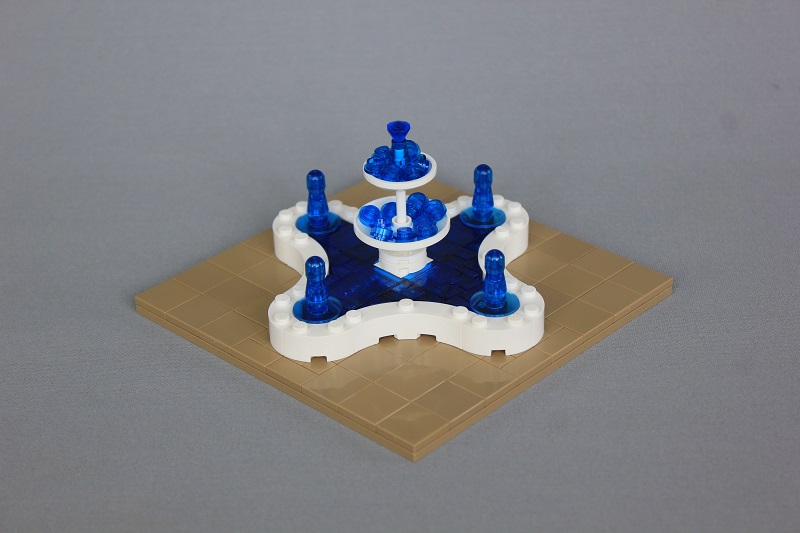
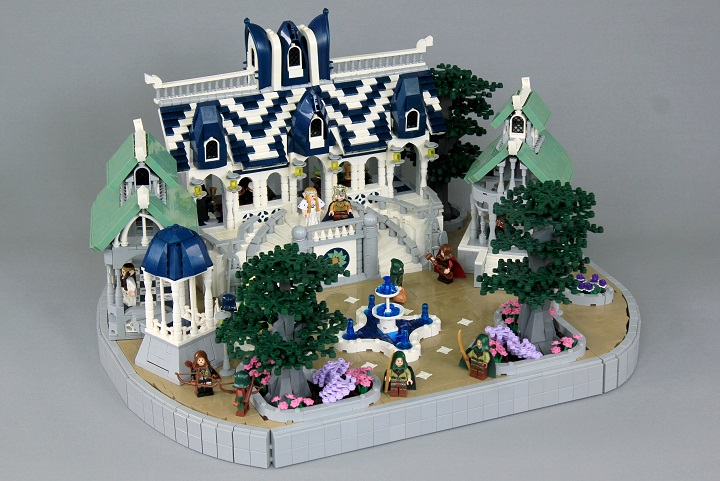
And a look at the fountain in a finished scene:
I hope you found this tutorial useful, and let us know if there is a specific design you would like to see us do a tutorial for in the future!

