


Today we’ll be taking a look at what went into creating my entry for the Fantasy Fortress category of the 15th annual Colossal Castle Contest, The Fabled Fortress of Al-Danah. Let’s get to it!
The inspiration for this build came from a few pictures I found of fantastical cities in the clouds, with lots of onion domes. While I knew it would be a challenge, I really wanted to try my hand at something similar. Given that the onion domes would be such an important part of the creation, I started by trying to come up with a design that I liked. It was quite a challenge, and my first couple designs were less than stunning.
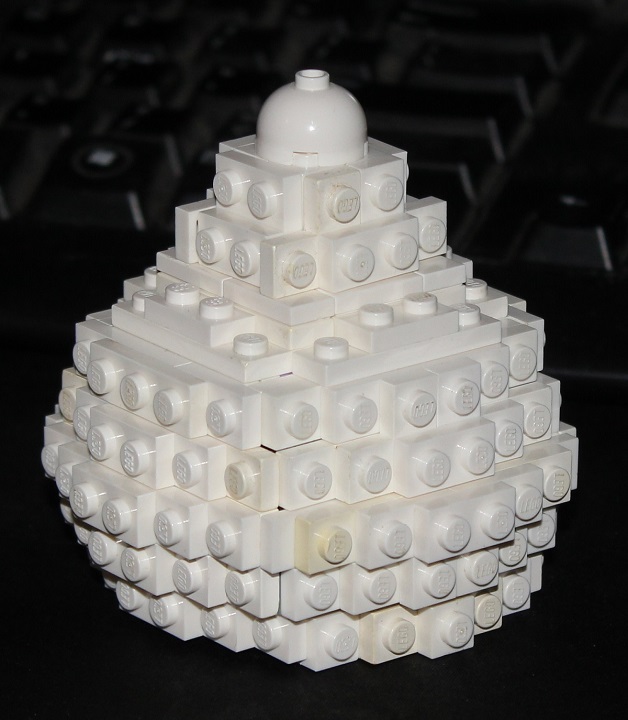
After getting input from a few friends, I decided that the studs-showing look was just weird. As such, my next attempt was completely stud-less.
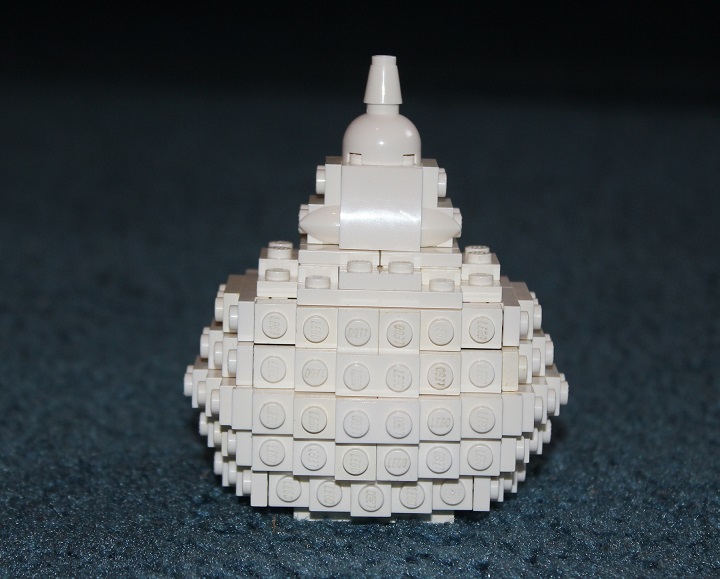
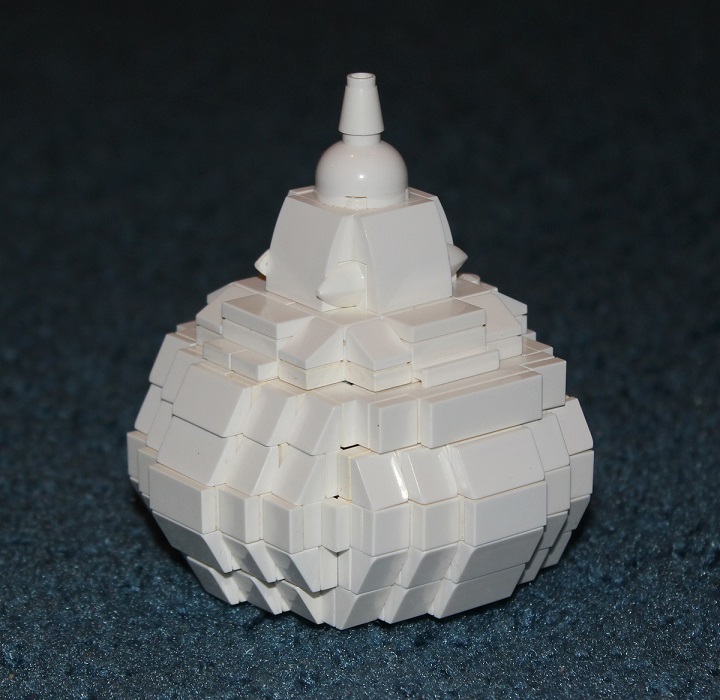
I was fairly satisfied with this design, so I decided to move on to the main part of the build, and tweak the dome later, if needed.
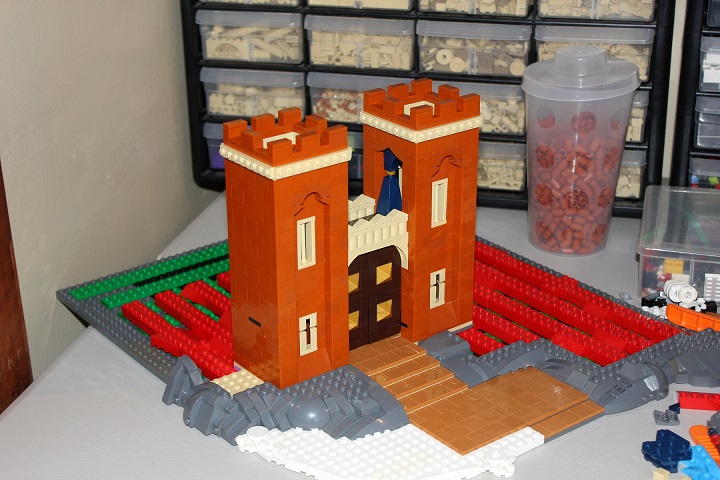
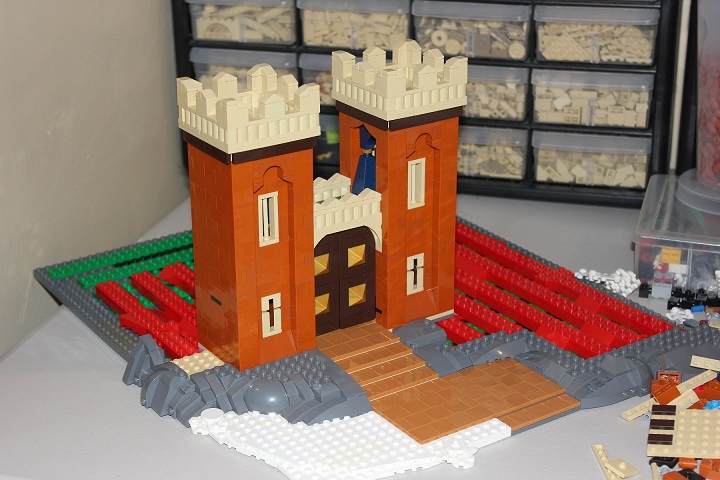
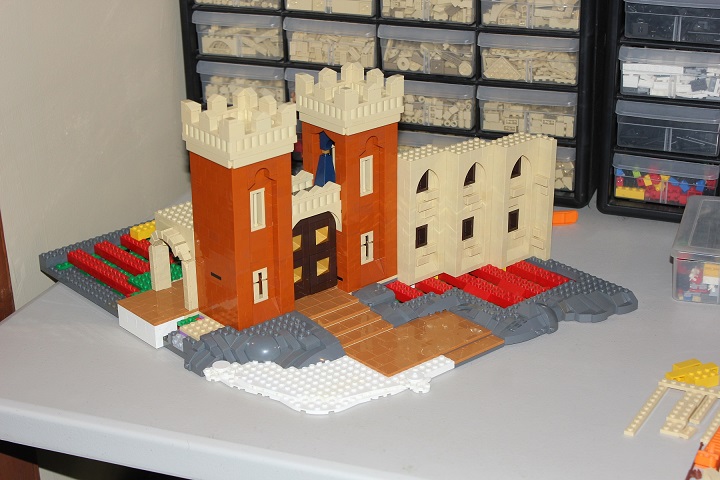
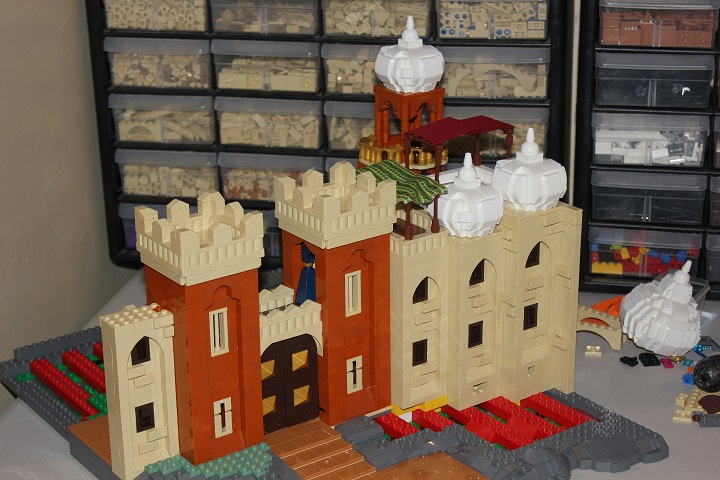
The first building I made was the gatehouse. Two things were very important to me from the beginning of this build: color and architectural style. I wanted to sell the middle-eastern look with both the colors used, and the clean, Arabic architecture, not just textures. Fortunately, our LUGbulk order had arrived not long before I started this build, so I was well equipped with dark orange, medium dark flesh, dark brown, and several other colors. The gatehouse came together quite quickly, and was enjoyable to build – that is, the bottom two stories were. Getting a battlement design that I was happy with proved to be a bit more challenging.
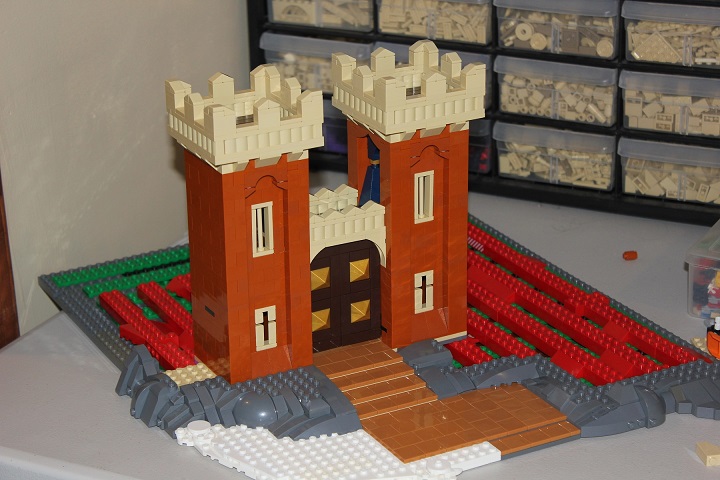
The option I tried above looked a little top-heavy to me, and just overall not quite right. So I tried not extending the battlements out any, and just built up with more dark orange – but I liked that even less.
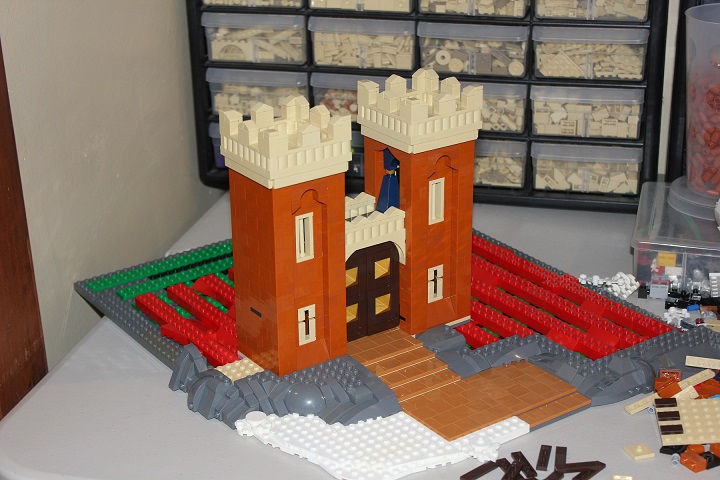
If it hadn’t been for a suggestion from Legopard, I could have been stuck on this section of the build for quite some time. Thankfully though, he gave me the idea of trying a 9×9 battlement section, so that it only stuck off half a stud in each direction. Another suggestion that I probably would have never thought about came from Legopard, concerning the slight gaps made by the technic half-pins holding the inverted cheese under the 1×4 dark orange arches. With a little modification, I was able to eliminate the gap completely, and the result looks infinitely better. The one thing I was still uncertain about with the new battlements, was how to make the half-stud offset less abrupt. A few SNOT tiles directly under the 9×9 section worked nicely, but I wasn’t sold on the dark brown color choice.
A quick switch of the tiles to tan fixed that.
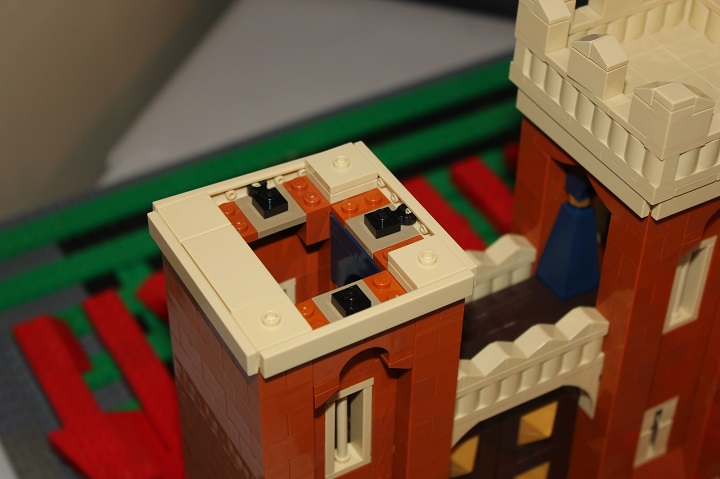
Because of how various sections of the top portion of the tower were setup, and because the battlements were offset a half-stud in each direction, attaching the SNOT tiles wasn’t as straight-forward as it otherwise would have been. A few 1×1 plates with vertical clips proved to work perfectly to hold the tiles in place, while not interfering with the rest of the setup.
Having finished the gatehouse, I moved on to the outer walls of the city. These came together quite quickly after I came up with a general design I liked: a few small windows and SNOT tile wall texturing in a few spots.
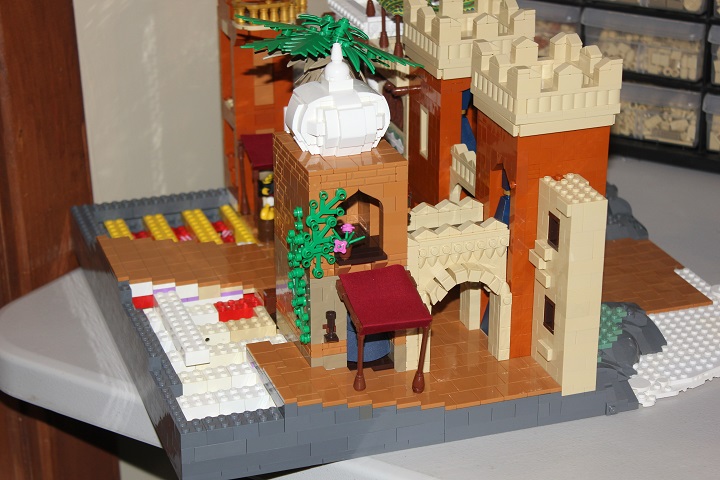
Withe the general layout of the outer walls in place, I started work on the streets and civilian buildings of the city. Something you might notice throughout the build is the seeming lack of doors – I assure you, this wasn’t just me being lazy (well, for the most part…). I wanted to try something a little different for this particular build, and so opted to use mainly curtains in the doorways.
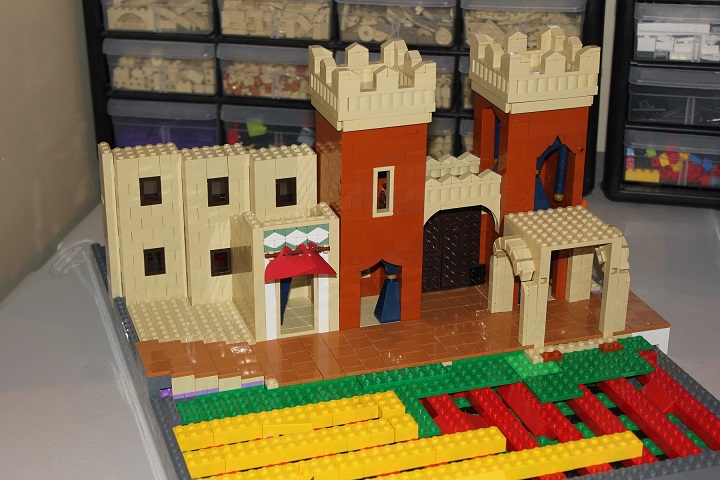
At this point, things were starting to come together pretty well – still a long way to go, but getting there. I decided to change the outer walls a little, by stepping each section up a brick or two higher than the previous segment. And rather ironically, although I started the build by designing an onion dome that I was planning on using throughout the model, I only actually used it once. It proved to be a bit too big for most of my buildings, so I developed a smaller version, as can be seen on the walls below.
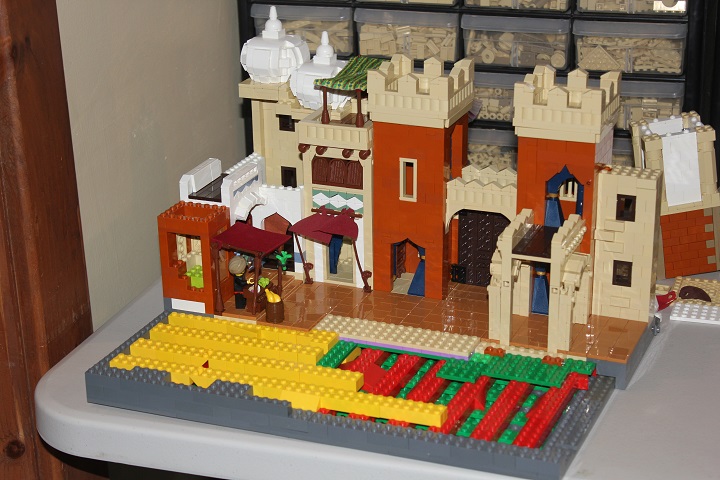
One of the funnest parts of the entire build was the little market stall you see below. I really enjoyed coming up with various ways to pack lots of produce into his rather small stand, especially the fish and hanging herbs.

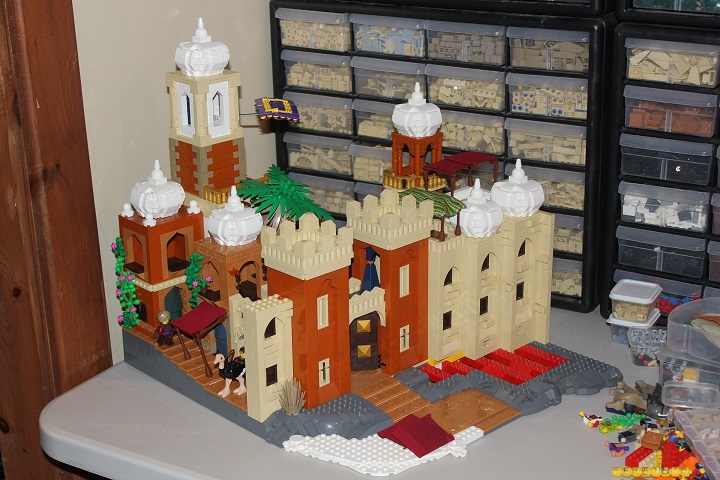
An overview shot of the interior buildings – things are coming together!
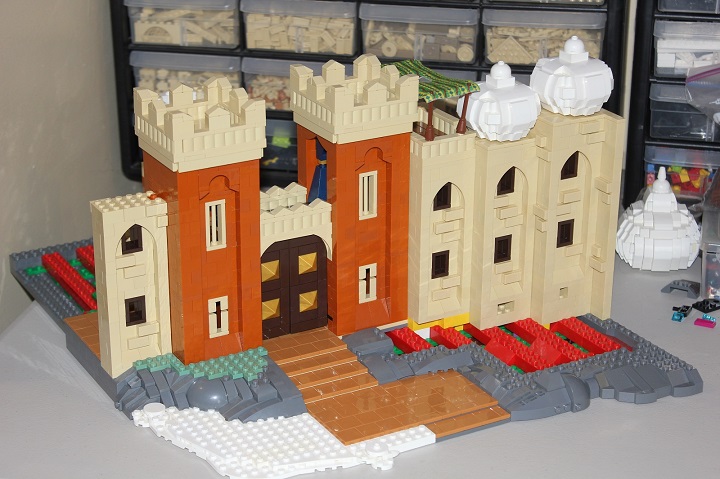
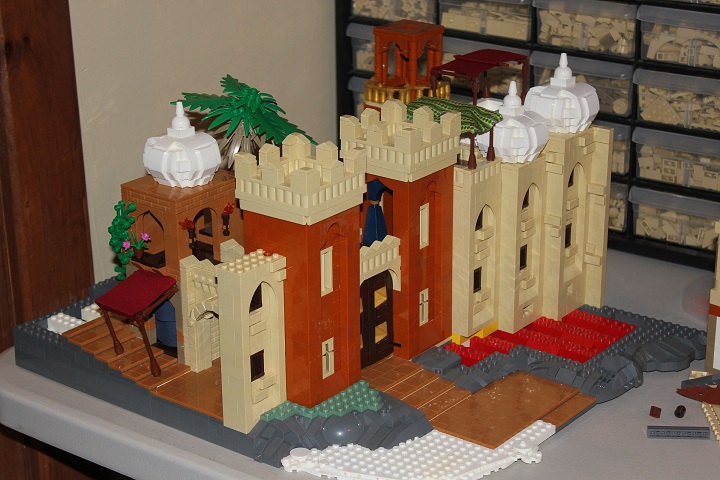
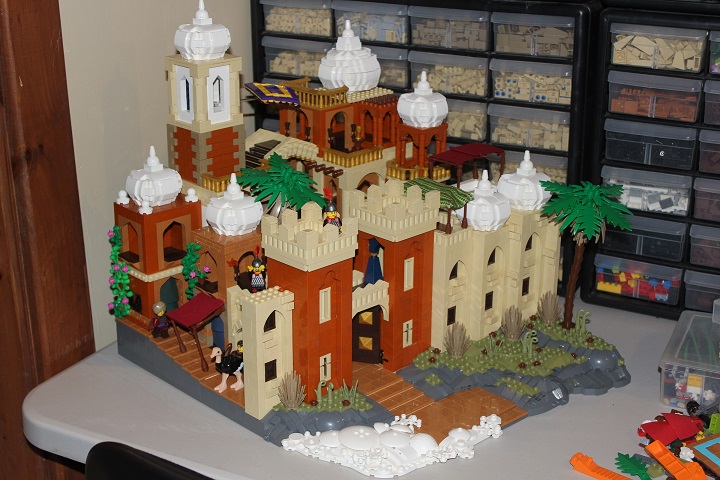
Here both the tower and white house have been finished – I was especially happy with how the balconies of the dark orange tower came out.
Moving on to another of the houses, this was the first one I made utilizing dark tan.And as you may have already noticed, I tried to include lots of awnings throughout the city, including one in front of the house here.
What it looks like from the front with the newest building in.
And next up we have – yep, another building! I tried using the large dome design I had for this building, but it didn’t look quite right, so I opted to go with the small dome again.
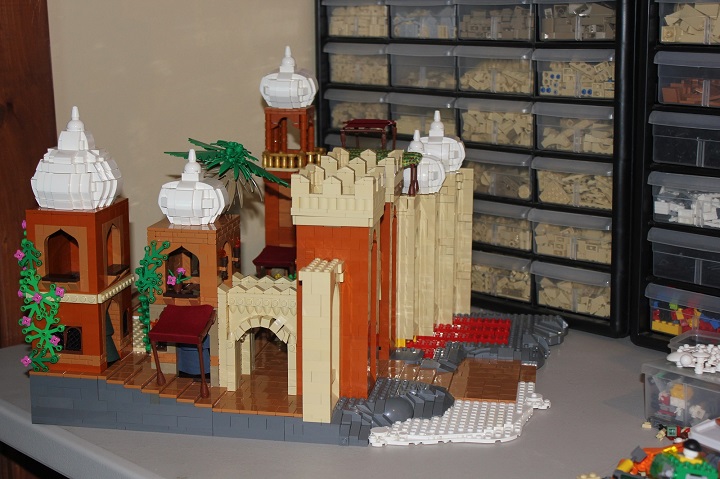
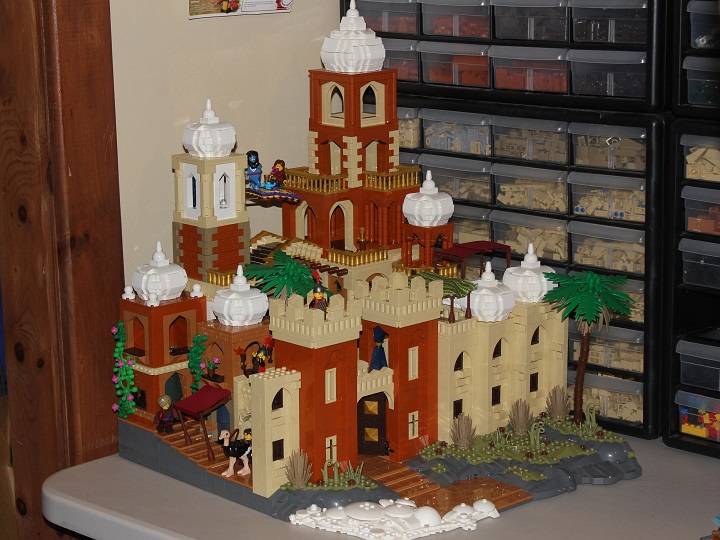
There were two major buildings left at this point – the smaller of which came together pretty easily. My favorite part of the building would definitely have to be the little tower I topped it with – something that I actually had together since nearly the very start of the build, but wasn’t able to incorporate it until now.
And we’re onto the final building! This was by far the hardest part of the build for me, and definitely the section that took the most time (besides those pesky domes). I went through so many iterations of various segments, (especially the top 2 stories) that by the time I was done, I just wanted to chuck the whole thing into a wall – except there’s always the chance you could break some parts doing that, so I didn’t risk it. For time sake, I won’t be showing every change I made (or maybe it’s just because I don’t have pictures of every change…), but here are a few.
I started out the third story of the building using a dark orange and medium dark flesh color-scheme, but I wasn’t really sold on the MDF.

I decided to take a little break from the building that was driving me crazy, and finish the landscaping in front of the city. I tried to create a fluffy cloud effect in the front corner, using lots of round, dome-like white parts, to hopefully distinguish it from snow. While not perfect, the result was passable I thought. After asking some friends for their input, I ended up swapping out the white leaves for other parts, to avoid any resemblance of snow-covered foliage.
Going back to work on the main palace, I swapped the MDF for tan, and added a tower similar to the one on the building connected to it via the bridge. It looked alright, but I felt like dark tan instead of regular tan would work better at the corners.
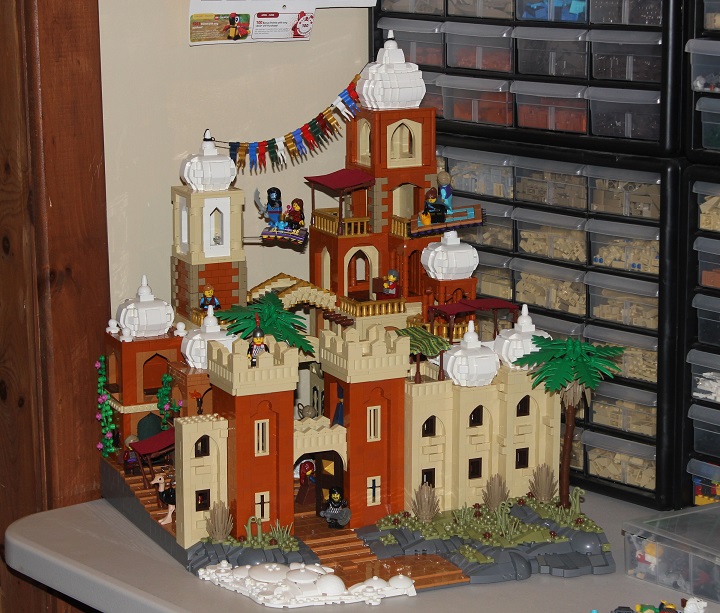
Here you can see the corners swapped to dark tan, and a string of flags added – they didn’t make it to the final build though, as they were a bit distracting.
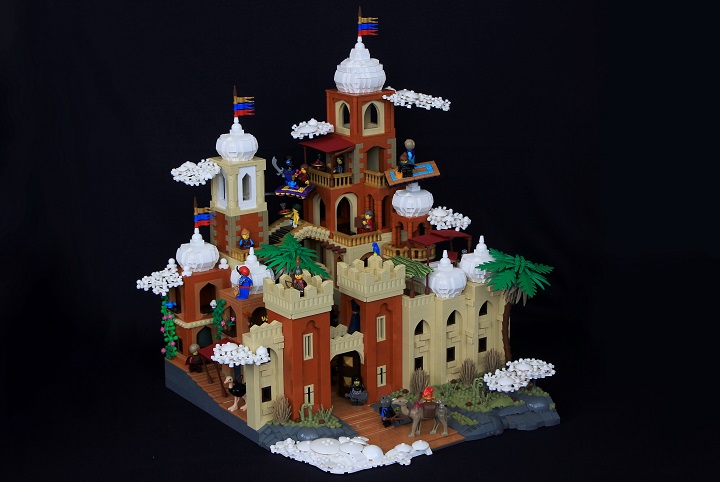
And it’s done!
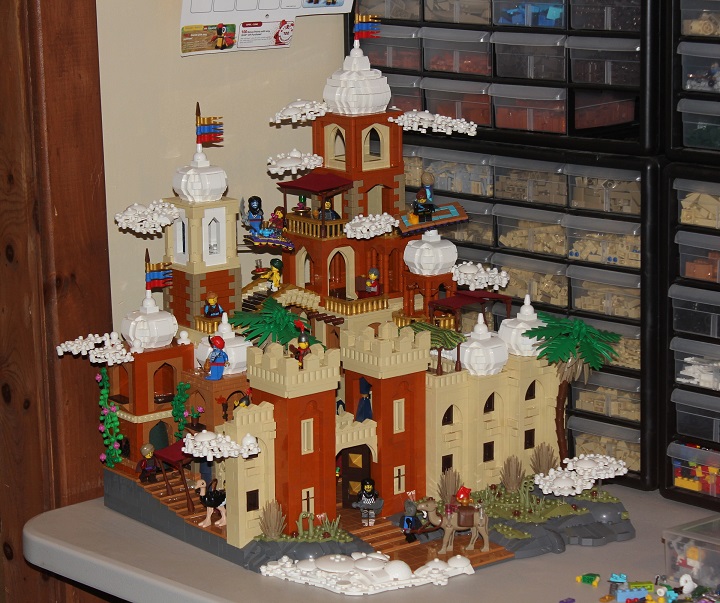
After adding some floating clouds around the city, more fig activity, and a few other finishing touches, I was finally finished with this build. At the time I wasn’t really that happy with how it looked, probably because of how frustrating it was at times, and because of how long it took to build. But looking at it now, I think it turned out quite well, even if it’s not the best build I’ve done.
I hope you enjoyed this look behind the scenes at what went into creating my Fabled Fortress of Al-Danah, if you have any comments or questions about, don’t hesitate to ask!

