


Still don’t have enough furniture designs? Well our 10th furniture tutorial covers 6 more designs for a variety of settings.
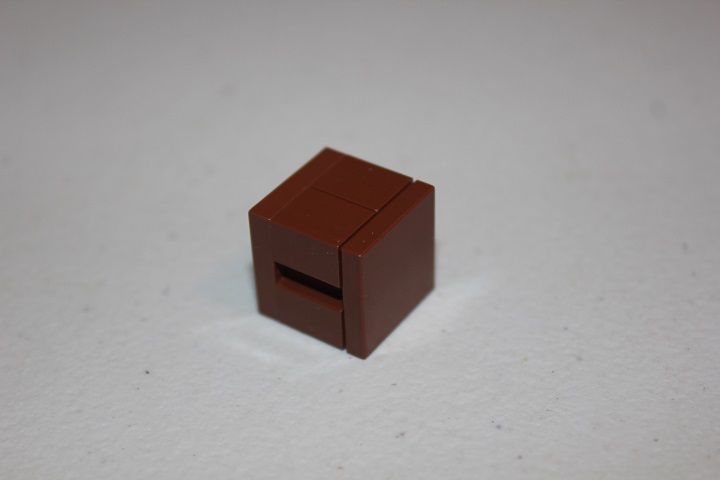
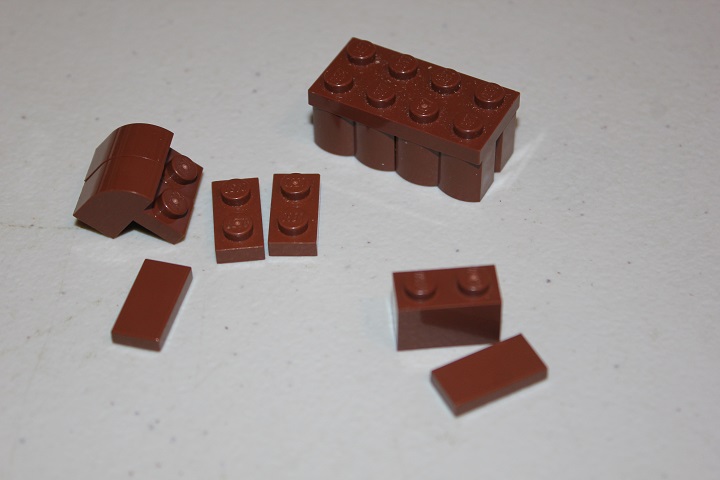
Starting off with a simple 5 piece crate. Some 1×2 brick with groove are the key elements.
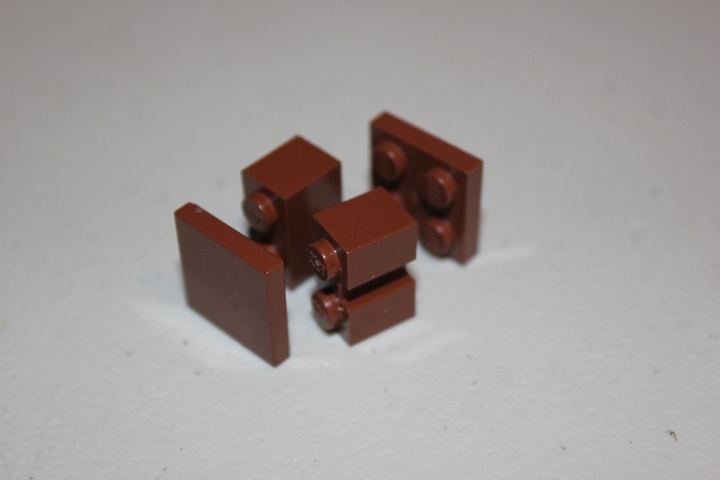
A perfect 2×2 cube, this little crate fits in well alongside the prefabricated crates and barrels.
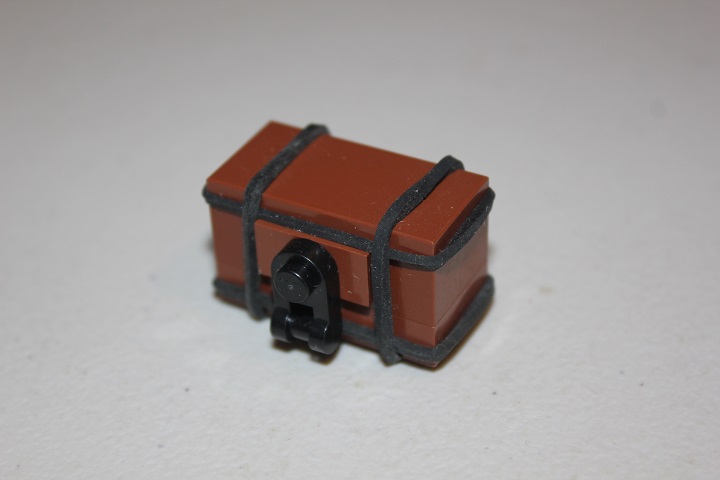
Next up is a chest I used in my Riften Watchtower model. Trying to incorporate iron bands into the design was challenging at first, until John pointed out that rubber bands would work well.
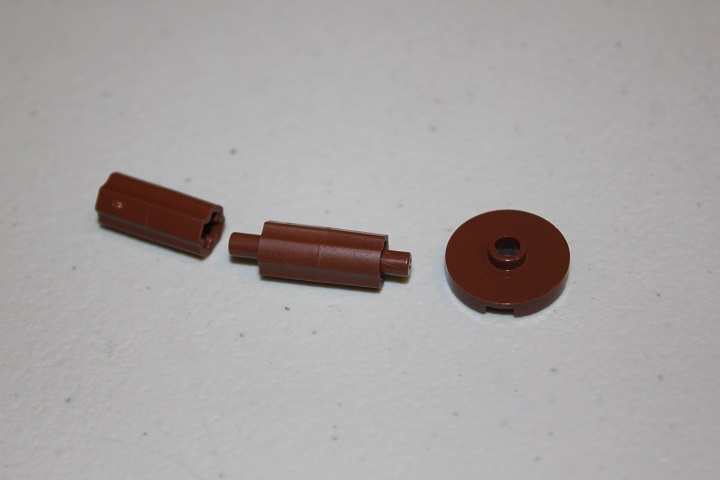
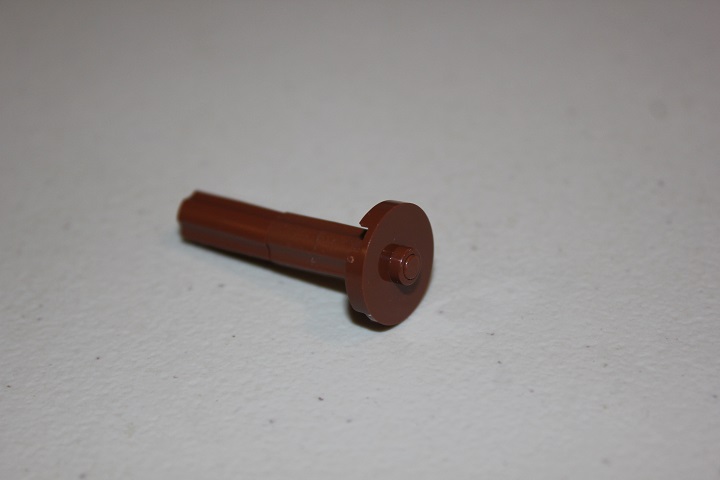
The parts needed are shown below (besides the 4 rubber bands).
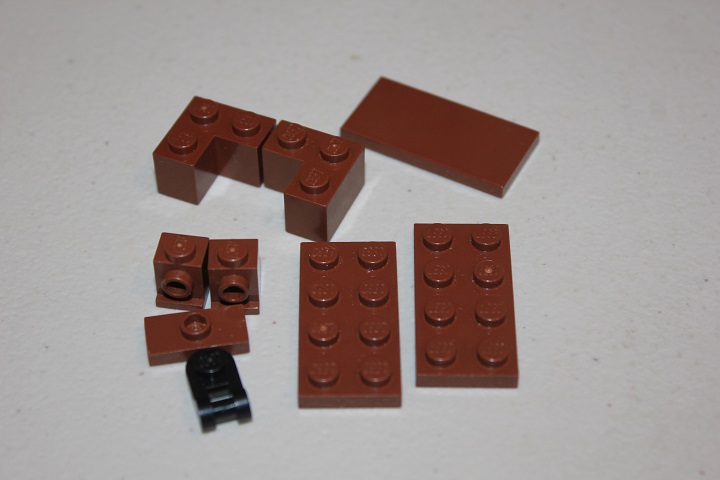
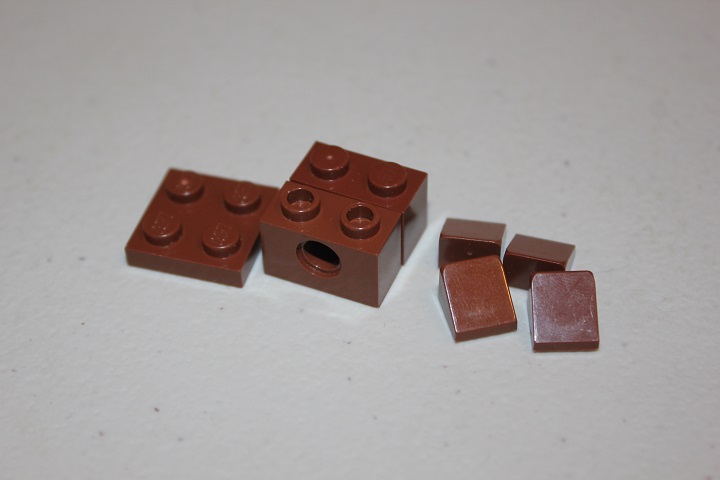
The 2×4 plates are stacked on top of each other, and then the headlight bricks, jumper plate, and plate with handle are used to build the latch.

Corner bricks with a 2×4 tile finish off that portion.
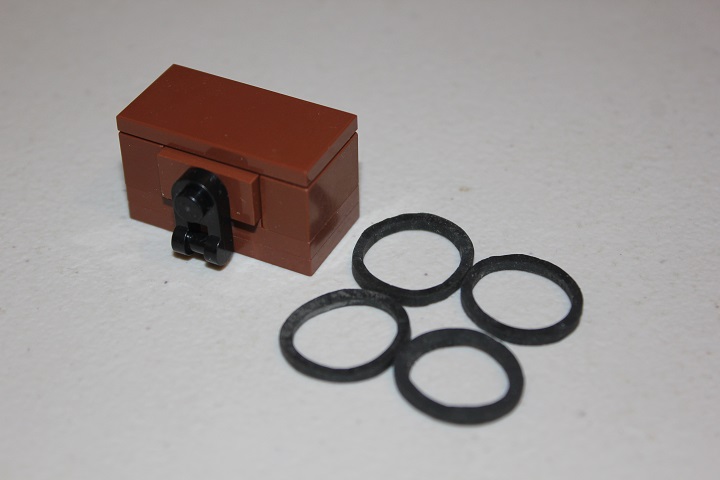
And then all that is left is adding the rubber bands! The groove from the tile on top makes a great spot for a rubber band to fit snugly in.
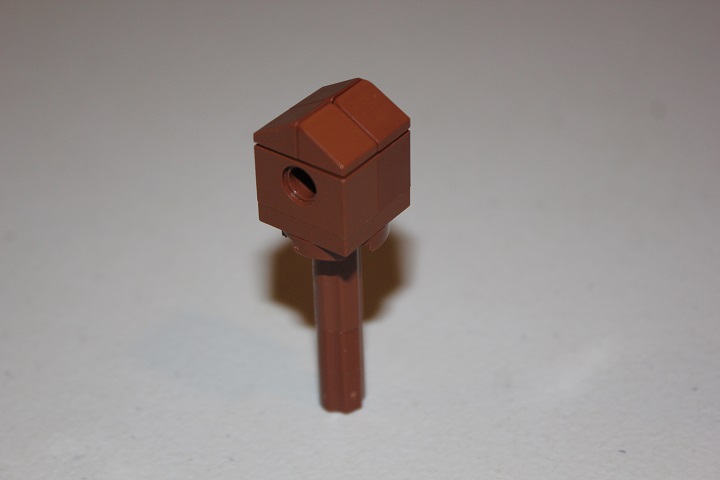
Our third design is a small birdhouse. Technic connectors make up the pole, hooked together by a 3 long bar.
Which then also attaches the 2×2 round jumper plate.
The actual house sits on a 2×2 plate and uses technic bricks to achieve the hole for the birds to go inside through.
The technic connectors making up the post will fit snugly in between 4 studs on a plate, which gives the illusion of the post going right into the ground.
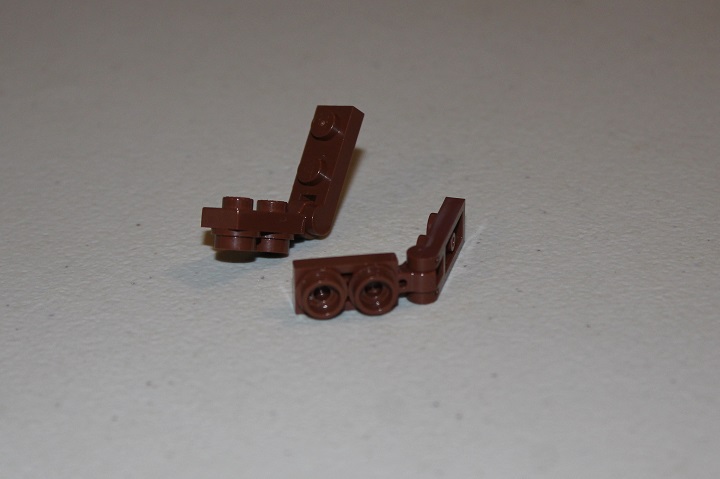
Chair designs are something you can never have too many of. This simple design starts off with some plate with clip and round plates for legs.
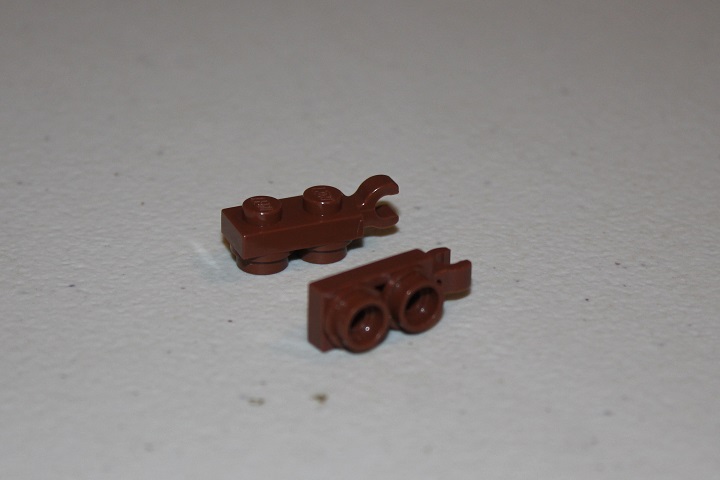
Plates with handle then hook into the clips to make the back.
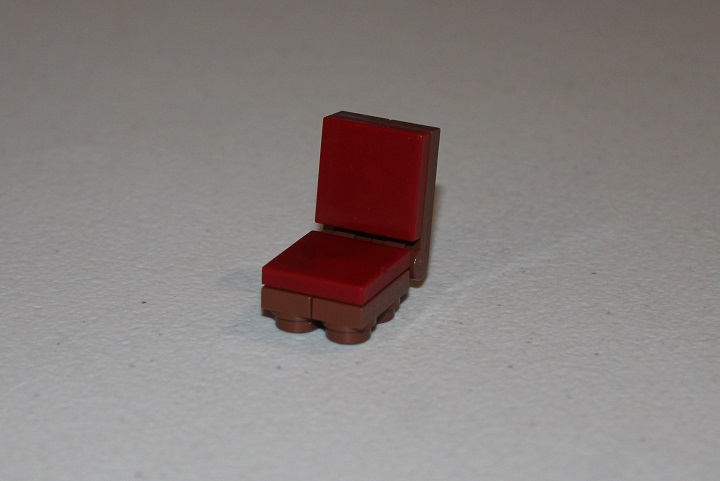
And 2×2 tiles of whatever color you prefer hook everything together solidly.
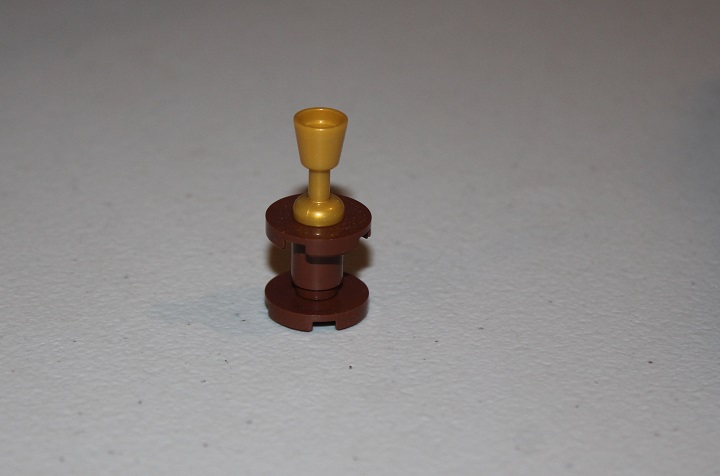
Going alongside the chair is a small end table.
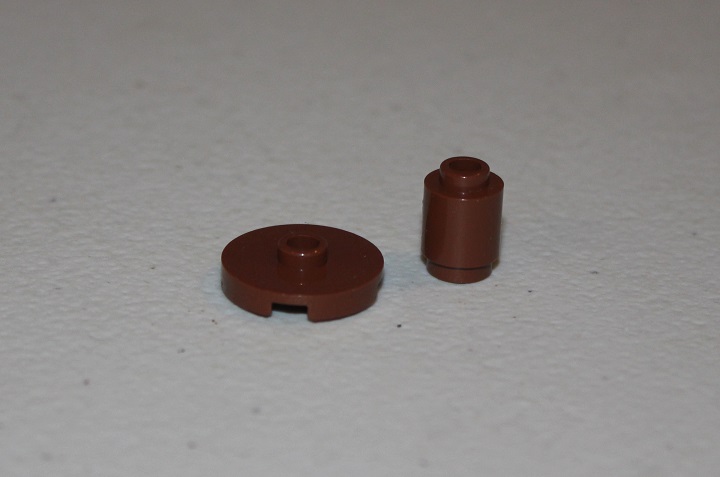
The 2×2 round jumper plates give a nice offset base and table top with the 1×1 round brick between them.

And also leave a stud for attaching food or other items.
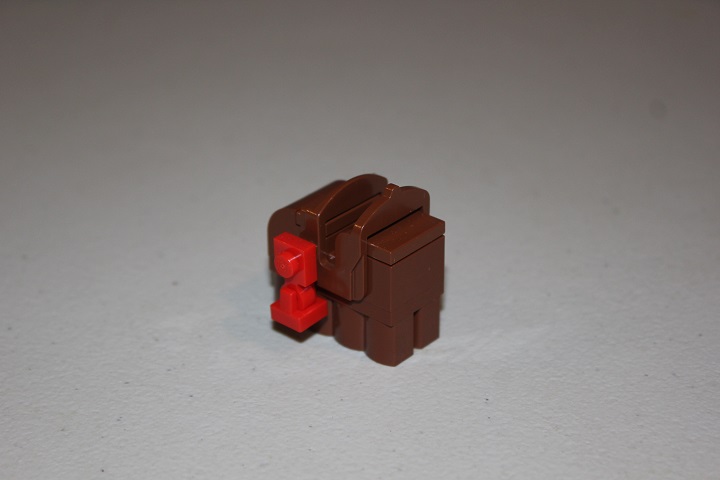
This last design was created by John for use in his Age of Empires stables. It is a saddle holder that mimics the shape of a horse’s back.
The saddle fits easily into the slot shown below.
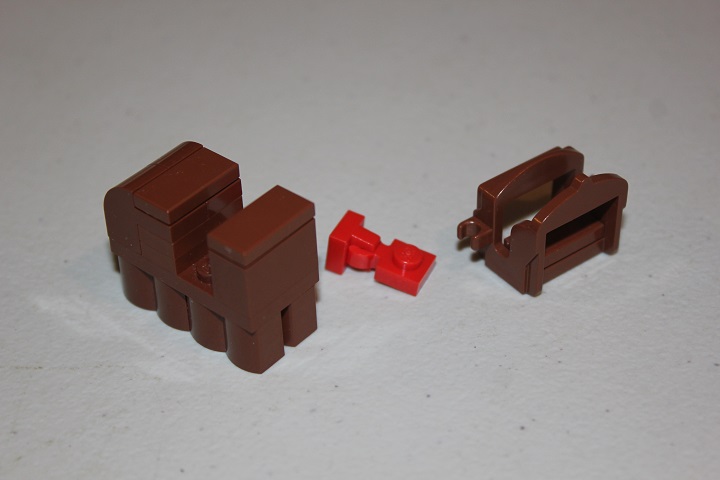
And John used a few clips to portray a bright strip of cloth hanging from the saddle.
We hope you enjoyed our latest furniture tutorial, and be sure to let us know if there are other designs you would like to see a tutorial on!

