


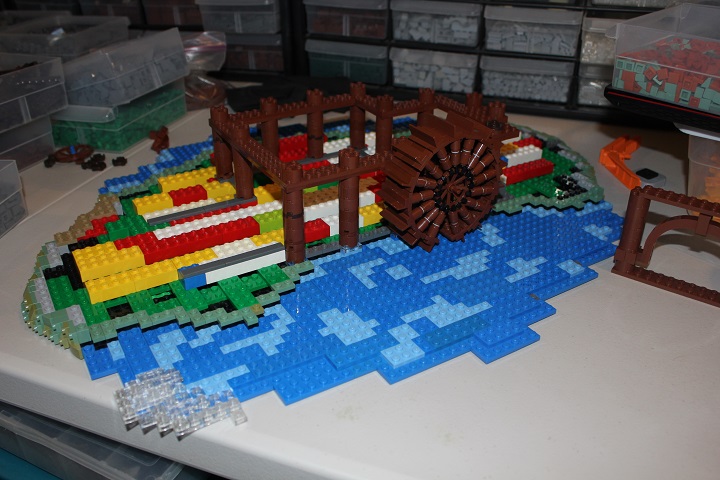
Take a look at what went into building my most recent Skyrim model! Since I was basing it specifically off of the Riverwood Watermill, I started by roughing out the size of the mill itself. After that I could make the base a fitting size and start on the actual landscape.
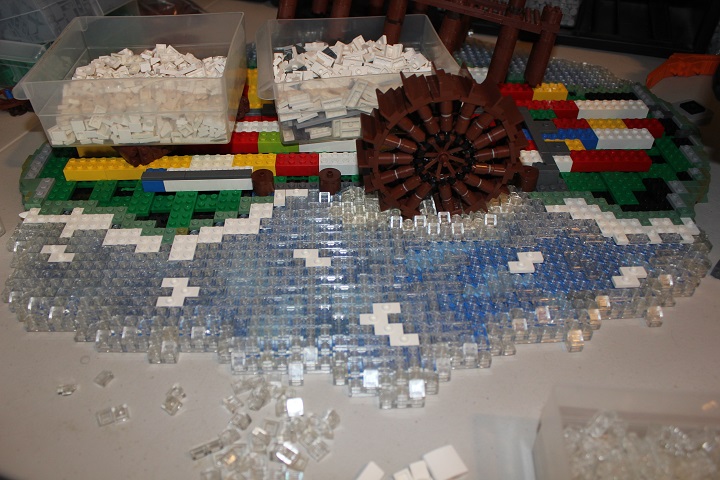
The mill is nearly surrounded by water in the game, which made the river a very important component of the model. I opted to use blue and medium blue plates as the water base, which would then later be covered with trans clear. At this point I just wanted to figure out where the river sections were located.
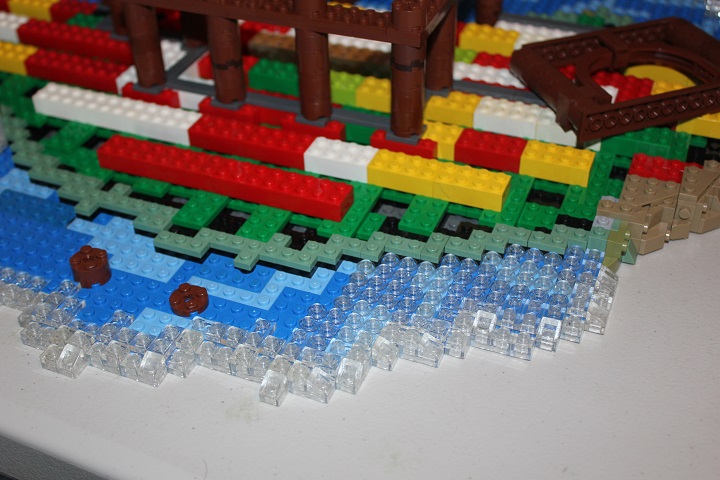
Next I experimented with the landscape border design: primarily using sideways plates and cheese attached to brackets or brick with stud.
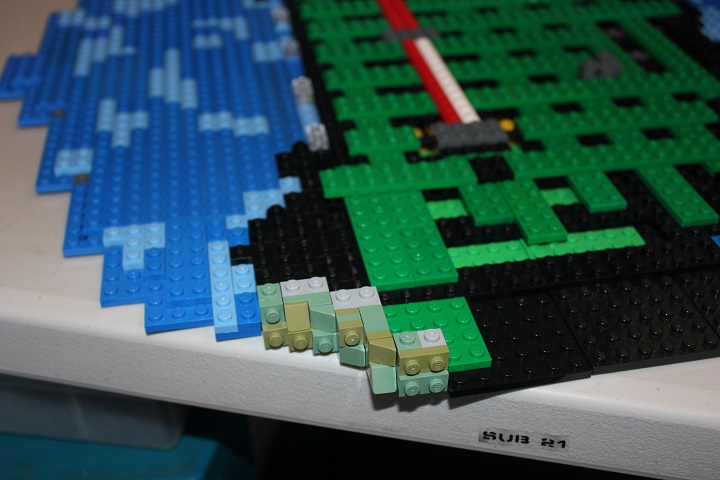
Before continuing the landscape I did a small section of the water to figure out what depth exactly it would be in comparison to the shore.
The dark tan here shows the start of a path, while the sand green plates by the water were where I planned to have the shoreline.
After roughing out the shore on this side as well, I was ready to finish the water.
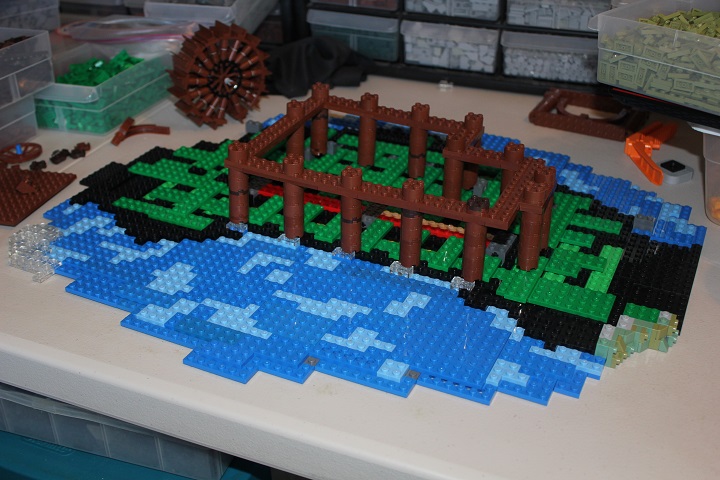
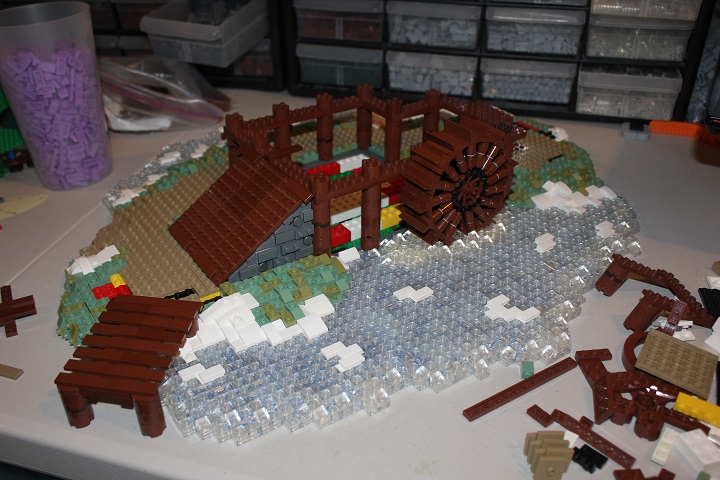
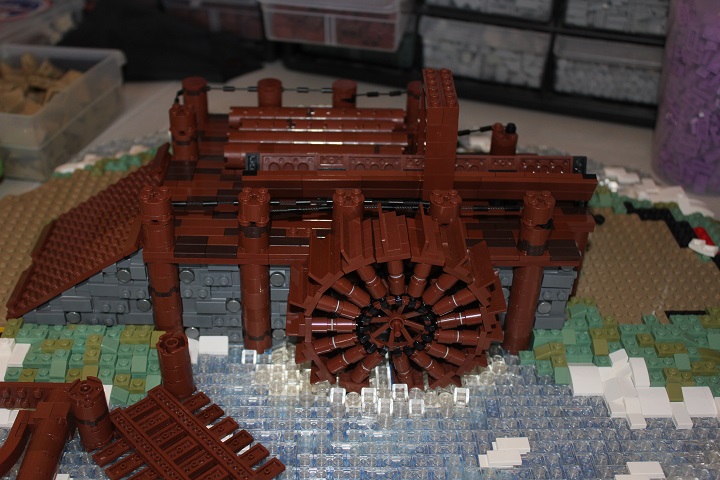
I started off by using 1×2 plates and cheese to do the outer edges. Then a layer of 1×1 round plates was added directly over the blue plates.
Around the wheel I used white plates under the trans instead of blue, to indicate foam. And while the 1×1 round plates were starting to give a nice texture and look to the water, I decided on adding another layer of standard plates and tiles.
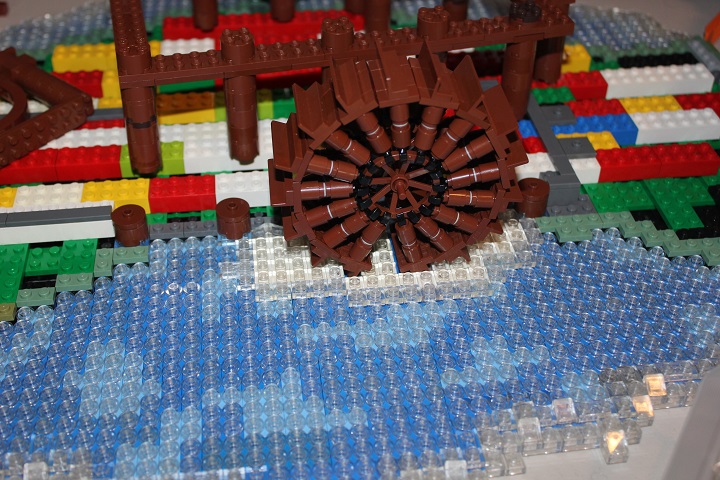
Which made the transitions between blues look a lot smoother, and also gave the river more of an icy effect. Which I accentuated by having chunks of snow and ice throughout the water.
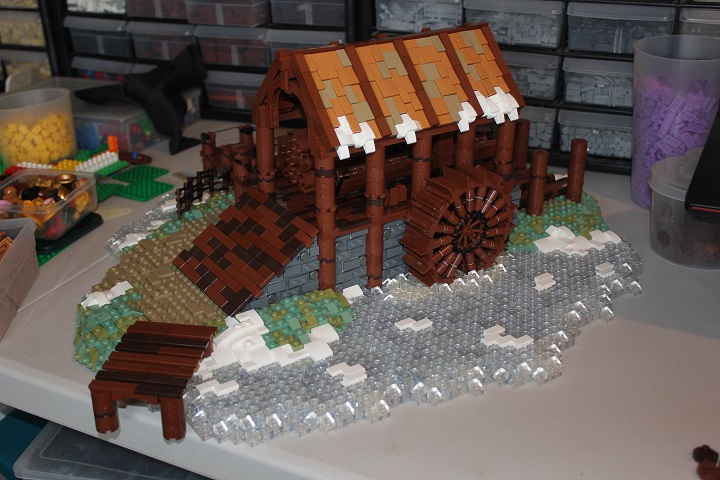
White plates around the shore edges marked off space for snow banks.
And then I added curved slopes, tiles, and cheese to give a very smooth semi-melted look to the snow. In this picture you can also see that I was trying to figure out the placement for a wooden bridge on the left.
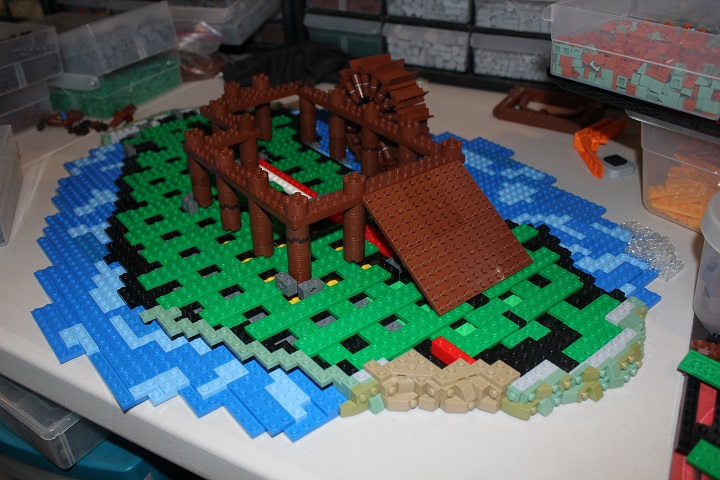
After completing the river it was time to do some landscaping! Large dark tan plates defined the path around the mill, while around those I filled in with sand green and olive green.
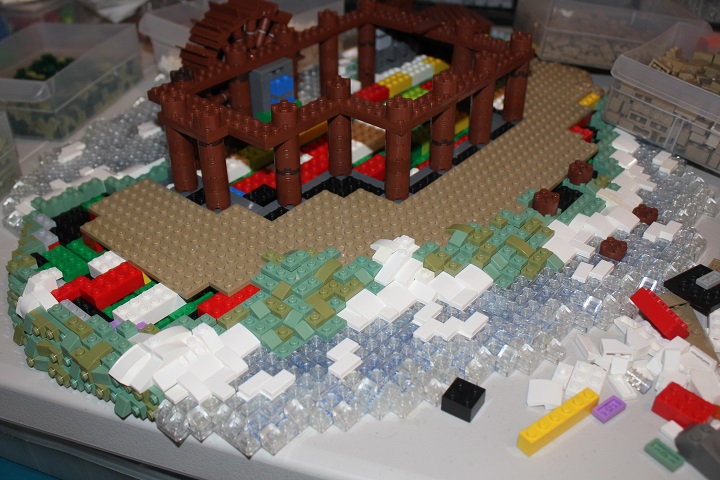
This placement for the bridge ended up working a lot better than my previous attempt.
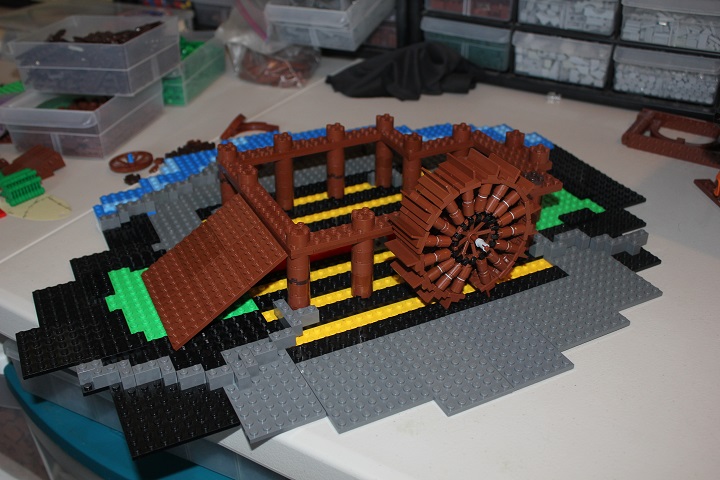
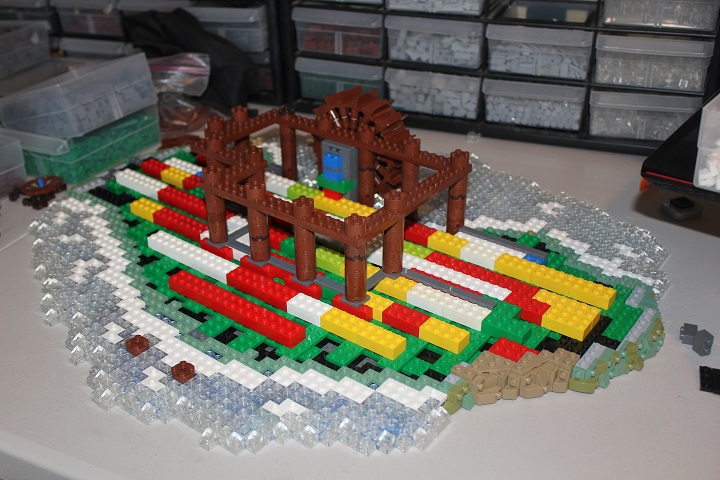
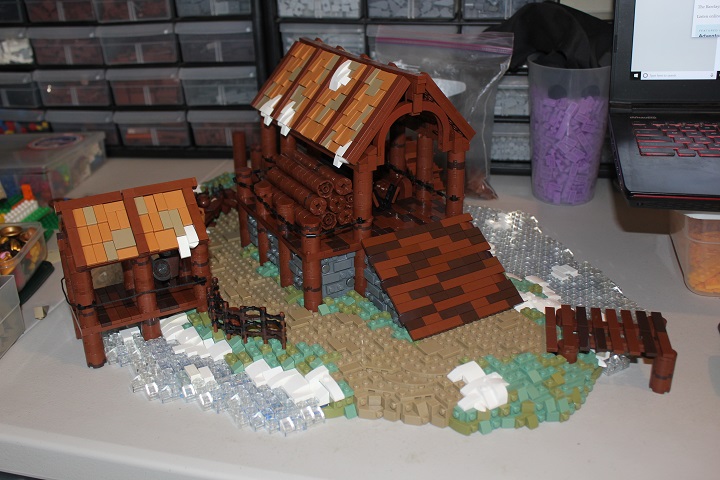
Since I had the landscape very nearly done, I decided to move onto the building. The stone portions are a fairly simple version of my stone cottage wall design.
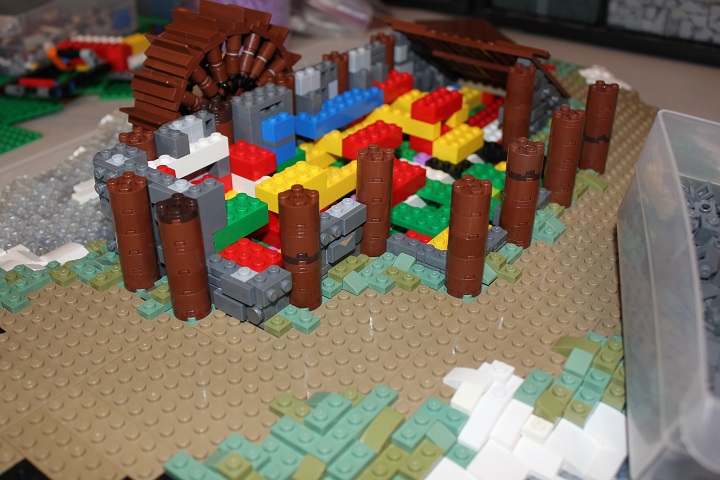
This was one of the quickest buildings I have done in a long time, due to being only about a half story tall and pretty straightforward in shape. Some rainbow filler brick inside the walls gave me a nice platform to build the wooden portion off of.
To make it easier to build the log chute and floor, I ended up partly disassembling the water wheel.
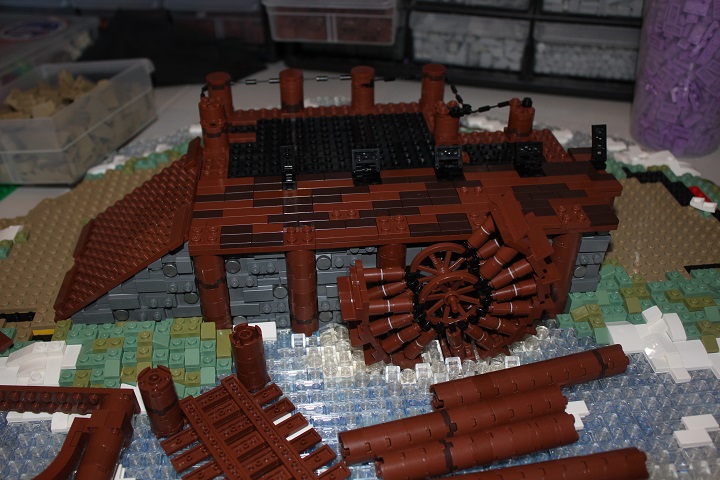
Figuring out the placement of the rope railings was a little tricky, but ended up working out very well.
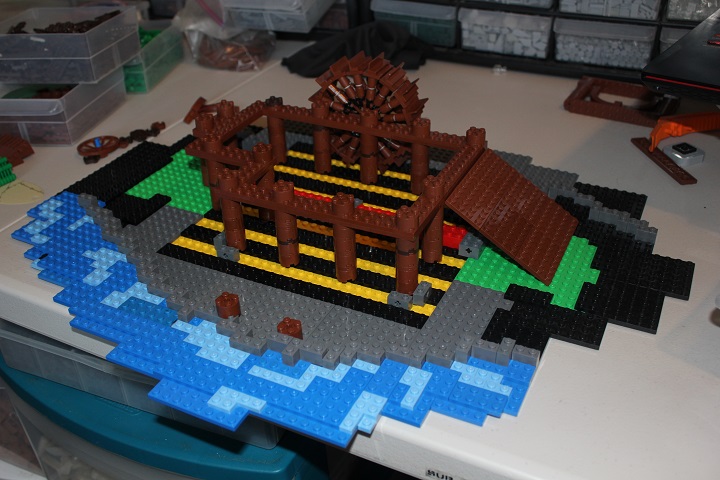
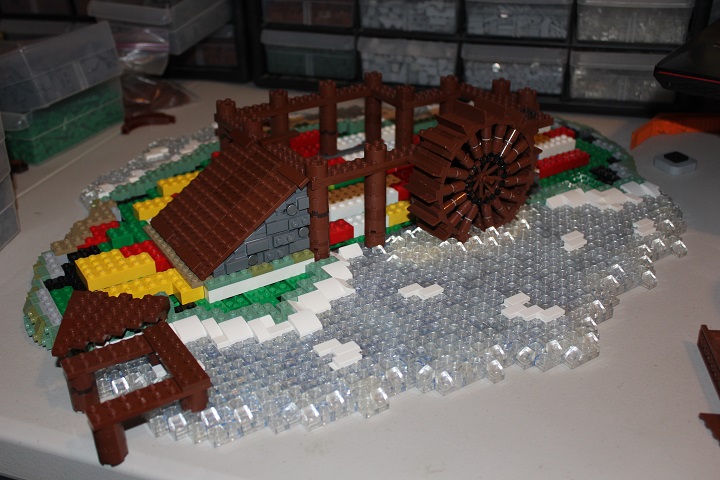
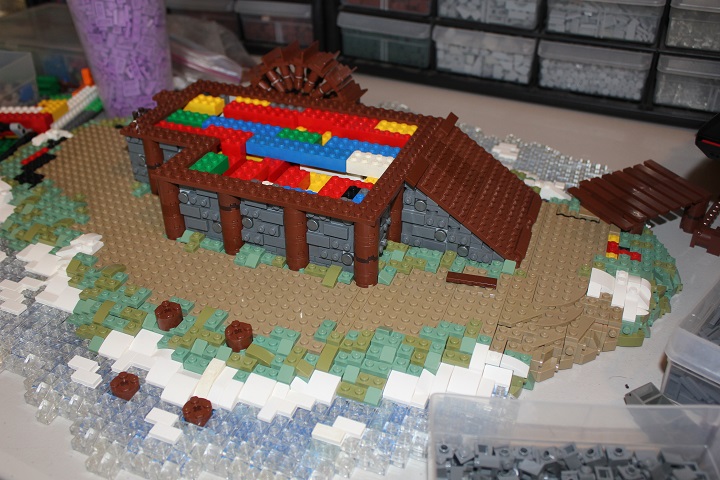
Then it was time for the roof, which was definitely the most challenging part of the mill. I had already figured out the wood arch design though, so it was just a matter of figuring out how to get the roof sections to fit on smoothly. Another dock was added on this side of the landscape, along with a fence using droid arms to replicate the woven stick fences so common on Skyrim.
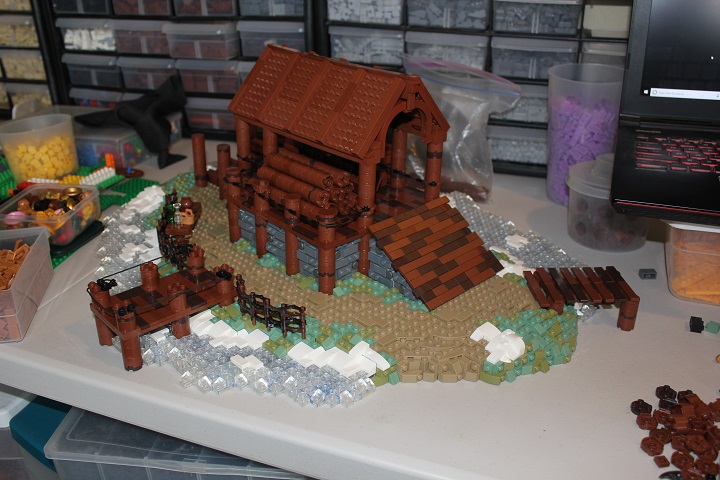
The added color from the roof tiling made the watermill look way better.
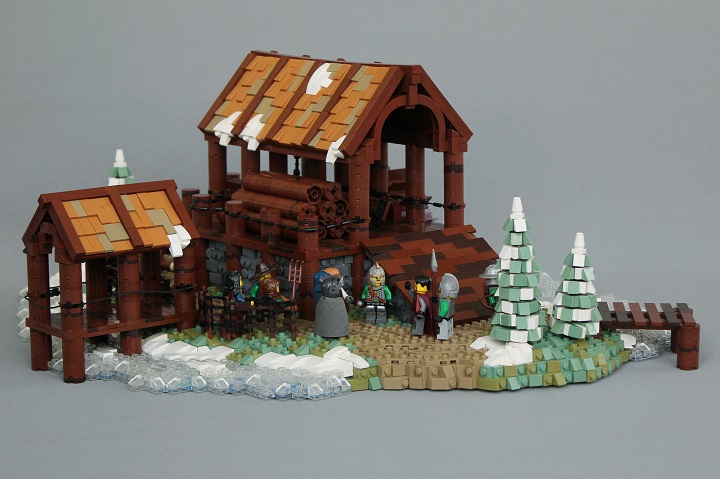
Then I was ready to put on the minifigures, a few trees borrowed from the Streets of Daydelon model, and photograph!
Thanks for reading, and like always we appreciate hearing your feedback and suggestions for new posts!

