


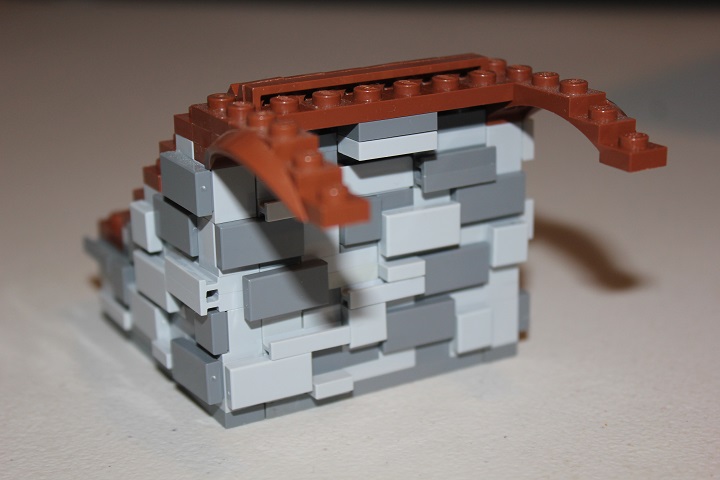
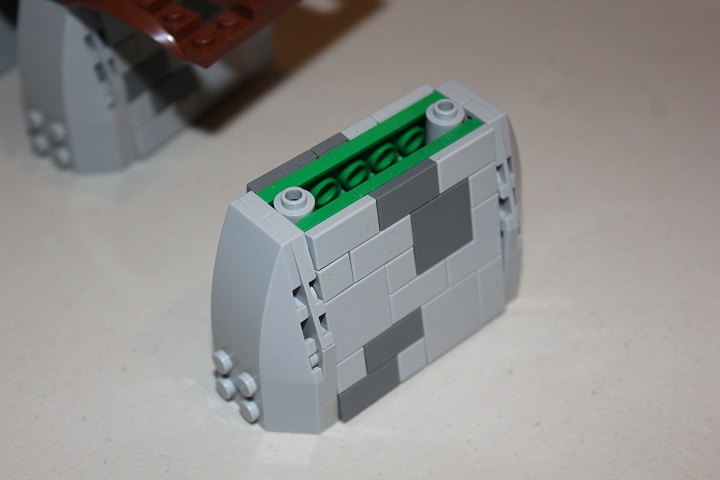
This tutorial follows up on our recent Mottled Stone Wall Tutorial, to finish a combination wood and stone bridge.
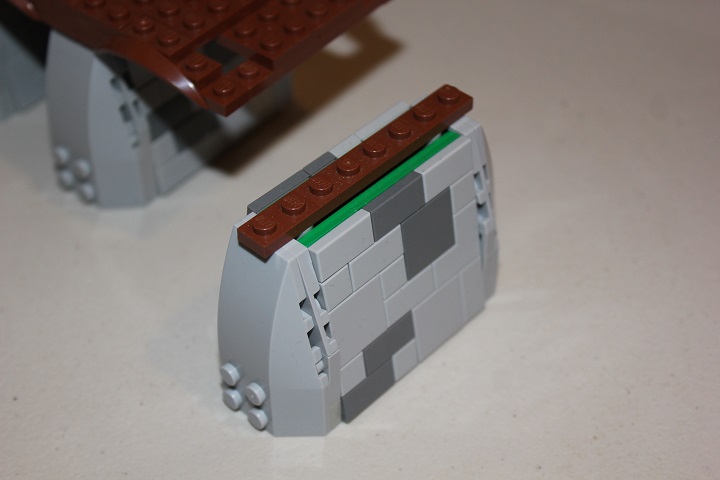
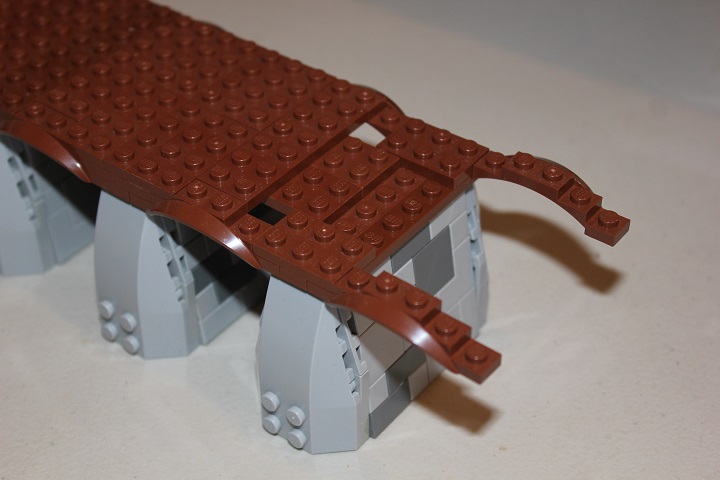
Working off of the previous stonework base, you start by adding some reddish brown plates and arches. The plate modified with clip/handle assembly in the front will be used to attach a ramp for the bridge.
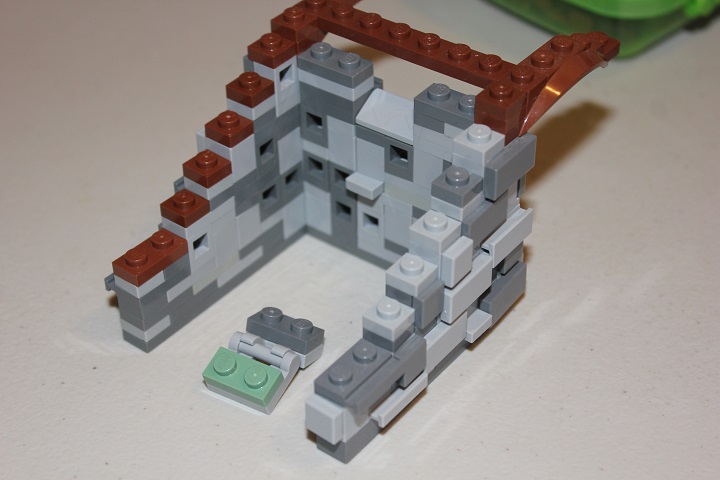
That assembly hooks onto the bottom of the reddish brown 1×8 plates and fits over the slot with cheese slope.
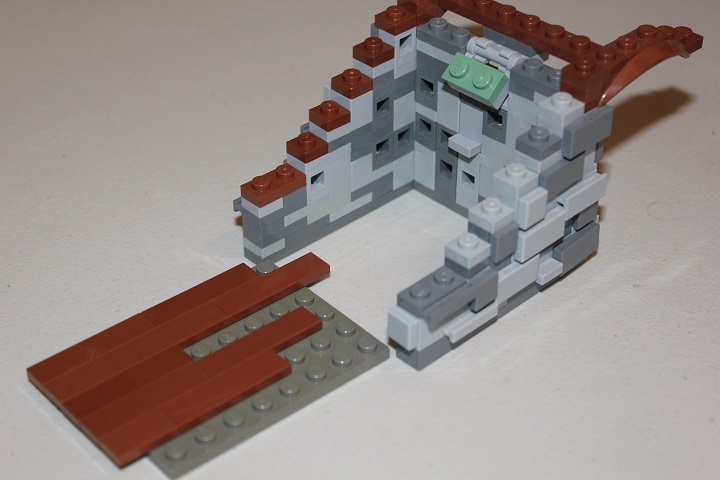
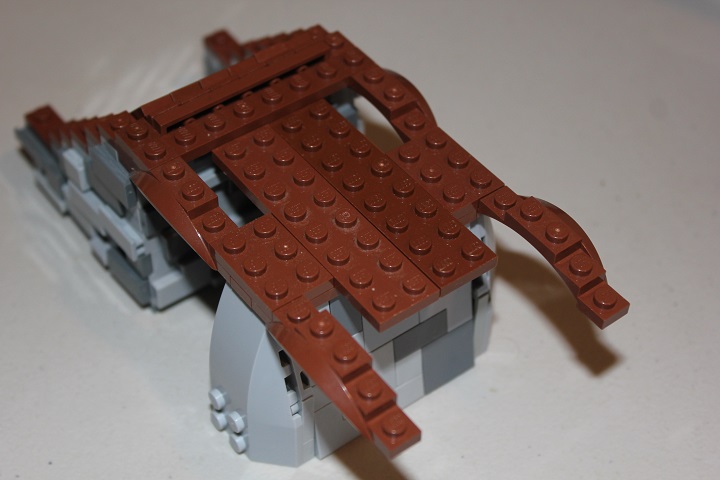
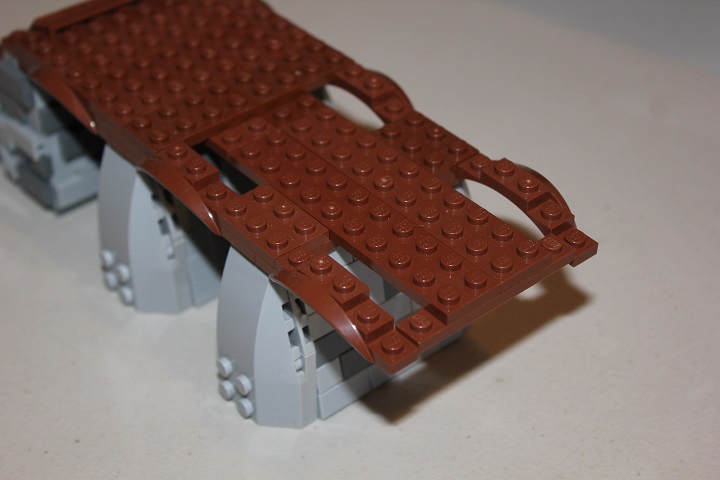
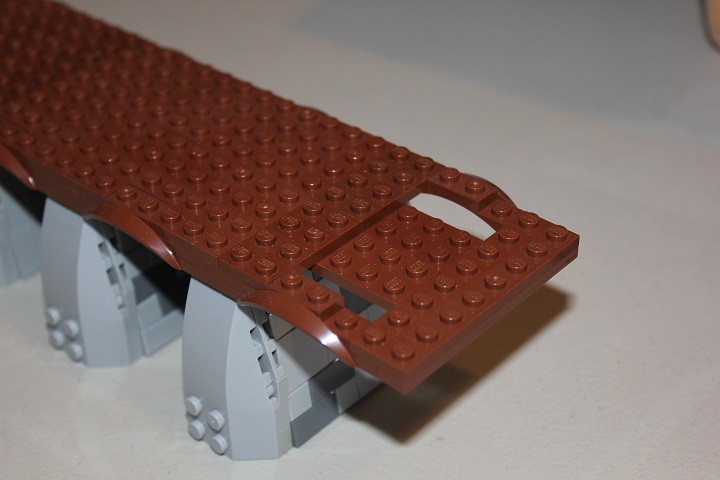
Then you can attach a 6×8 plate in the color of your choice, and tile it with various length reddish brown tiles to give a nice wood plank effect.
A 1×6 plate with cheese on the front will be used to smooth the transition between the sloped section and flat top of the bridge.
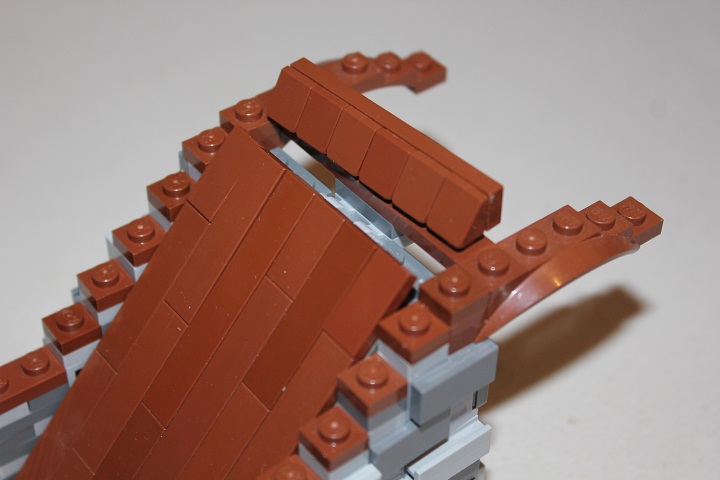
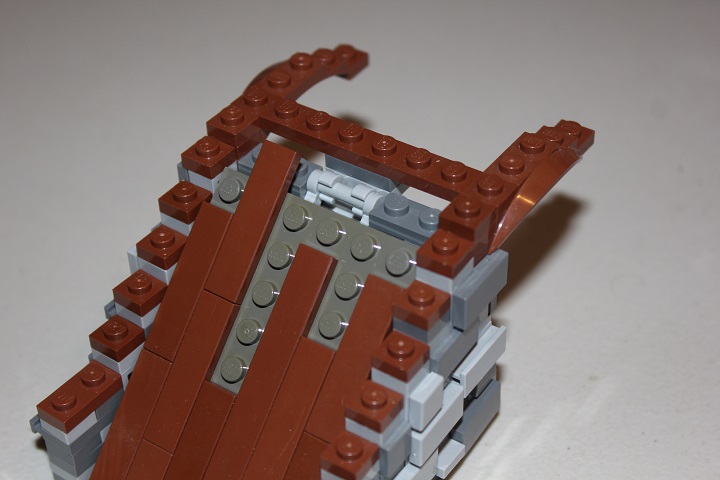
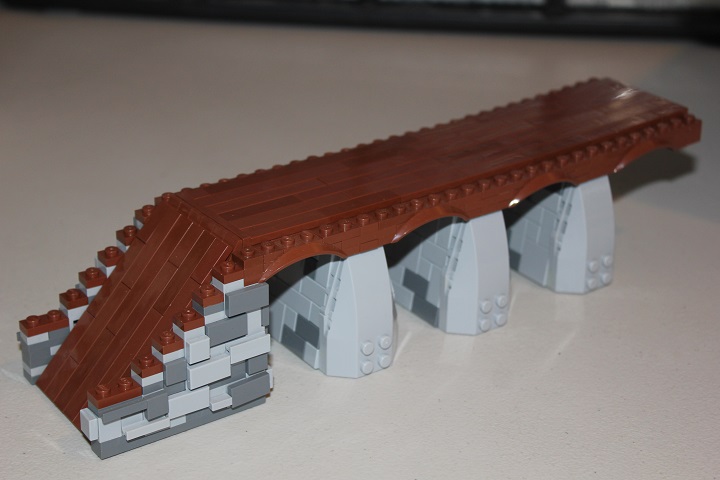
Next we will continue making the bridge longer.
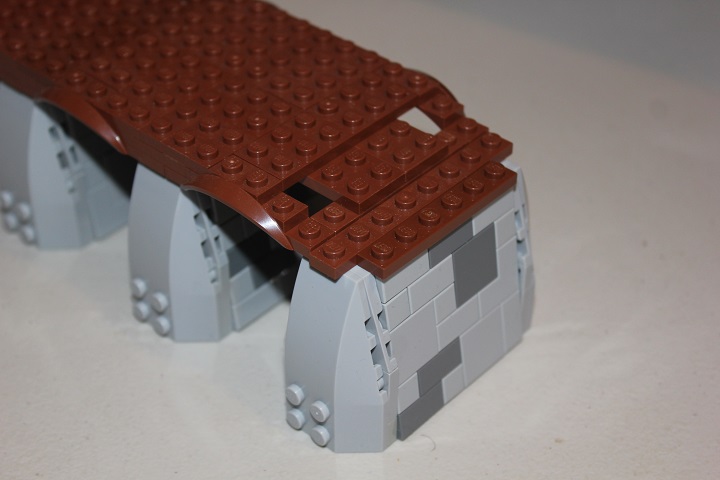
The first thing we’ll need to make is a stone pier. Which consists of a 2×6 plate base, with some sloped sections attached on the sides, and SNOT portion capping the ends.
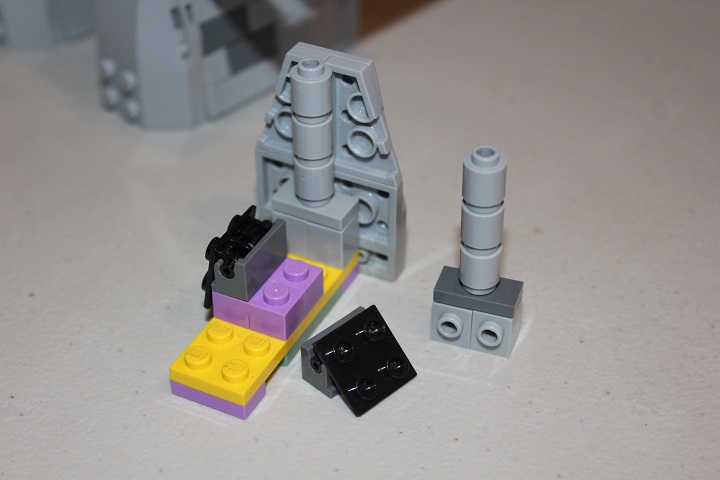
Here is the breakdown of the end caps. 4×6 wedge slopes fit nicely over the standard plates and wedge plates shown.
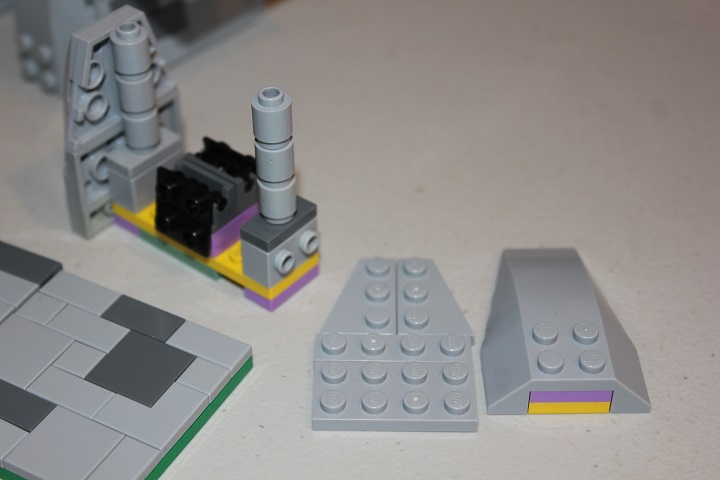
The wedge slopes give a nice tapering form to the piers, which is then matched by the sloped 6×6 plate and tile sections.
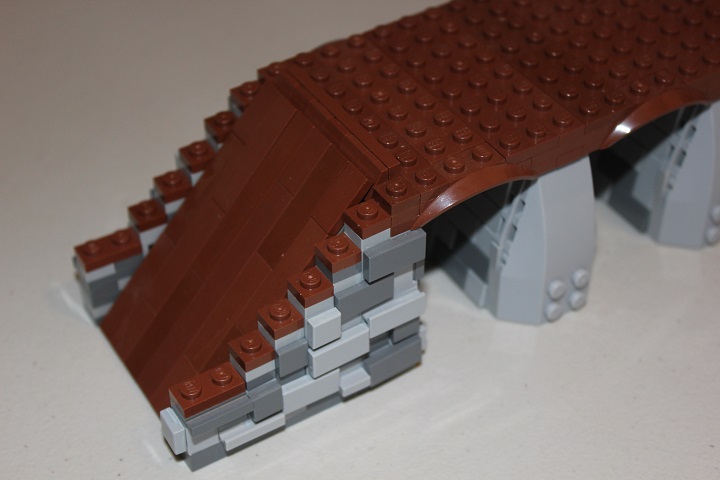
Like such.
And a 1×8 plate attaches to the brick round stacks.
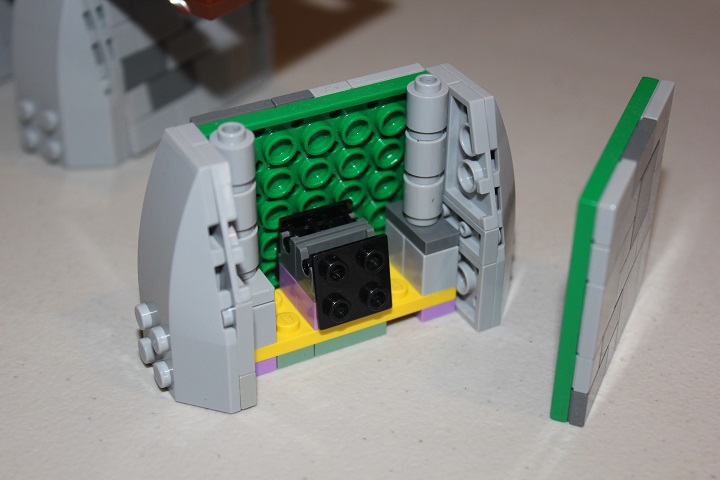
Standard plate building then locks the pier firmly in place with the rest of the bridge.
And you repeat that pattern for the desired length.
I was very pleased with how the geometry of these piers worked out, and would like to use some similar designs on buildings in the future.
After capping everything with a final layer of plates you will have a nice flat platform for tiles that matches up nicely with the ramp built before.
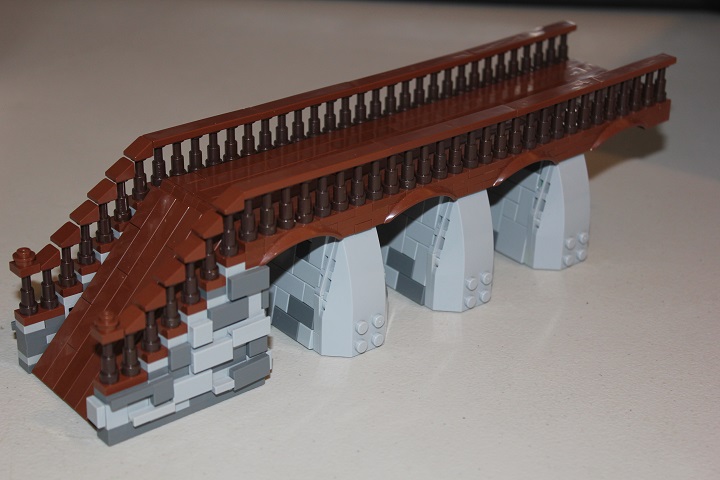
Then all that’s left is adding a railing!
I went with a simple design of telescopes and tiles for this example.
As usual, feel free to leave a comment if you have any questions on the design, or if you have any other designs you would like to see a tutorial on!


Nice! Is this for an upcoming build? Also, is there gonna be an SJ18? 🙂 Keep it up!
Thanks Roanoke! The design was actually salvaged from a WIP that was never finished. And yes, the Summer Joust will return for 2018!
It will run from June-July this year, but we will be putting up announcement posters about that on May 1st.
Awesome! Excited to compete in my first one. 🙂 Yep, good old unfinished WIPs. 😉 Hate it when that happens…
As with all of the tutorials, excellent! I especially like the use of 4×6 wedge slopes, they really nicely cap the edges of the piers.
Thank you!