


Today we’ll take a look at what went into creating my Hardwin’s Smithy creation.
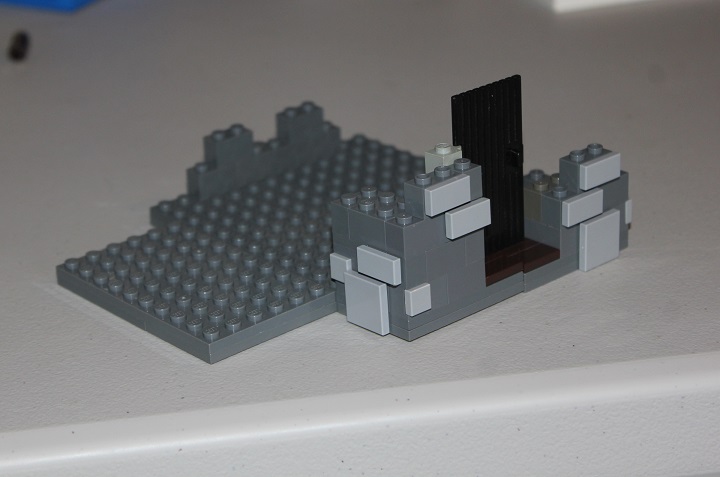
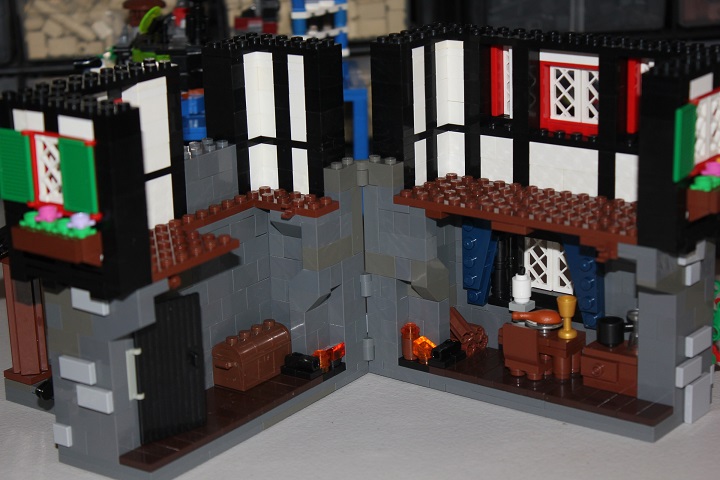
I wanted to make this build for several reasons – one of which was to try my hand at the classic style of years gone by, as well as a stonework technique I saw Rod Gillies do. With the stonework design decided, I needed to figure out the layout of the blacksmith shop. A simple rectangle with a small addition for the blacksmith’s forge worked nicely. There was also a chimney on the back side of the house which I incorporated hinge bricks into, to make for an easy-to-see interior.
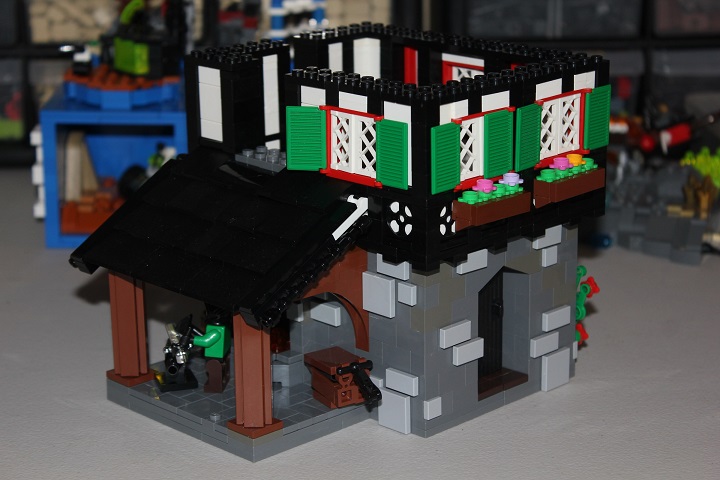
With the layout and stonework style decided, I could really get to work on the house and forge area. It was fun adding the little details to the blacksmith’s work area, especially the bellows, which I’m very pleased with. To help make the wooden pillars holding up the forge area’s roof more interesting, I placed them at an angle. It was a very simple detail, but I quite like the effect. It was fun finally putting one of our classic doors to use here too.
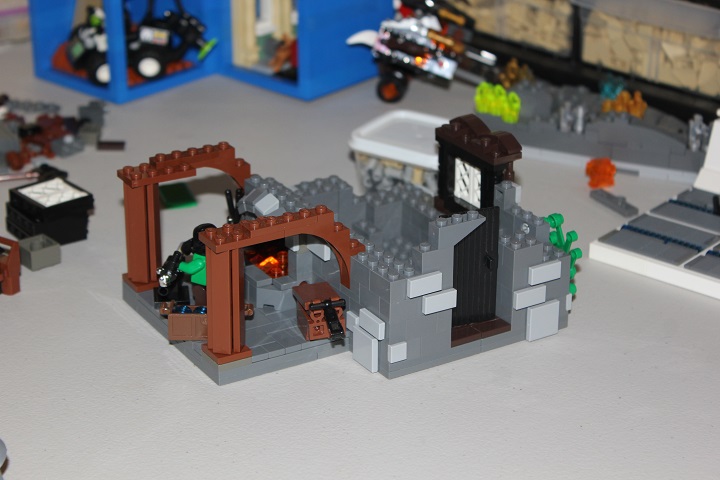
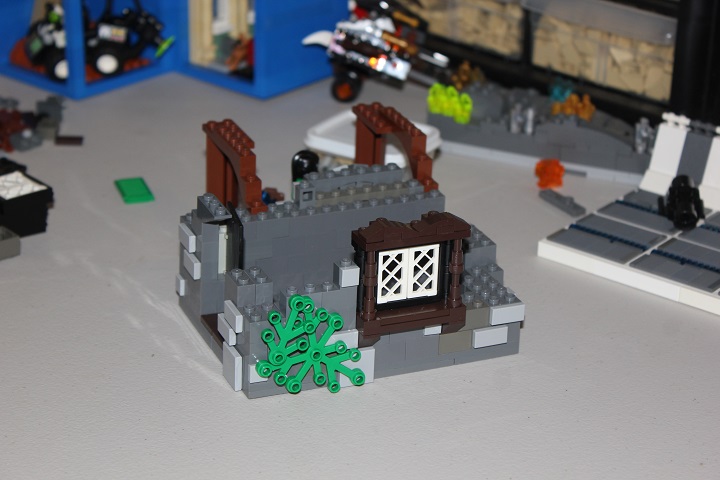
A view of the other side, and the window I came up with. I considered using reddish brown for the sill and frame details, but thought the dark brown fit this particular build nicely.
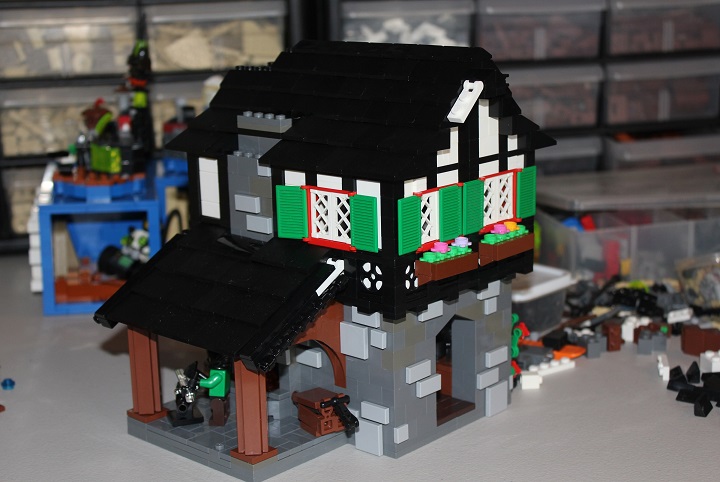
The rest of the first story came together very quickly, and then it was time to work on the tudor-style second story. I didn’t come up with the idea of using spinner bases over white plates for added decoration, but I quite like how the design works in this particular build. One thing to note on the tudor here is that the white sections aren’t perfectly flush with the black pillars – I used a plate and a tile attached to brick modified with stud to give a bracket inset from the black sections. This requires the walls to be two studs thick, which decreased my interior space a little, but I still think it was worth it.
The interior of this build was one of the funnest I’ve ever done. DARKspawn’s interiors really inspired me, especially his curtain designs. Although it was pretty cramped, I still managed to fit quite a few details in, like the table, candlestick, fireplace, and stack of firewood.
After adding the main section of roof, using simple studs-up slopes, the building was almost done! I just needed to finish off the chimneys, add the final interior details, and make some gables.
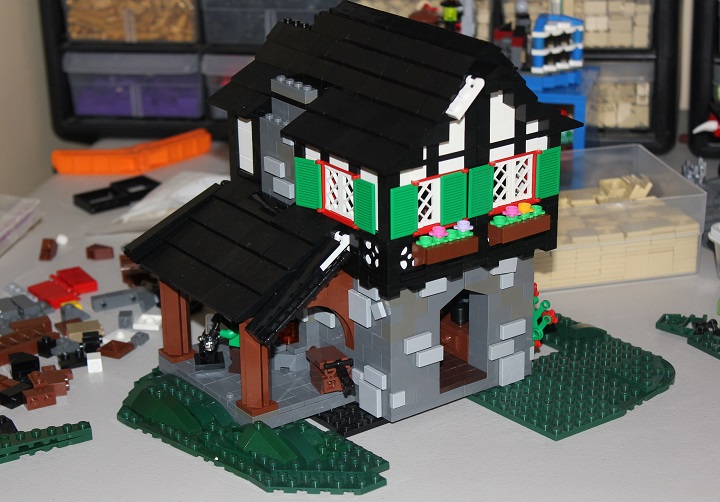
Before I did that, however, I decided to start on the landscape base for the building. In conjunction with the several other darker, earth-toned colors I already had in the build, I decided dark green would look nice.
With the chimneys completed, a small portion of path added in front of the building, and a few minifigs added, it was almost done! All that was left was making a few tweaks to the landscape details, adding a flag to the top of the house, and finishing off the minfig posing.
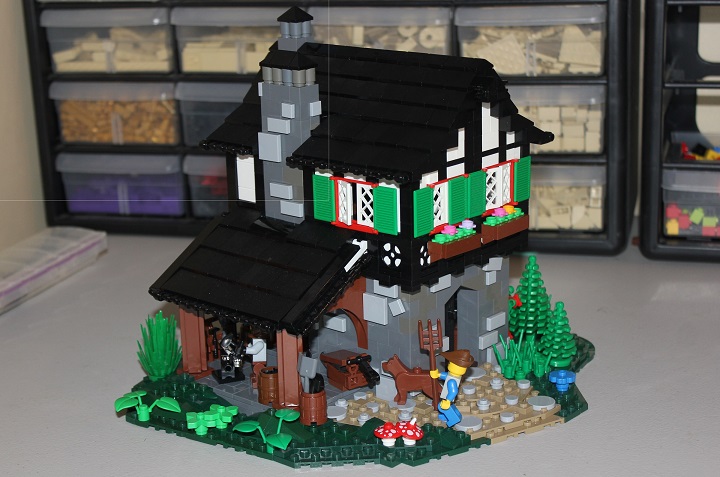
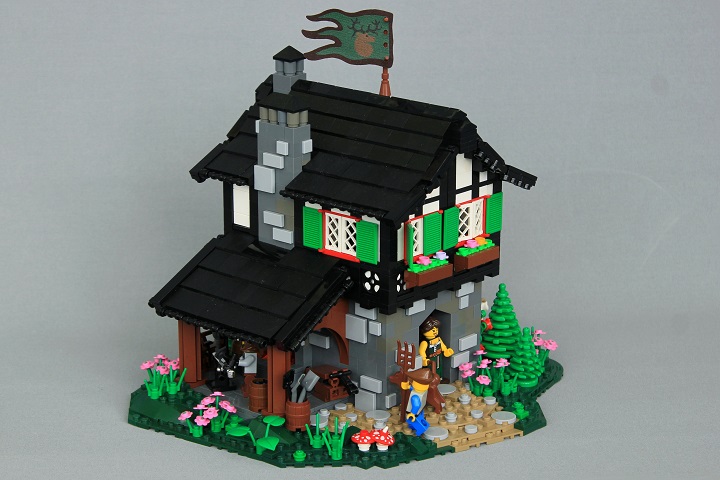
The final build:
I hope you enjoyed this look at what went into making my Hardwin’s Smithy model, and as always, don’t hesitate to let us know if you have any questions, or suggestions for future posts!


Nice one, I have never though of using the technic axle connectors in reddish brown as firewood and now it seems so obvious 🙂
I really like the look the of wooden columns after twisting them 45 degrees. I have used the same design recently for stone semicolumns – not only they look more interesting but also you can place them closer to the wall allowing them to blend more smoothly.