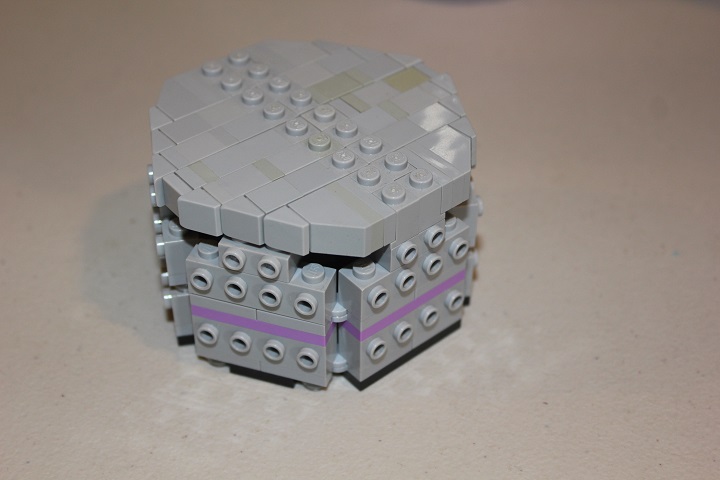
I first came up with this design for use in my Double Trouble on Staor Mountain build. And while it’s a fairly parts intensive design, it gives a nice symmetrical hexagon shape.
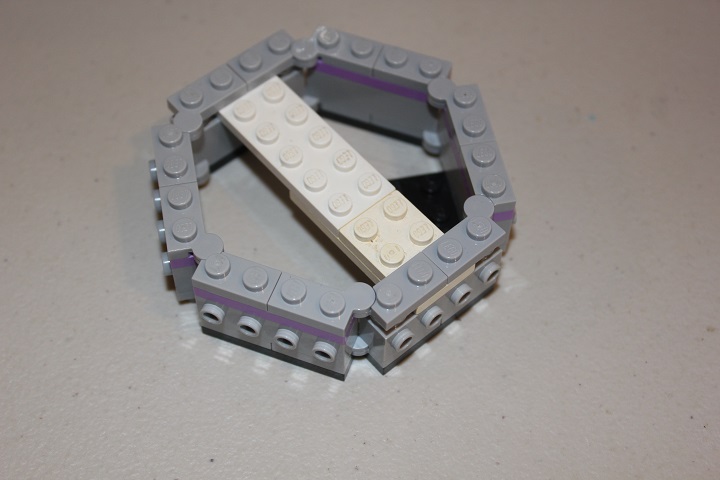
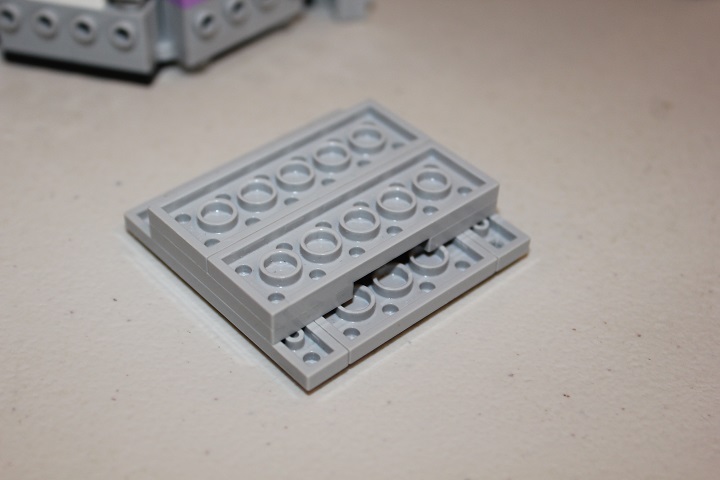
6 hinge plates make up the main core for the tower, connected to each other by 1×4 plates. I used a 2×3 plate on one side just to give some more connection options for placing the tower on a landscape later.

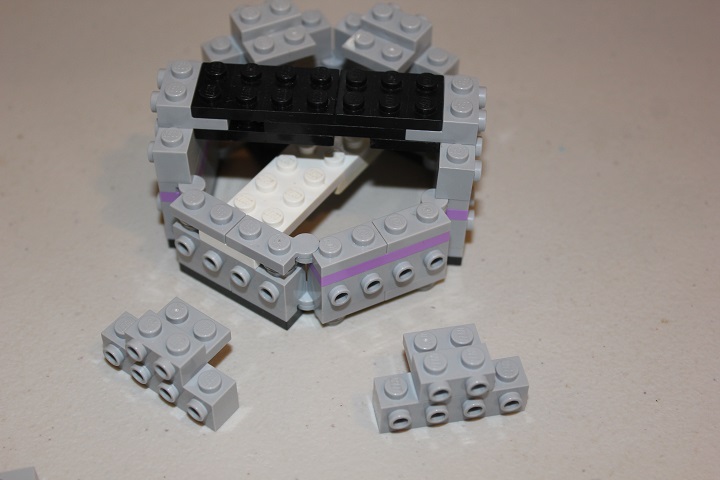
Next some brick modified with stud are added to allow for the actual tower sides to be attached. A 2×3 plate connected to a 2×6 plate by a 2×4 plate gives a sturdy connection between opposite sides of the hexagon.
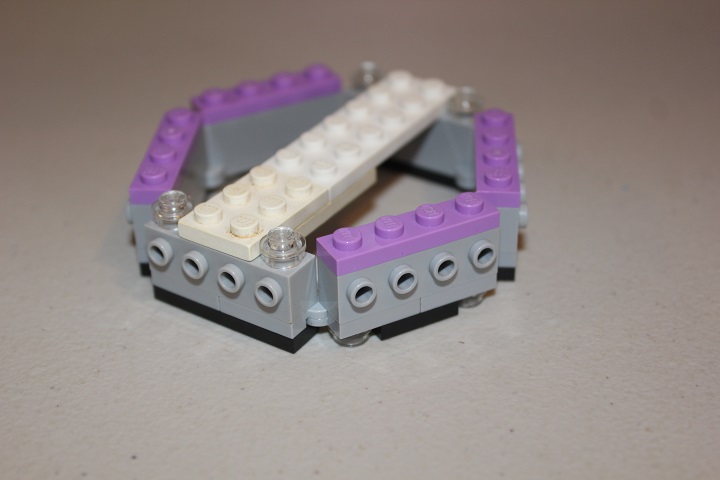
Then another 6 hinge plates are added to lock everything solidly together.
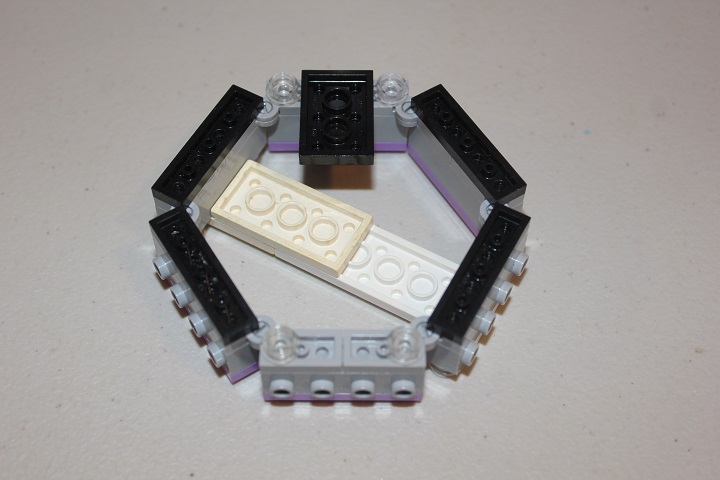
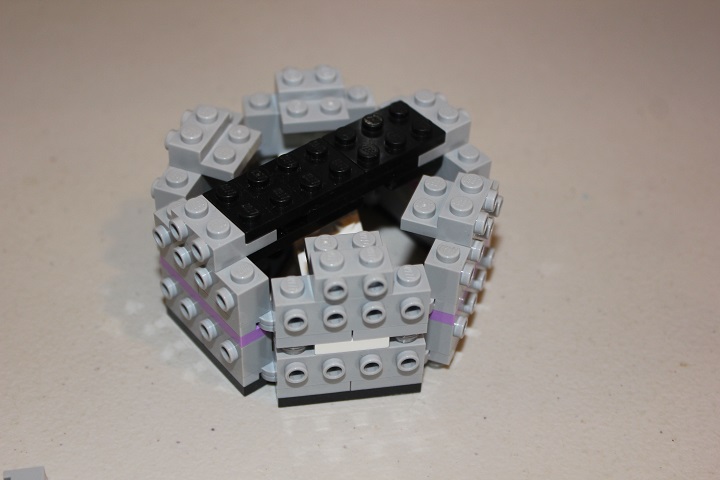
Since we’ve already added 2 more layers of plates, we can now put on more brick modified with stud. This time placing 2×2 plate modified with stud directly on top of those bricks. And using some 2 wide plates to lock 2 different opposite sides together as shown. Using the plates to reinforce the sides of the tower keeps it perfectly symmetrical.
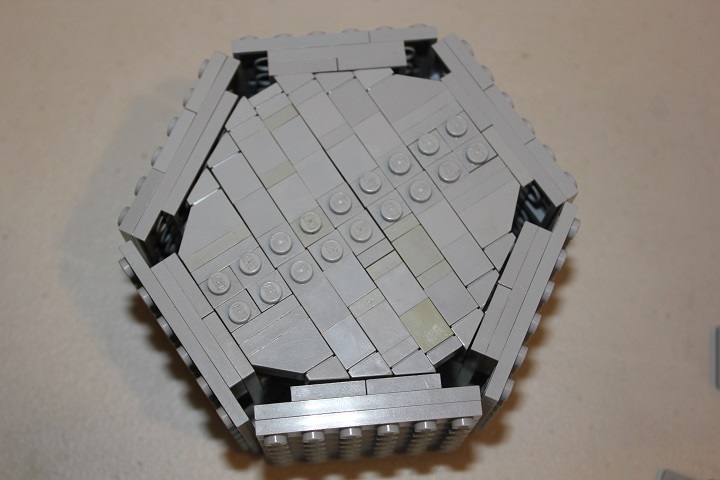
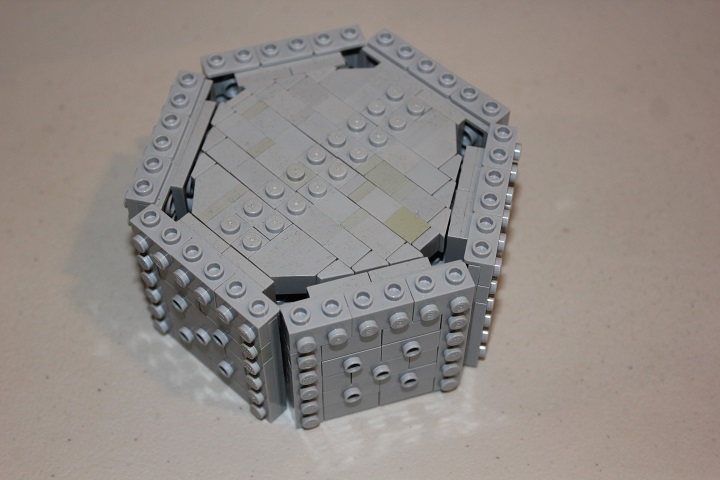
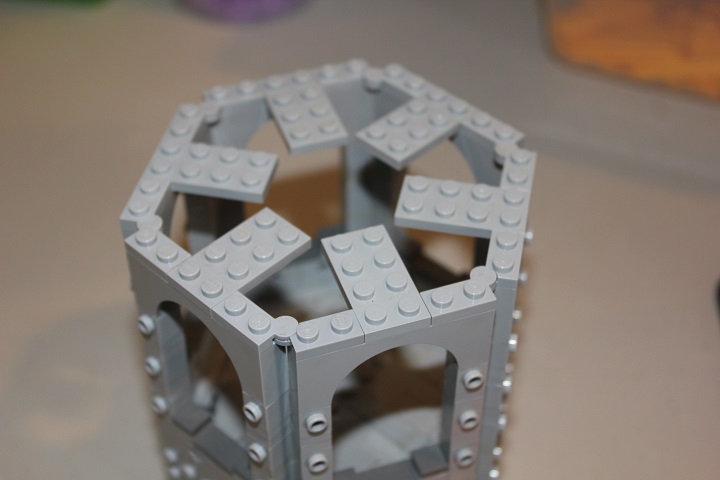
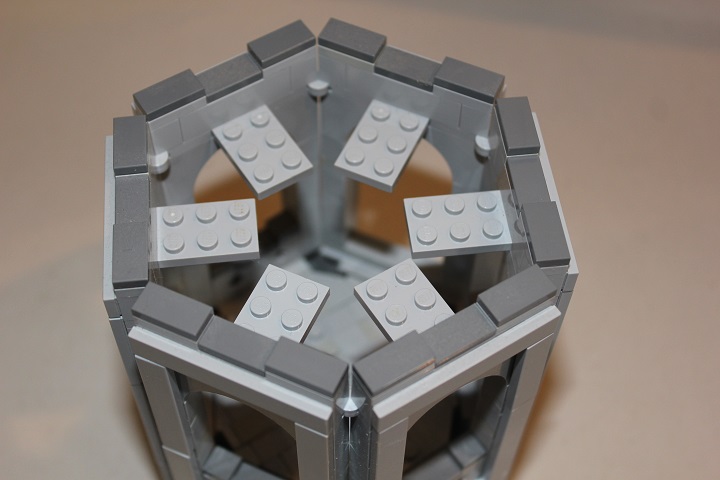
I used brick modified with stud, and headlight bricks to attach SNOT slopes and tiles for the hexagonal floor of the tower.
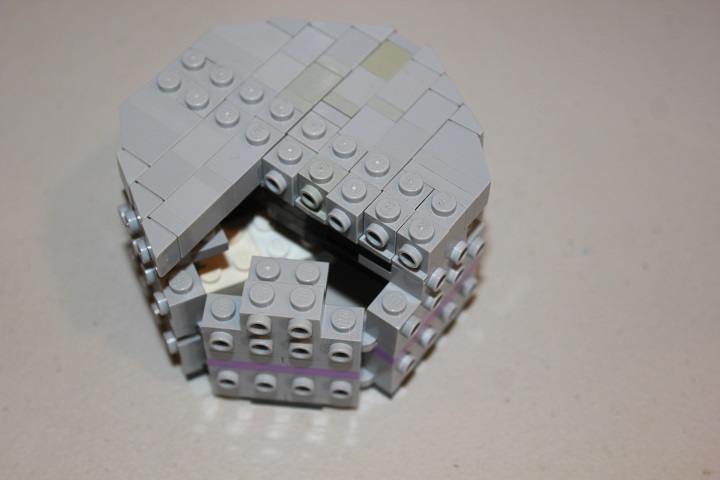
And here is the breakdown of one quarter of that floor – which is then just mirrored for the other sides.
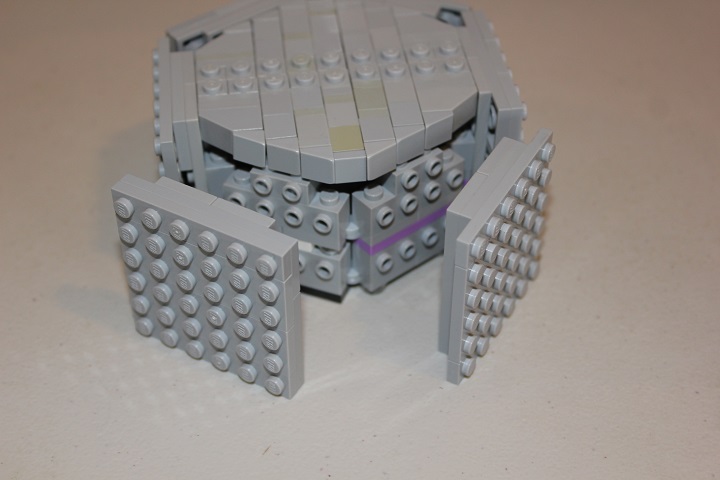
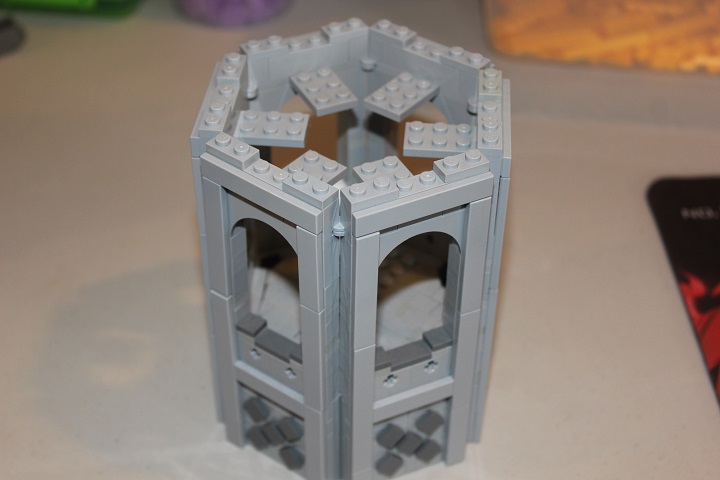
After getting the floor in place, we can move onto the sides of the tower. 3 of the sides are 6×6 plates, supported by two layers of plates at 4×6 studs, as you can see here.
The other 3 sides are the same size, but with only one layer of 4×6 plates, and 2 layers of 6×6 plates.

Then you alternate the sides as you attach them to the tower core.
Giving a pretty smooth fit when finished.
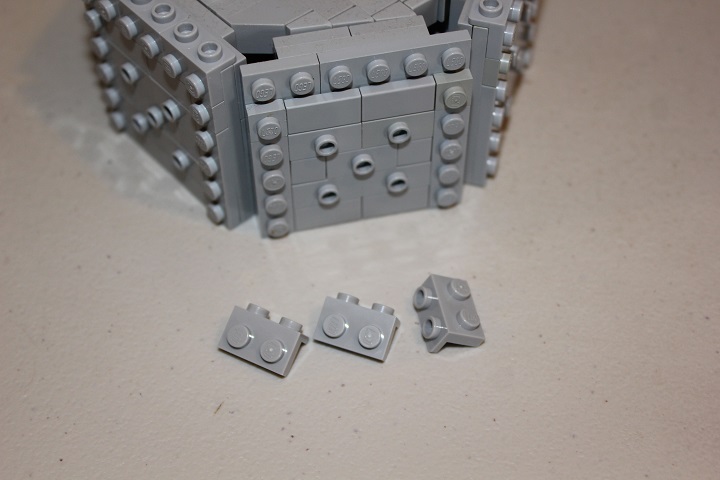
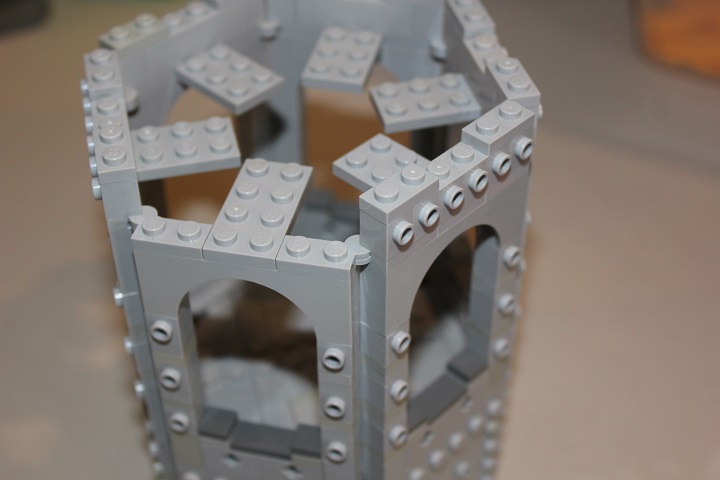
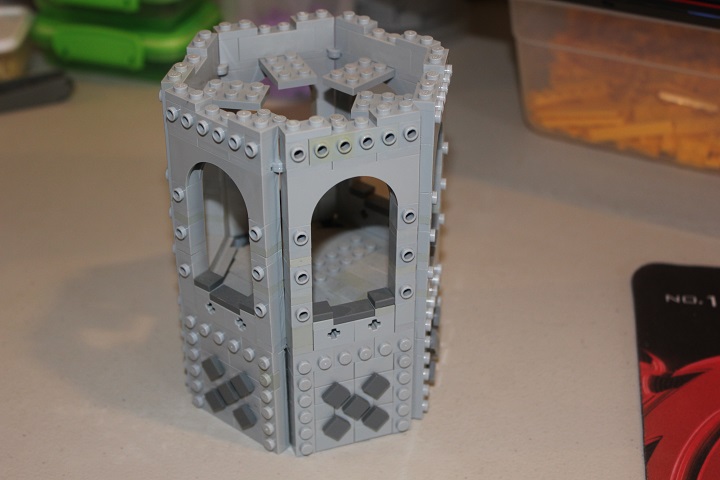
For extra decoration, I chose to use some jumper plates to attach 1×1 dark bley tiles, and then outlined those with a layer of standard plates at the edges.
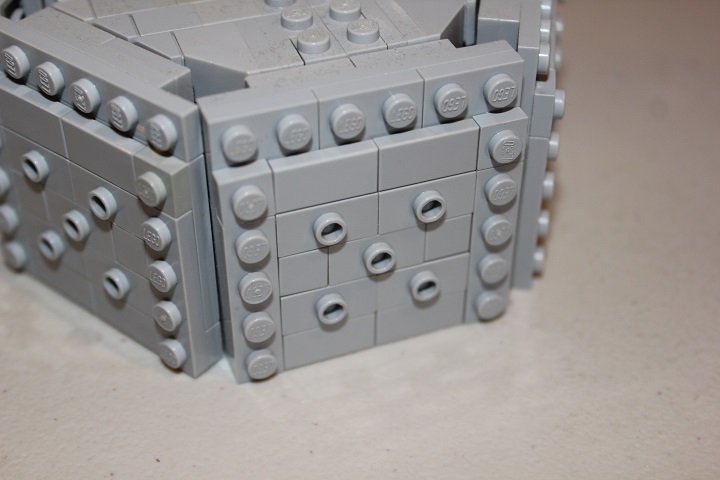
At the top edge, you use brackets instead of regular plates.
To fill in the inside corners, you can use stacks of round bricks and a 1×1 round tile.
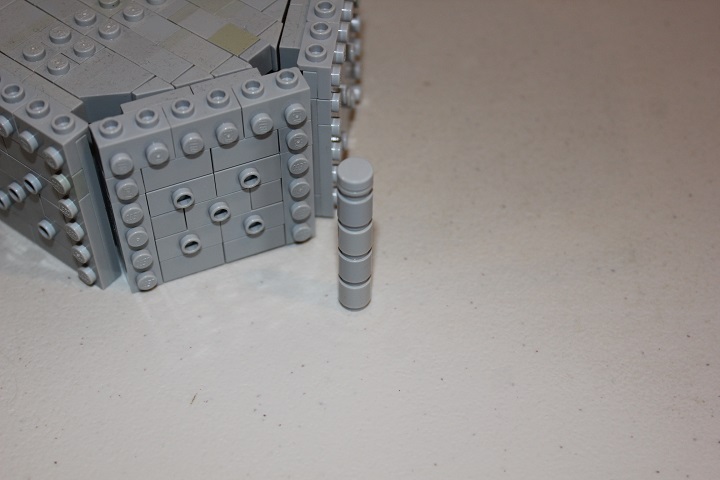
This then slides into the gap.
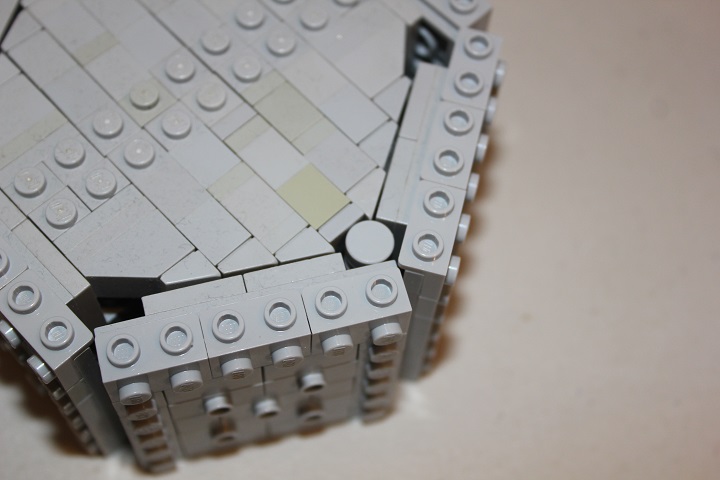
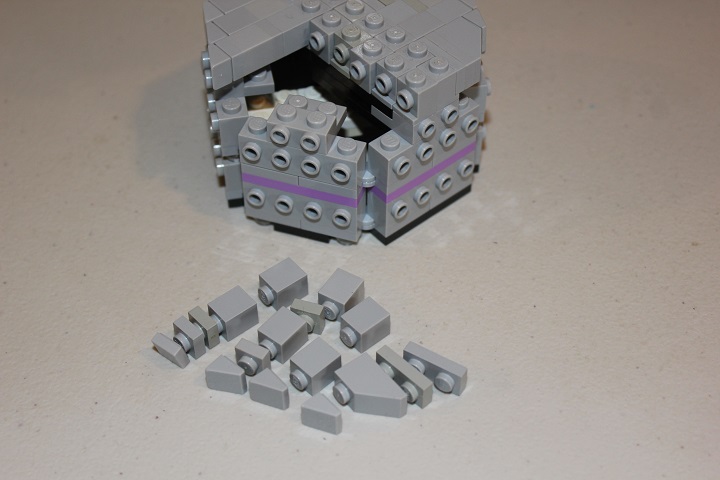
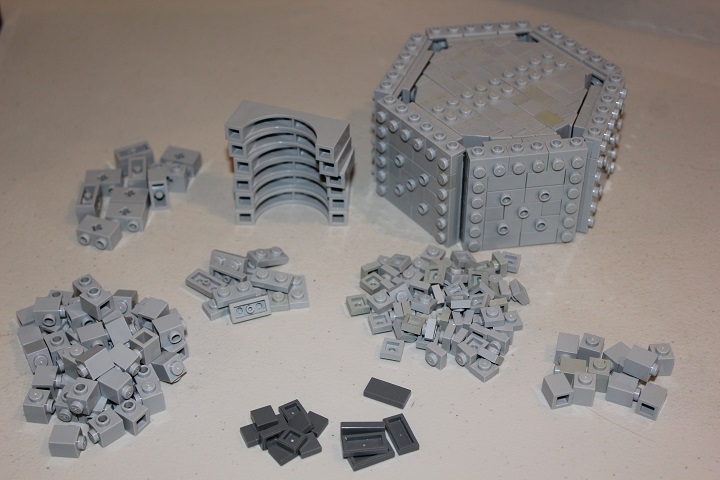
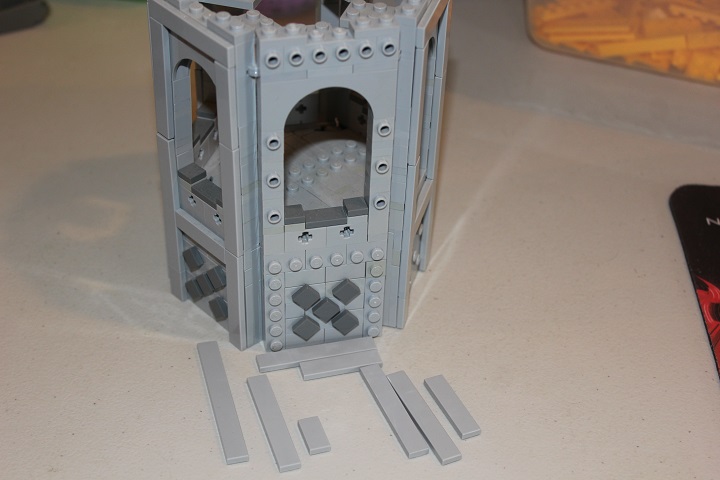
At this point the tower is about half way done, and here is a look at the parts that will be needed to finish it.
Some technic brick with cross add an extra bit of decoration under the battlements.

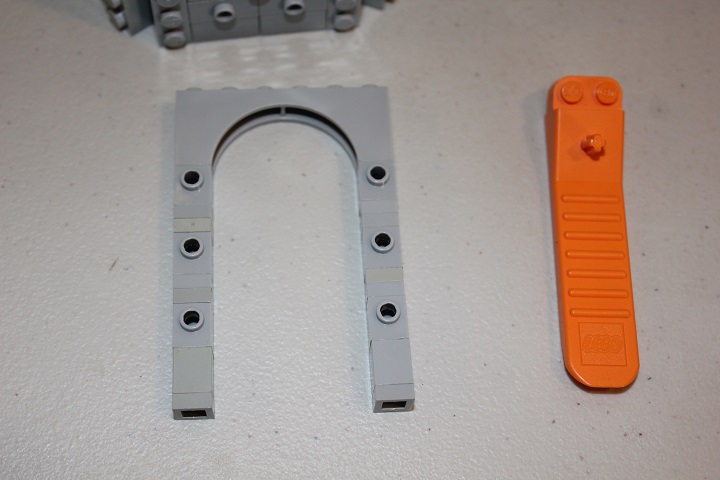
And some 1×1 columns will support 1×6 arches. The brick modified with stud allow for SNOT tiles to be added shortly.
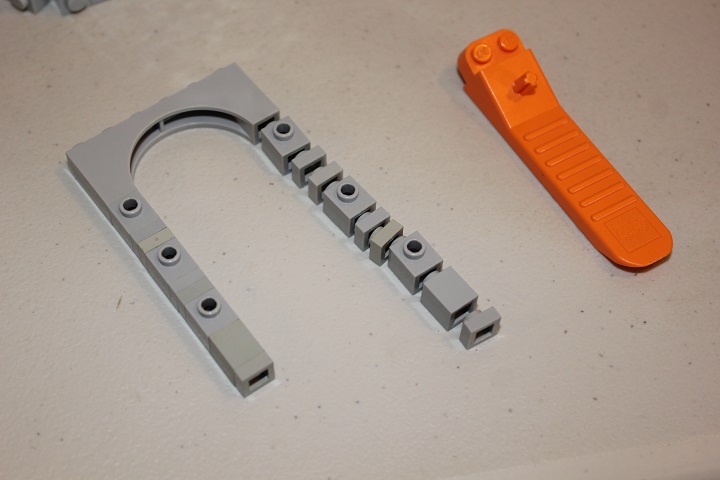
You will need to make 6 of these assemblies – one for each side of the tower.
The battlements and these arch assemblies are connected off of the brackets.
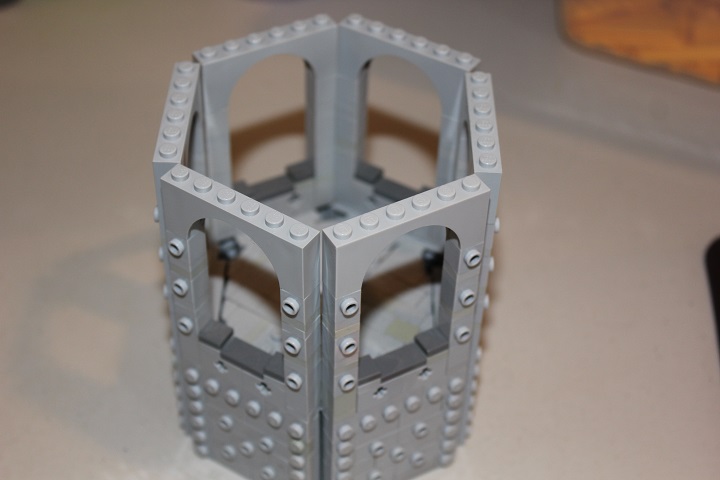
Which ends up working nicely to add another set of hinge plates on top of the arches. I was amazed that this ended up working so well after the transition from SNOT to studs up, and then having the hinge plates spaced differently than the original core.
Some more brick modified with stud are put on next.
And now it’s time to start adding some of the various SNOT tiles.
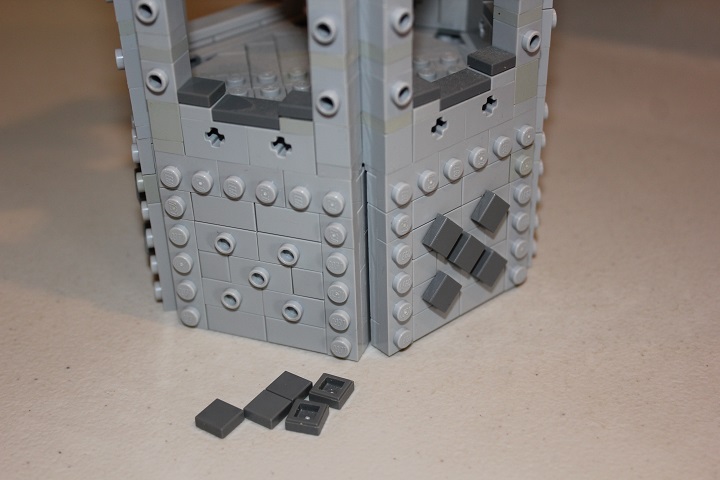
Some long bley 1 wide tiles will be added to the exposed studs shown here.
Giving a nice outline and depth change, as well as locking things in a little more solidly.
A large prefab dome ends up fitting in nicely for the tower roof, though you could also brick build a roof if you don’t have this dome element.
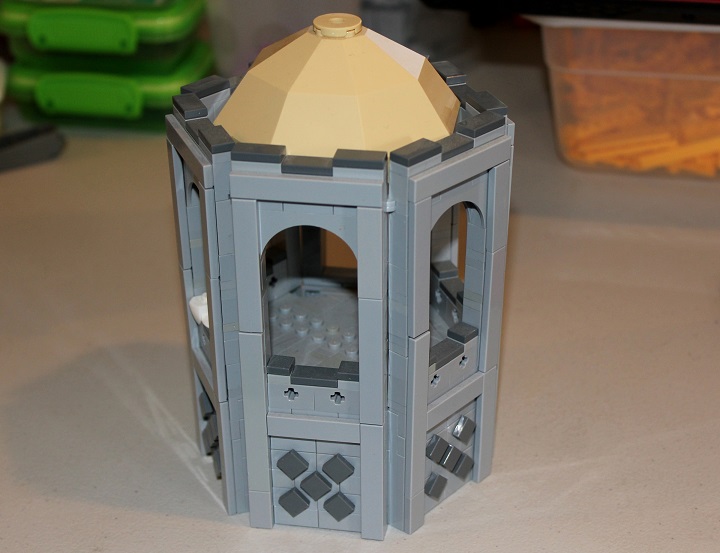
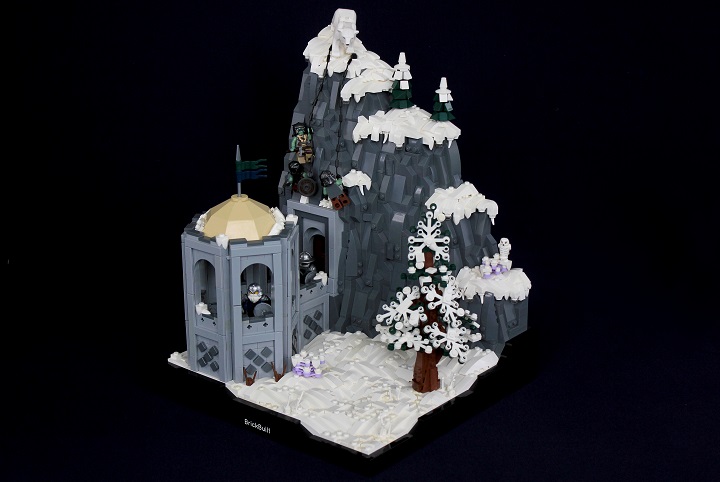
And there is a solid hexagonal tower design that could easily be modified to work as a larger more conventional castle tower.