


Master builder Dubbadgrim shares an innovate base design in this month’s featured tutorial.
“I came up with this technique while building within a 16 x 16 stud size constraint. It lets you add more organic looking detail while still suiting the color scheme, and without looking too busy.
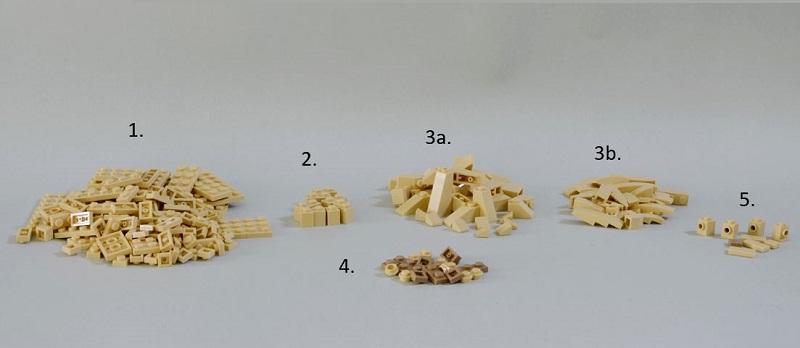
The first groups of elements required (in the primary landscape color) are:
- Plenty of plates (especially 1x1s).
- Some smaller bricks such as 1x1s and 1x2s.
- Plenty of standard slopes and curved slopes. Inverted slopes are not required, but you may be able to save some time by using them.
- 1×1 round plates and 1×1 plates in a secondary colour (for ‘greebling’ the front).
OPTIONAL: Headlights, side studded bricks and tiles for SNOT work.
The second group of elements can be ANY color and compose the following;
- Headlight bricks.
- Plenty of differently sized plates and and bricks.
- OPTIONAL: Side studded bricks for SNOT work. I only used one in this build.
- Tiles for building the framework.
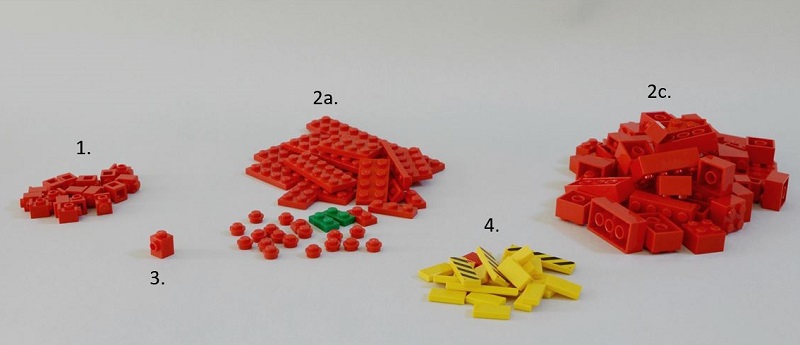
Finally, you will need the pieces for building something on top of the base! For my example build, I just built some very simple stonework and vegetation.
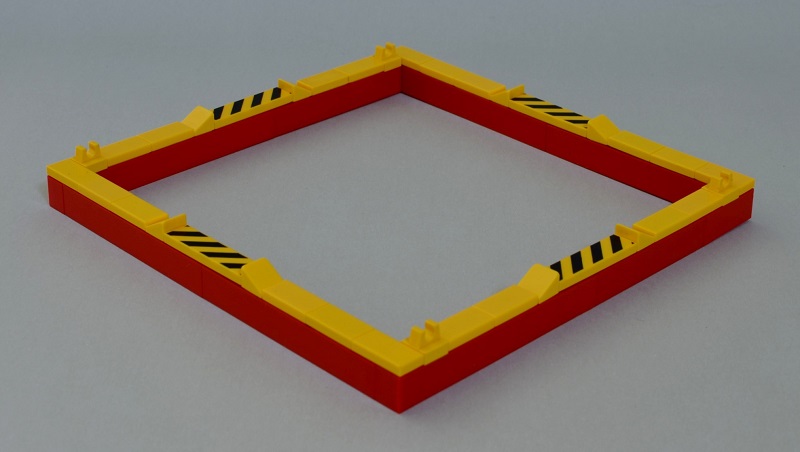
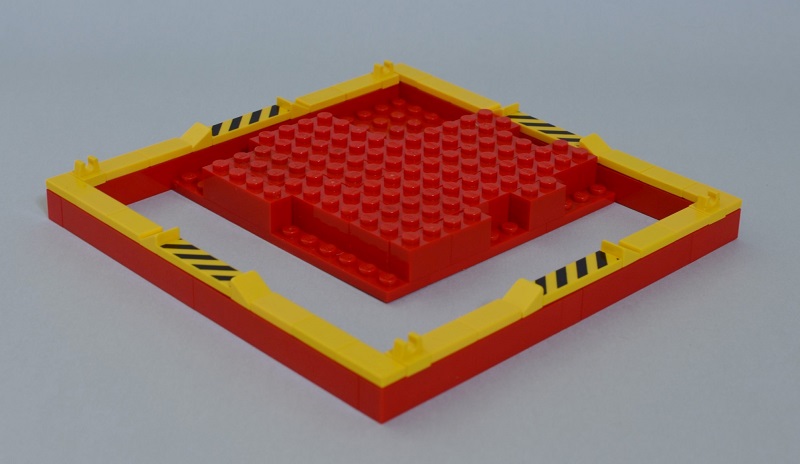
I. Now, the building begins. Firstly, a ‘frame’ should be built to guide the builder within their chosen size. As the example build is 16×16, the
frame should be 18×18 studs to house the build snugly.
Note – this frame will be removed later.
II. Now, a support structure needs to be built within this framework. It can’t come too close to the front, or it will be visible later. It also
can’t be too far back, or your build will be prone to tipping over. I chose a size of 12×12.
III. Keep expanding this support upwards, and top it off with some plates in your chosen landscape color.
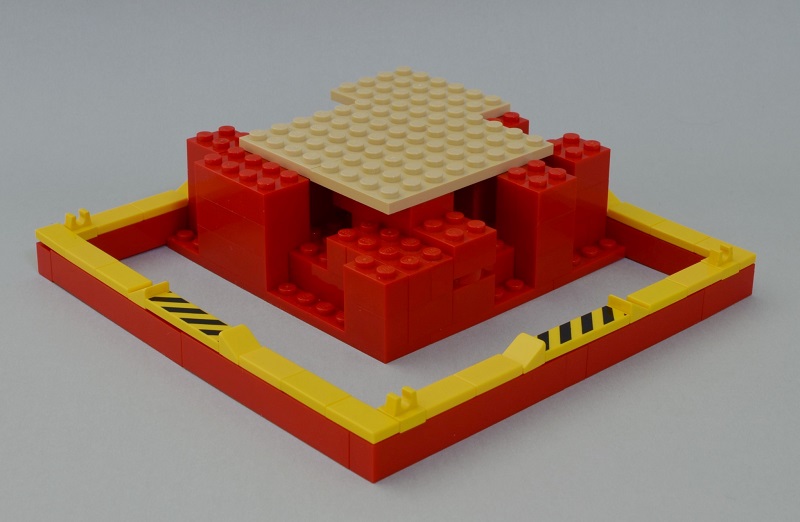
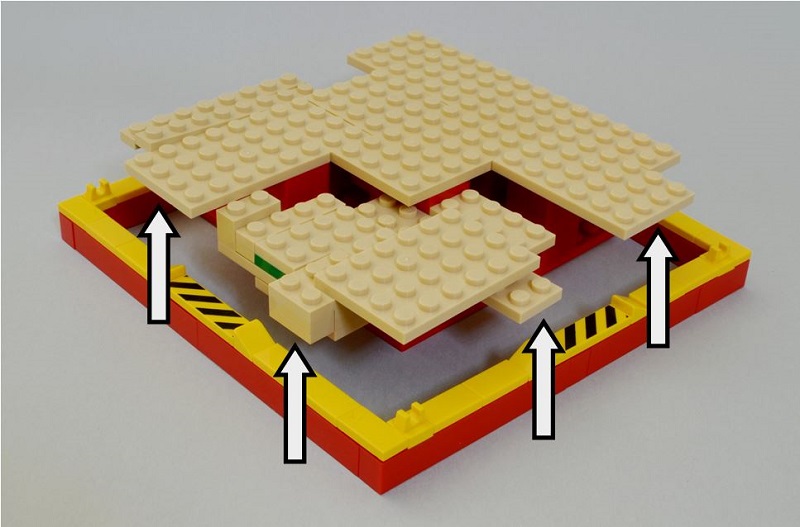
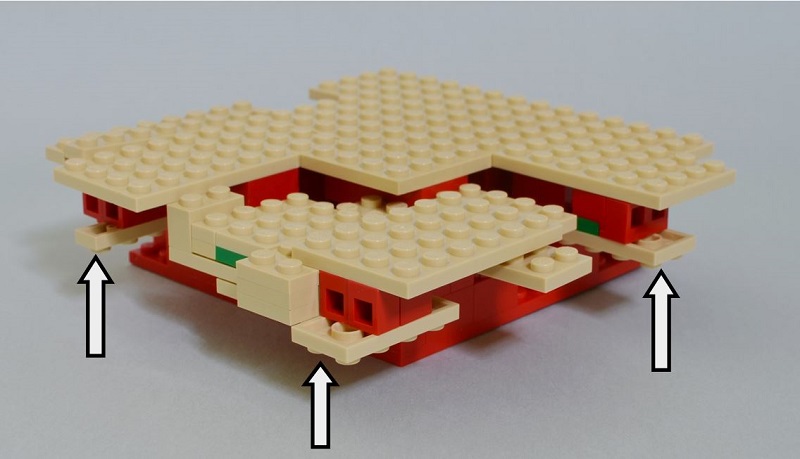
IV. Now, expand more plates towards the edge of the framework, trying to give them as much support as possible. Only a few should
protrude to the very edge. Also, give them lots of space underneath.
The arrows point to the plates that will form part of the build’s front edge. The rest of the plates won’t be visible in the final shot!
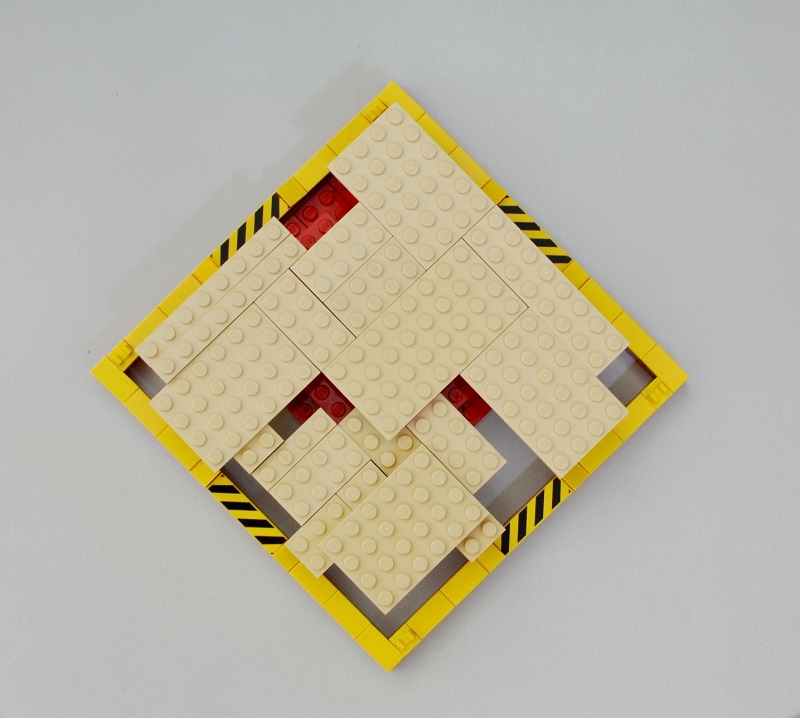
V. This photo shows a birds eye view of the previous stage.
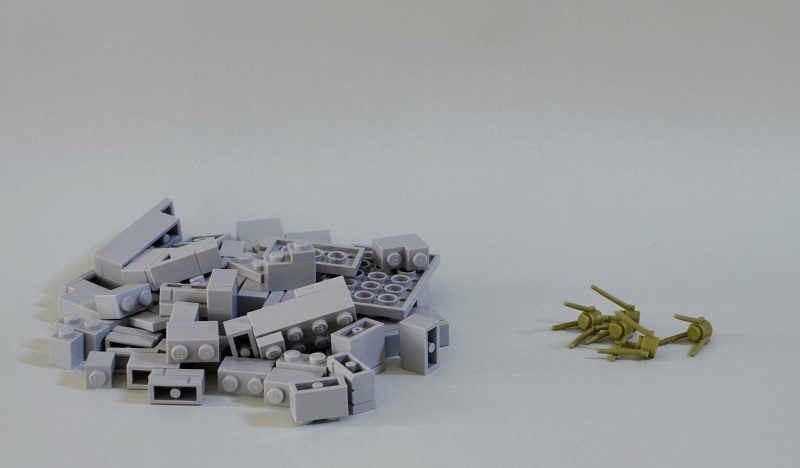
VI. Build some attachments like the ones pictured – these are simply a stud inversion with a height of 3 plates. I try to use 4 headlights and
a 2×1 plate for stability, then a 2×4 plate to extend outwards.

VII. Attach these stud inverters to the underside of your overhanging plates, as per the following. They should bring upside-down plates to
the ‘edge’ of your build.
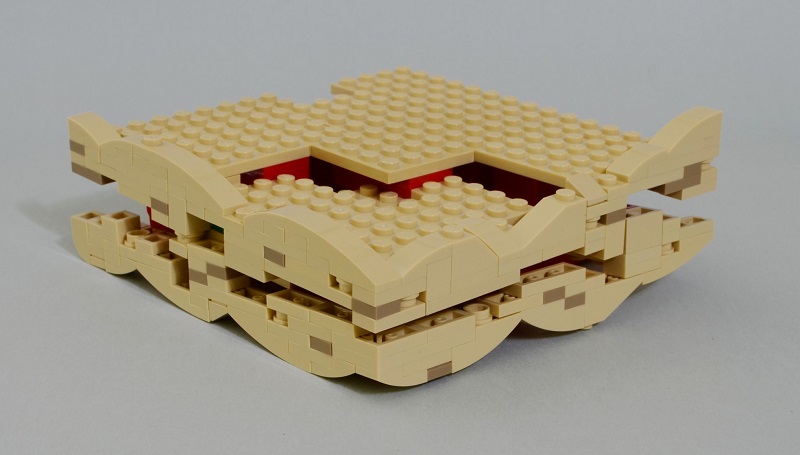
VIII. Your build should now look something like this. You now have reasonably strong inverted plates that will help form the edge of your
base.
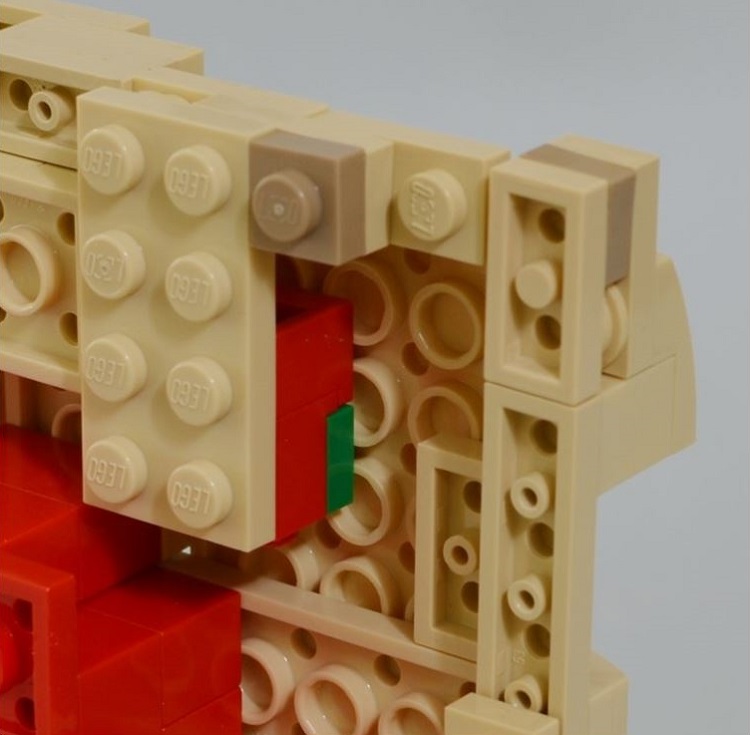
IX. Now for the hardest step. You need to construct the front layer of the build by expanding off these plates. The more variety in your
collection, the easier this will be. Some light greebling with round plates and secondary colors also helps keep things interesting.
This step requires some trial and error, so just check out my other builds (at the end) if you need some ideas.
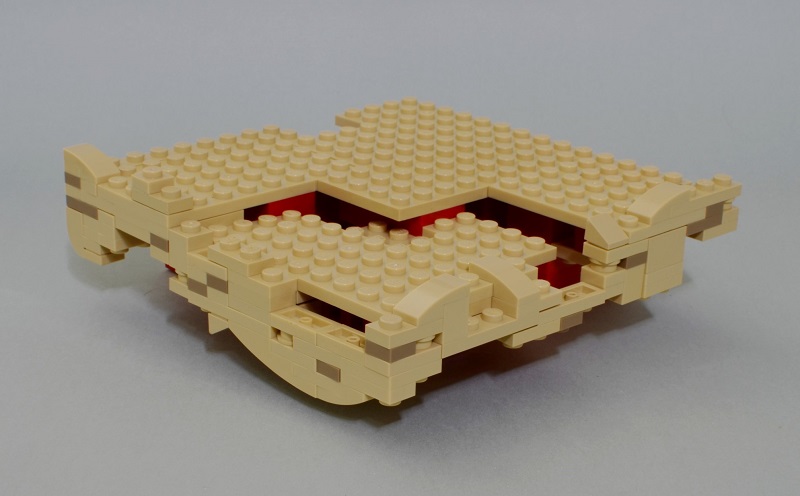
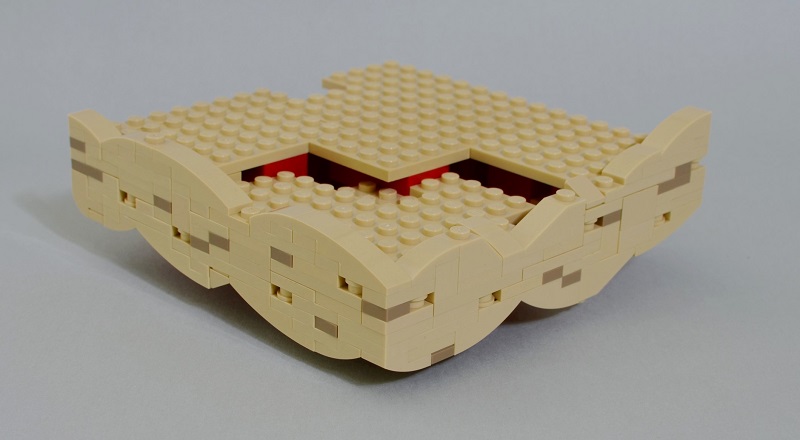
X. The final result should look like this, with curved slopes being especially helpful in giving a natural look to this important front layer.
XI. I took this photo just to show which parts of my base were ‘studs up’, and which are ‘inverted’. If the inverted section doesn’t click up
tidily, you should check the headlight bricks first as they can often become a little loose.
XII. The tricky step is done! Now you can start thinking about the dimensions of your building (if you want one!), and build some
foundations for it.
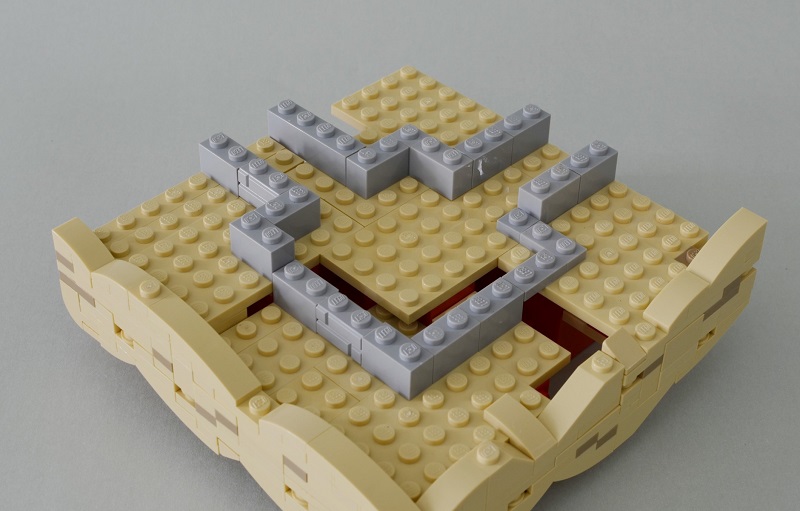
XIII. Expand upwards to your hearts content…
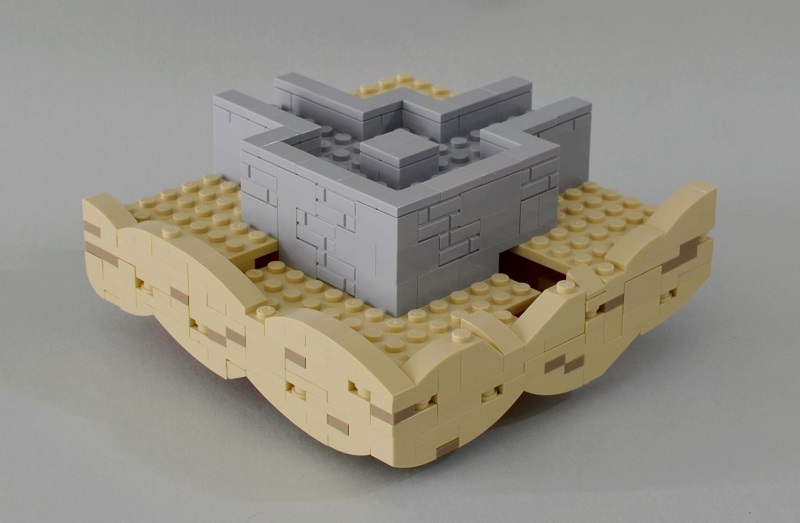
XIV. Start filling in the rest of the base, and do some SNOT work if you want the best results. This is where the additional headlights, side
studded bricks and little plates come in handy.
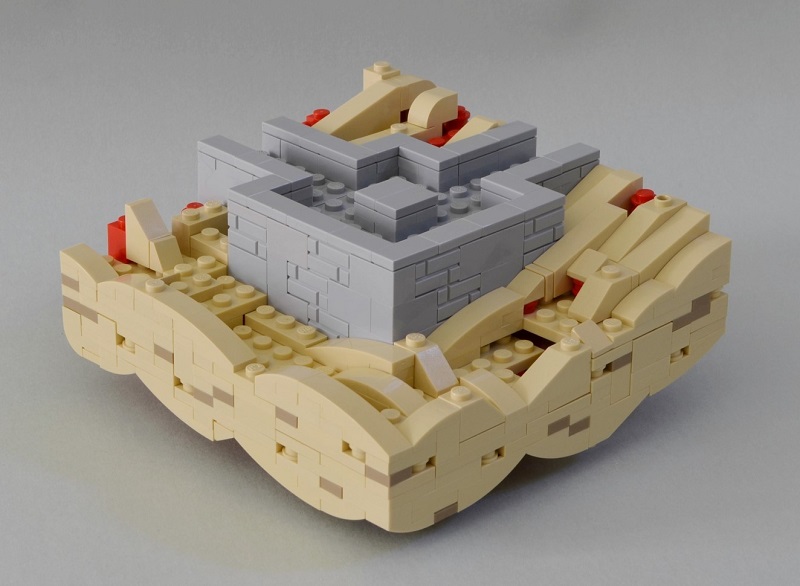
XV. This is a bonus shot just to show you how my base looks from the back. I made sure that there were no overhanging bits, so the build
makes a completely legal 16×16!
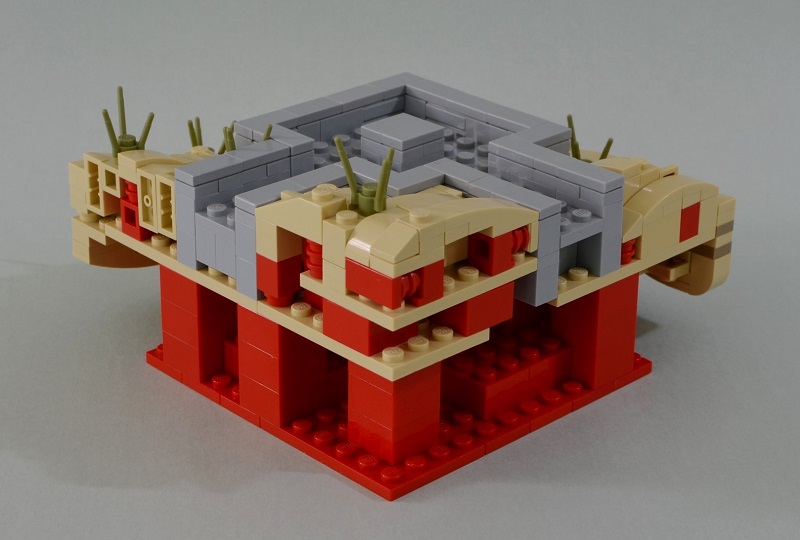
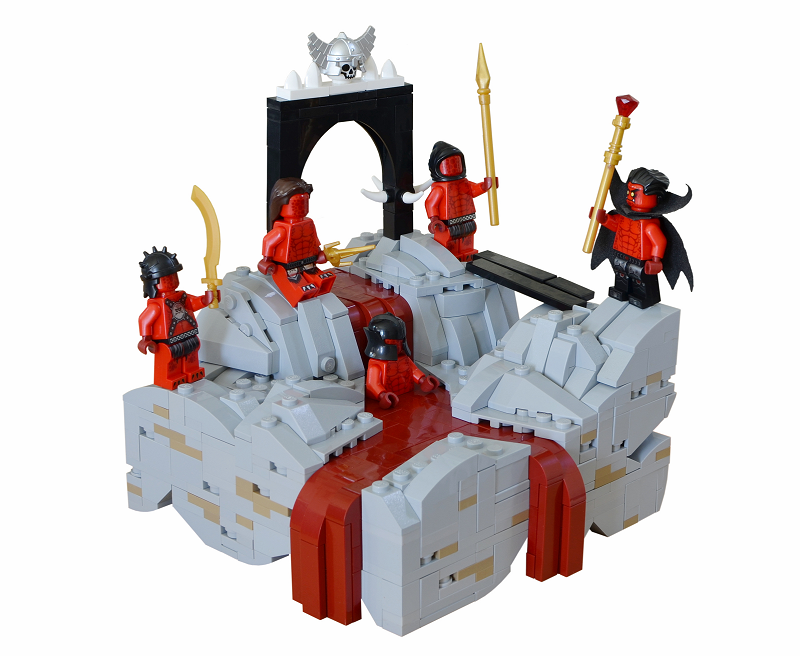
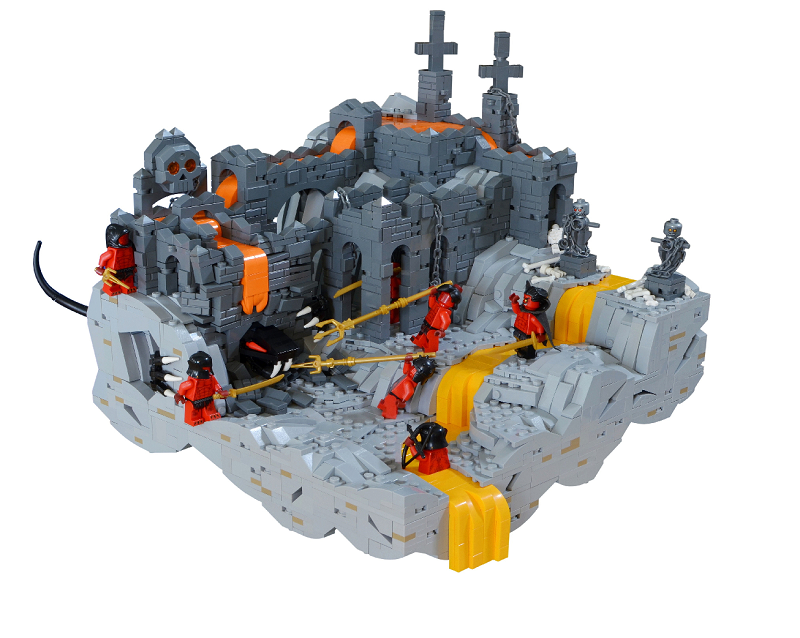
XVI. The finished build, as well as some of my others with the same technique.”
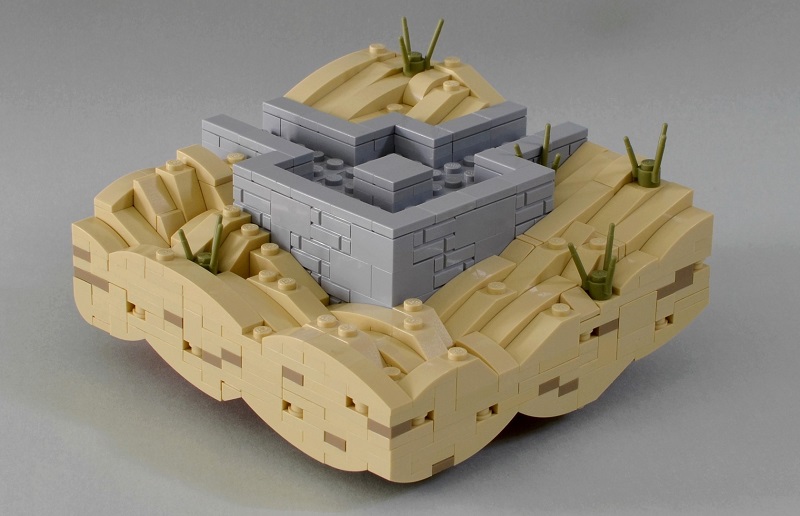
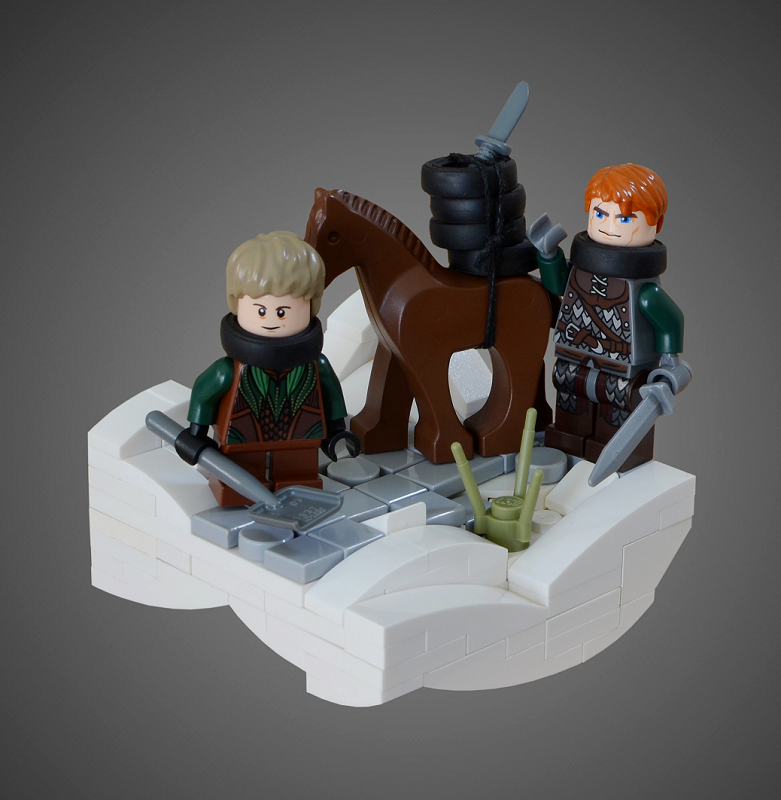
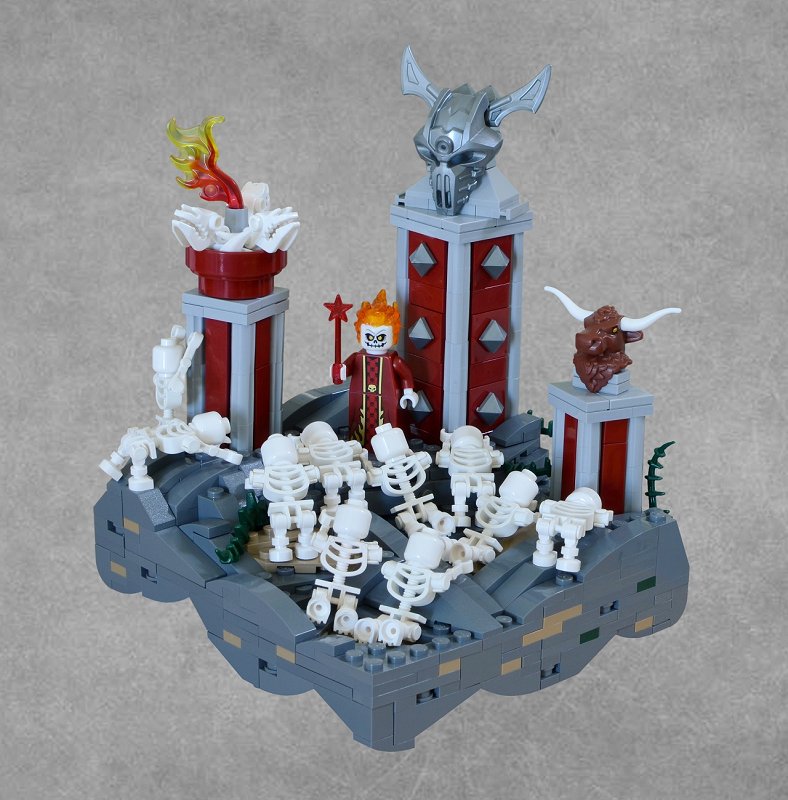
Thank you for sharing that lovely design, Dubbadgrim!

