


We’ve looked at the semicircle tower design I used in my Minas Morgul build before, but now let’s take a look at how I made the completely circular tower in that model. Because you can never have too many ways to make a round tower, right?
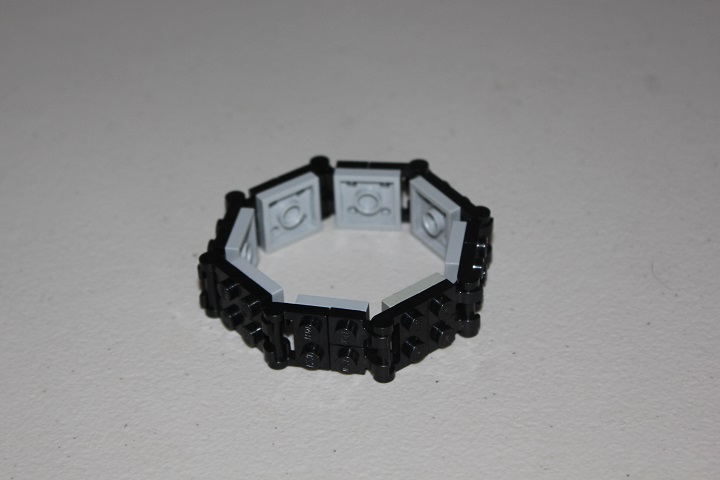
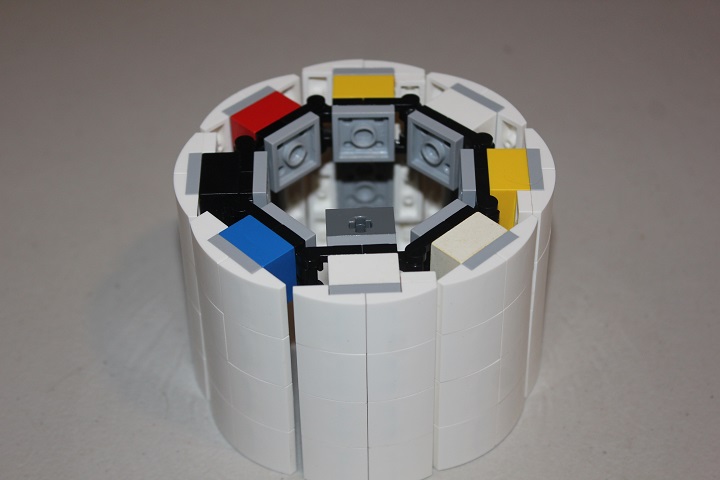
The core of the tower consists of 1×1 (or 1×2) plate with clip, and 1×2 plate with handle. It also requires various 2x and 4x plates.
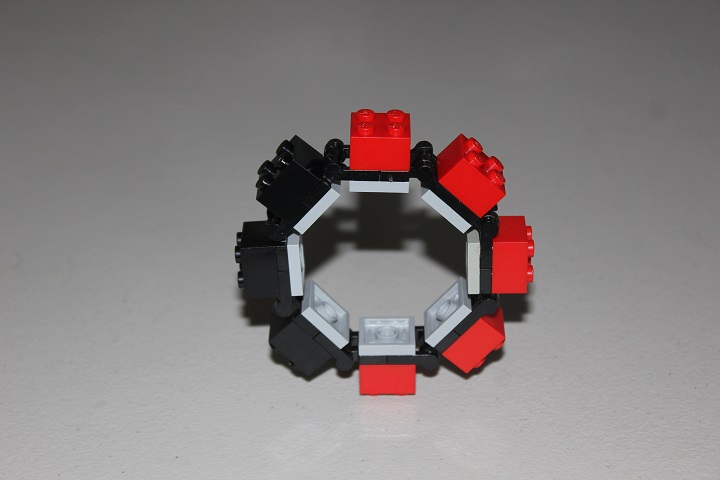
Once you have the core constructed, add 2×2 bricks to the outer portion of the ring.
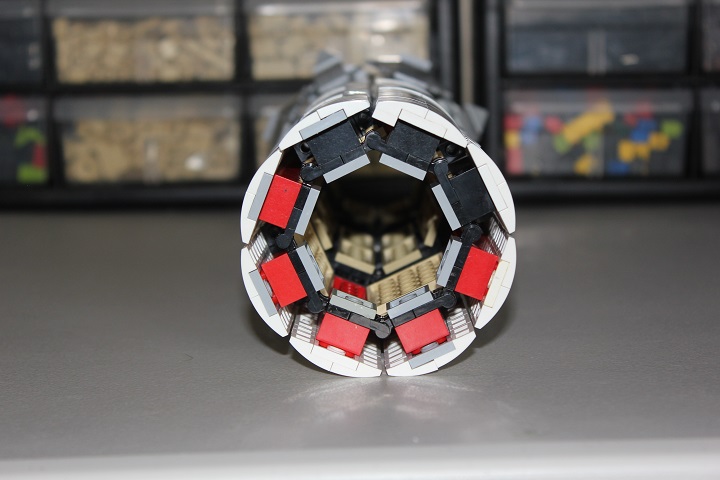
Now it’s time to work on what you’ll actually see from the outside of the tower! Exciting, right?
In case you didn’t know this before, I’ll just put it out there now: this design uses a lot of 1×2 and 2×2 curved slopes. A lot. Seriously. So with that public service announcement taken care of, let’s take a look at how it’s all done.
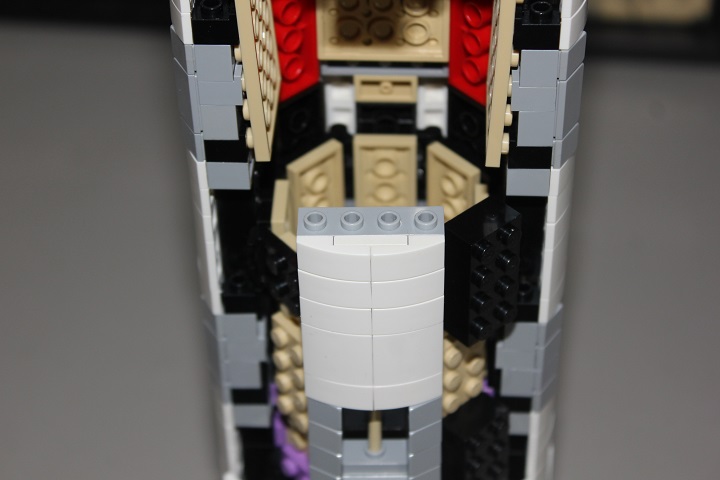
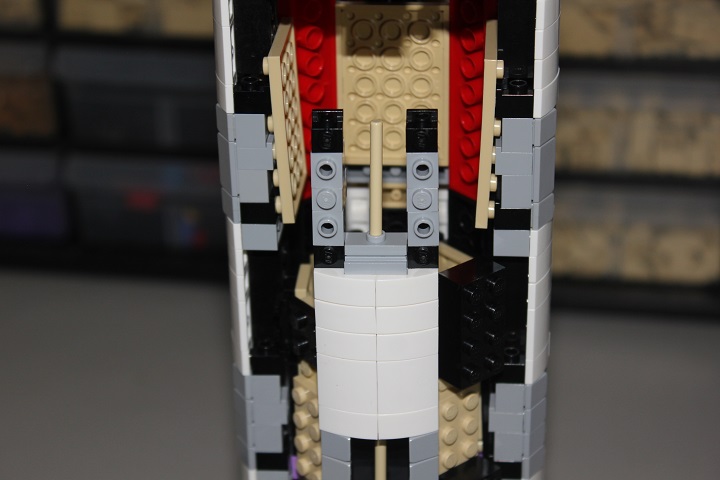
The main part of this tower is quite simple: 2x plates with 1×2 and 2×2 curved slopes attached to them. When it came to designing a window that would work with this design though, things got a little more challenging. Let’s take a look at what I came up with.
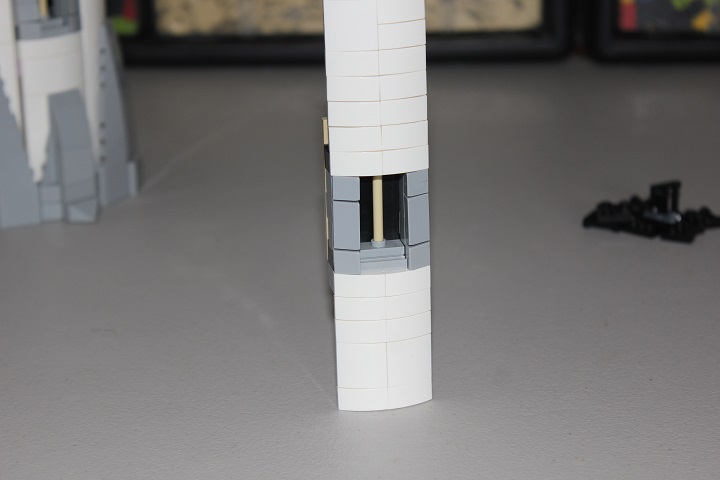
Once you get to the desired height for your window, you can attach a 1×4 brick with 4 studs on side to the back of the curved slopes and 2x plate assembly.
To make a smoother transition from the curved slopes to the window, I used a plate with rail. On top of that, connect a 1×2 jumper plate.
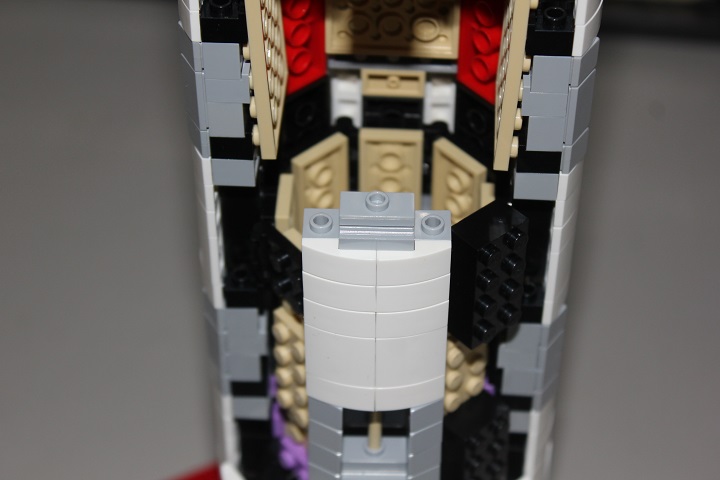
The jumper plate makes a nice connection point for a 4-long bar. The black headlight bricks here will be used to connect the sides of the window later on.
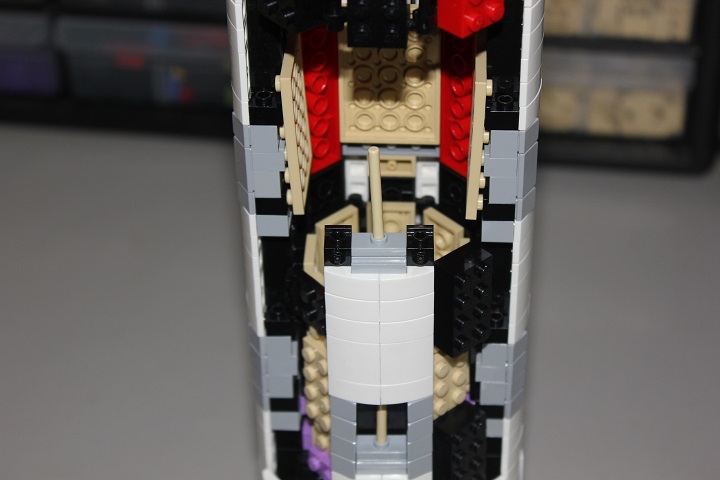
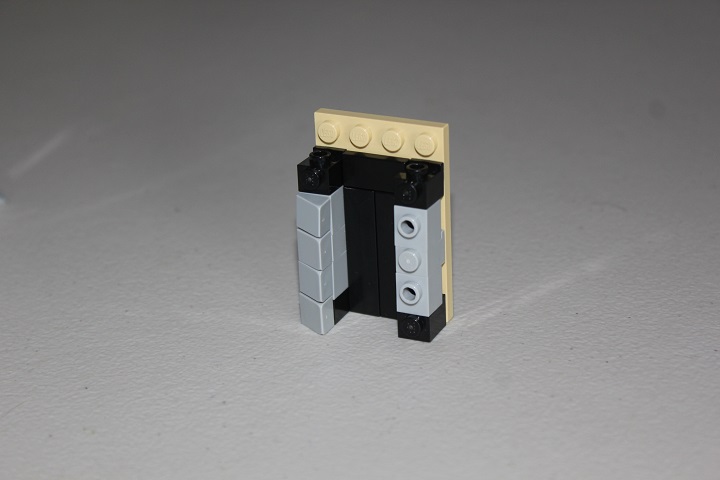
Continue building on top of the headlights with a couple 1×1 brick modified with stud on side.
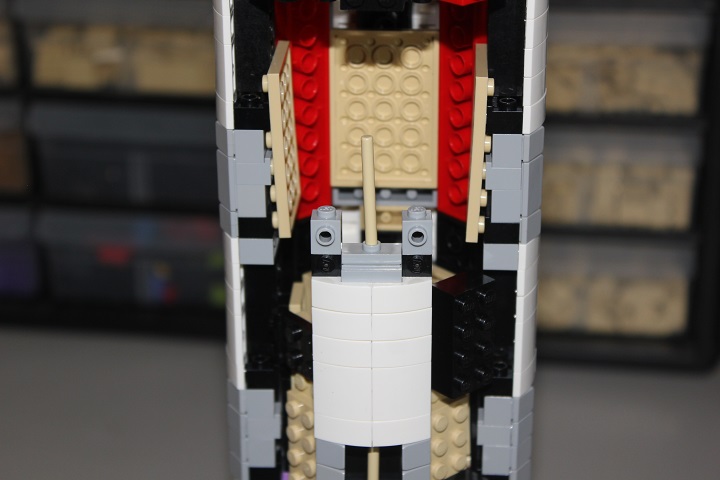
And keep alternating like that until you get to the height pictured.
Since the inside of this tower isn’t very pretty, it’s best to put black behind the windows so that you don’t see it. To do that, I just used a 4×6 plate and a few black tiles attached to the back of the headlight and 1×1 brick modified with stud assemblies.
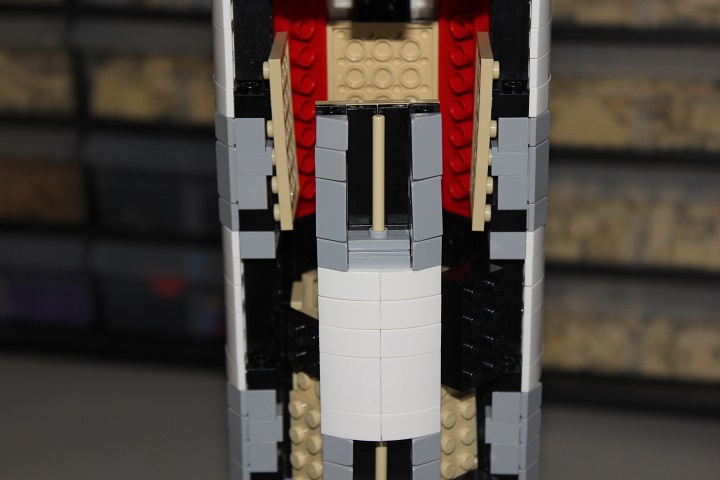
And there you have it! One way of incorporating a window with this design.
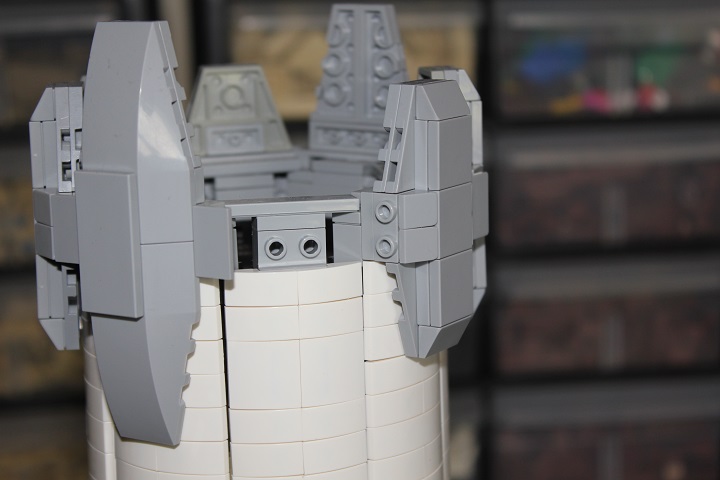
Next, let’s take a look at how to construct the battlements. Alternatively, if you don’t want battlements, you could also try making a round roof to go on top.
Black headlight bricks all around the outer edges provide the starting point for our crenelations.
Then it’s just a simple matter of placing brick modified with stud on top of those, and attaching the battlements to the brick with stud.
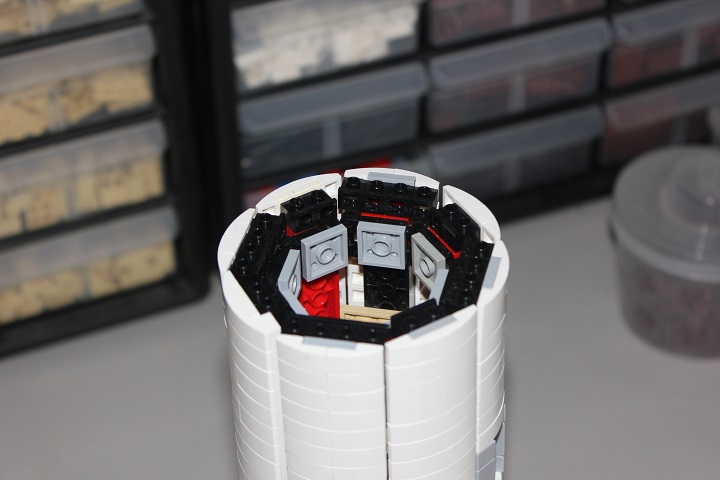
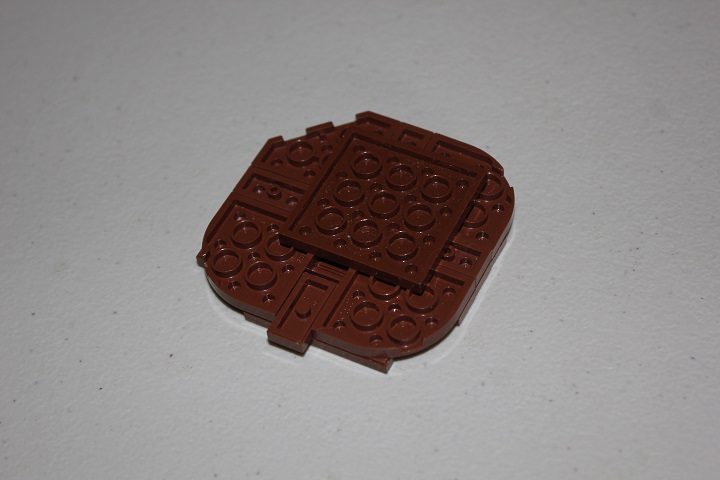
And lastly, you need a floor for the tower. That is, if you want to be able to stand at the top. A few wedge plates create a rounded shape which fits fairly well inside the walls of the tower.
Just add some tiles on top.
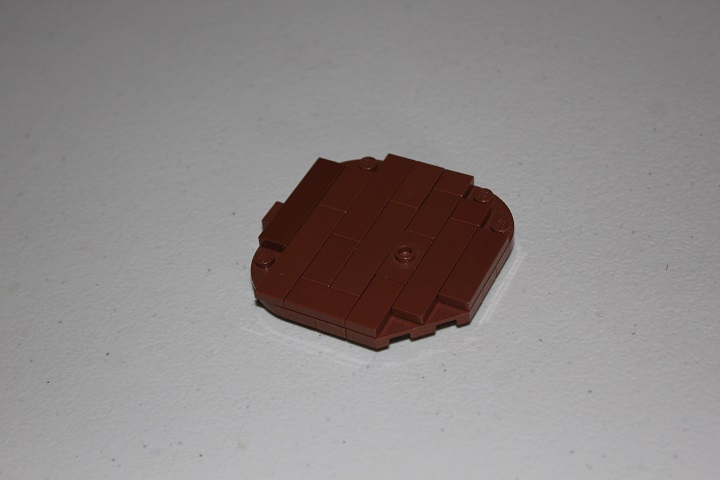
And it fits like this. Not perfect, but it does a pretty decent job overall.
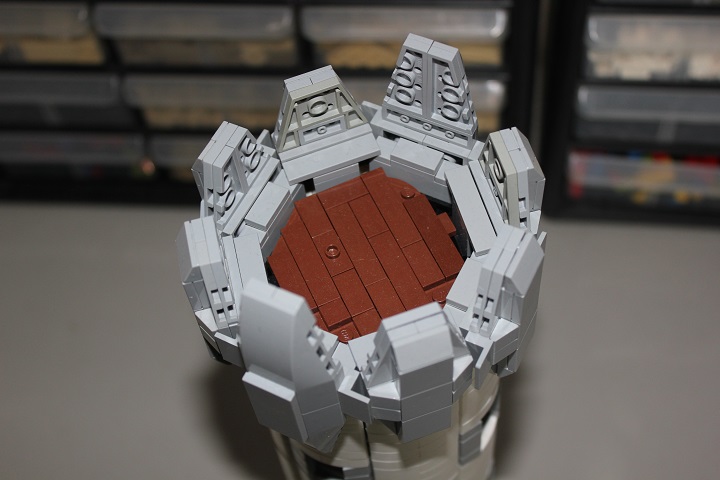
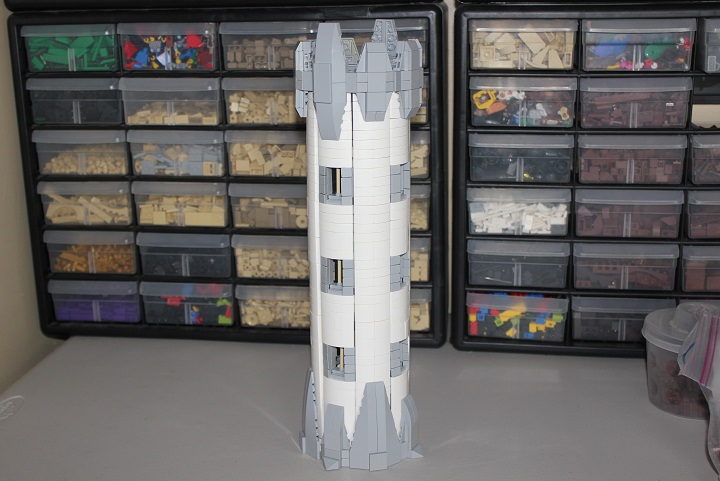
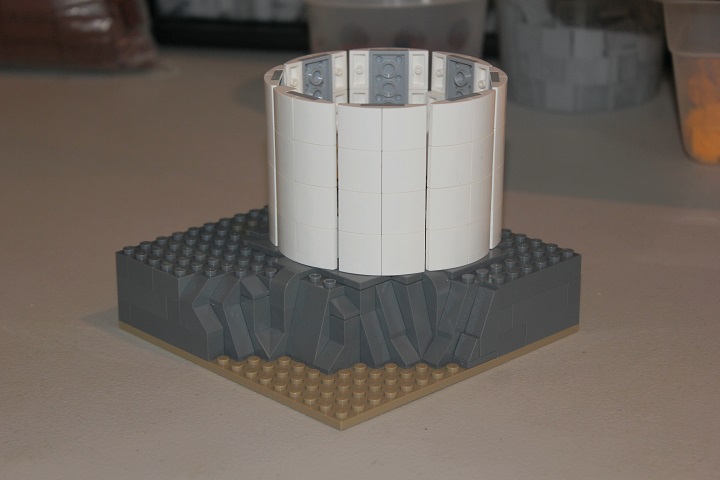
Finally, here’s a look at the completed tower.
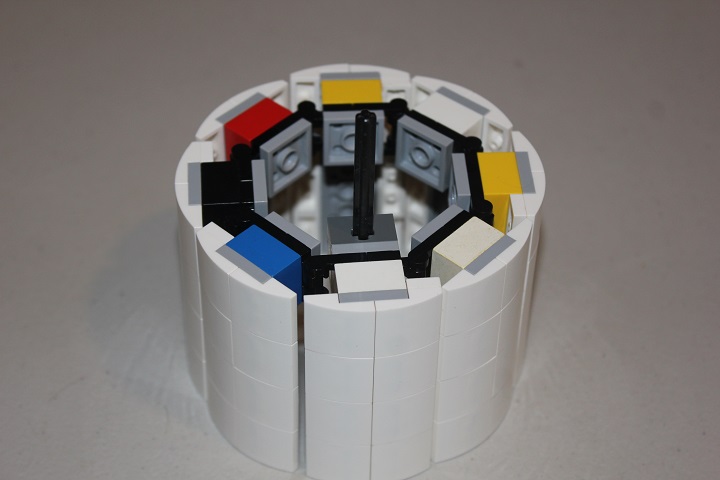
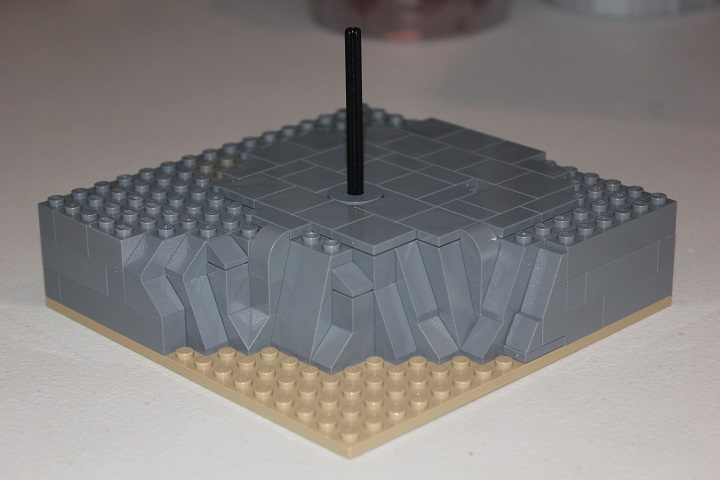
Here is one method which you could use to attach the tower to a landscape. Add several technic brick with cross to one of the sides inside the tower.
Then insert a technic axle into those bricks.
Some 4×4 round bricks with a 2×2 round brick and 2×2 ‘donut’ tile work well to receive the technic axle.

You can build all around those bricks, and by doing so lock them firmly in place.
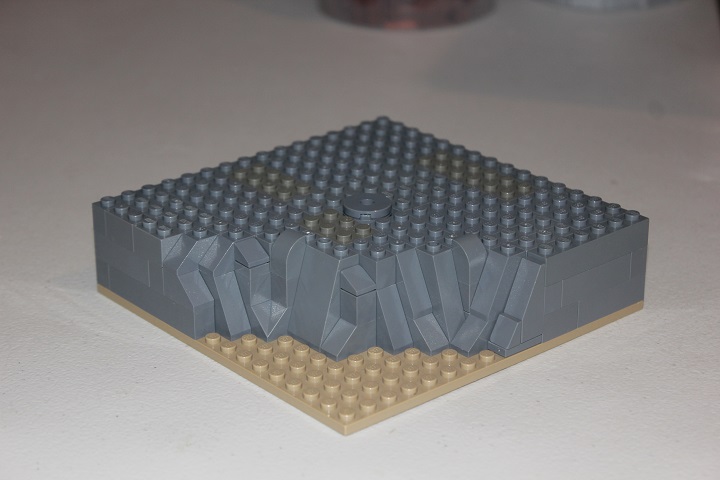

Then by tiling the area the tower will cover, and putting the axle in place, you have a very solid attachment.
Like such.
Let us know if you found this tutorial useful, or if you have any questions about it! We always love hearing from you guys.


Thanks for the details John, the tower turned out really good and … roundy 🙂 I have noticed that You didn’t use any cross supports inside of it and because of that I was wondering how rigid it is, isn’t it too fragile? I’m also quite curious how did You attach it to the the underlying ground to make it stable and not vulnerable to tipping over?
Good questions! The shape of the tower is maintained well without any cross supports, though adding some would strengthen it.
As to placing the tower, I’ve added a portion onto the end of the tutorial to show one good way of doing that. Hope it helps!
Thanks for bringing it up, I hadn’t thought to cover that portion of the design.
Many thanks! Nice idea with the axel. I wouldn’t thought about it. It’s clean and solid technique used frequently for anchoring ships’ sails, so if it’s good for them it must also be good for medieval/fantasy towers 🙂
Is there any way to take this technique & apply it to a tower with a smaller diameter . I would still like for there to a ladder or spiral staircase inside because I plan on using this for a castle.
Likely the simplest technique for something like that would be to use hinge bricks.
Which is a technique demonstrated here: https://www.flickr.com/photos/dwalinforkbeard/17534304233/in/faves-66620538@N04/
We could write a tutorial on that design if you would like.
Thanks for finding an example. A tutorial would be nice … once I get the bricks for this. My castle is going to similar to Thenwell Castle, but with a tower with a ladder inside or a spiral staircase if I can fit one and on the side of a cliff. I really like you and your brother’s work so that is why I pulled inspiration from that castle.
You’re welcome, and that sounds like a great castle setup!
We’ll get together a tutorial for that technique soon.