


I spent an unusually long time building Gardar’s Cloth Goods, and this post covers what the build process was like.
If you haven’t already seen them, there are tutorials available that cover the stonework and cobblestone designs in detail.
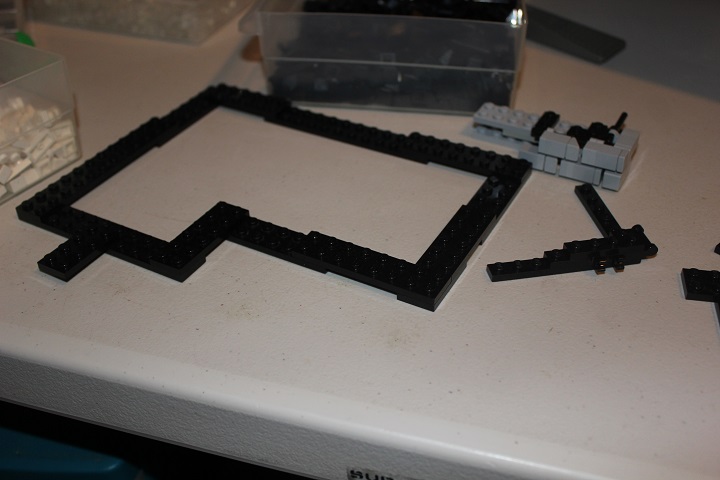
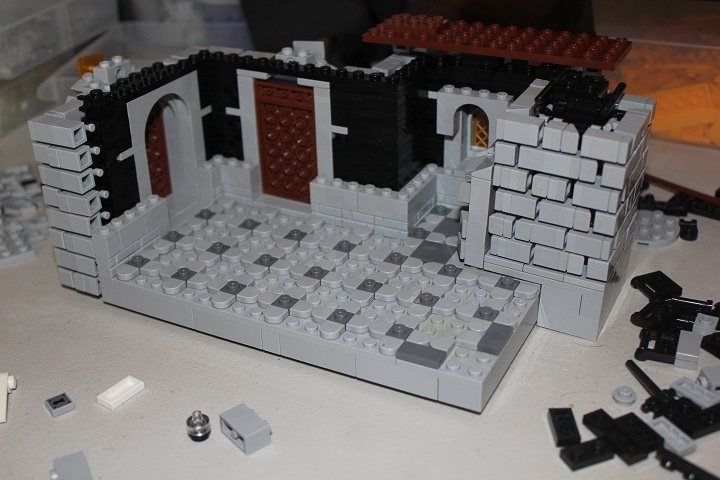
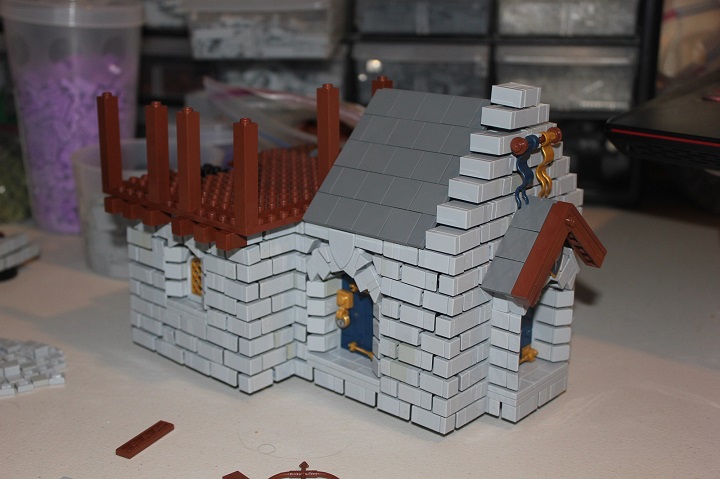
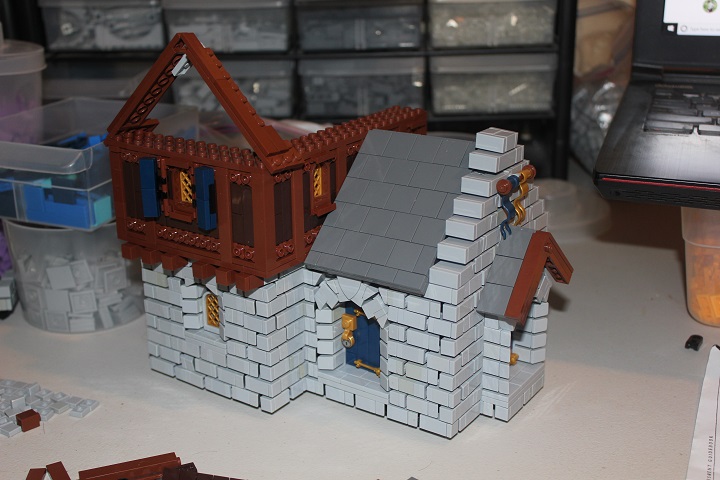
From the start I knew I wanted an L shaped building, taking inspiration from a past model of mine.
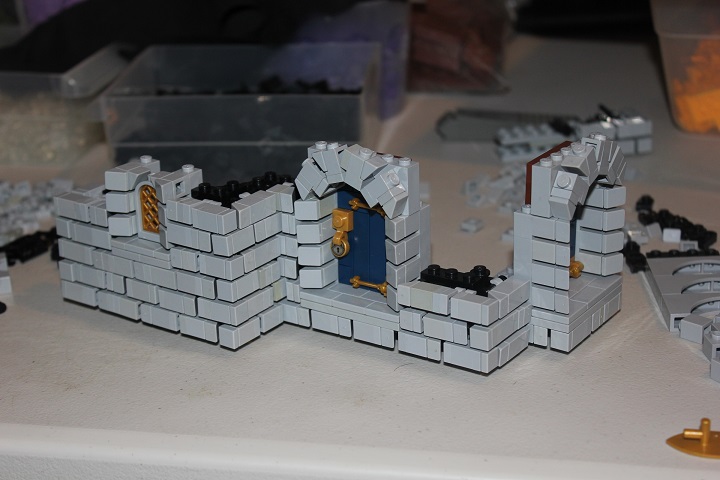
While a bit tedious to build, the stonework progressed smoothly. And the designs for windows and doorways came together easier than I had expected. I started with black lattices in the windows.
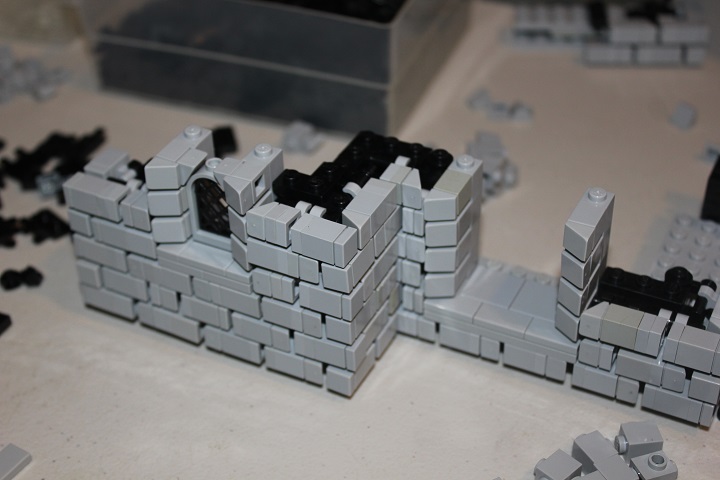
And then realized a brighter color gave some nice contrast with the bley walls. Leading me to use gold for ‘metal’ components, and dark blue as an accent color for painted doors and shutters.
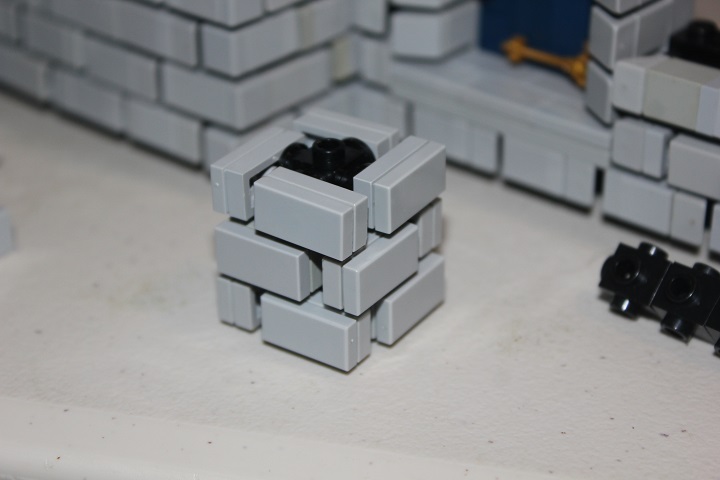
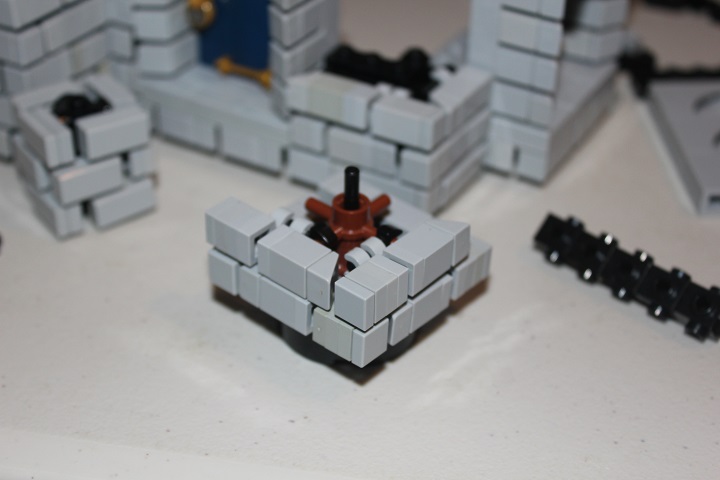
The first real challenge with this stonework design came when I started on the chimney. A lot of space is required for the technique to work, so I tried some alternatives that could allow for a smaller chimney.
The design below was pretty finicky to keep lined up properly so I didn’t want to use it.
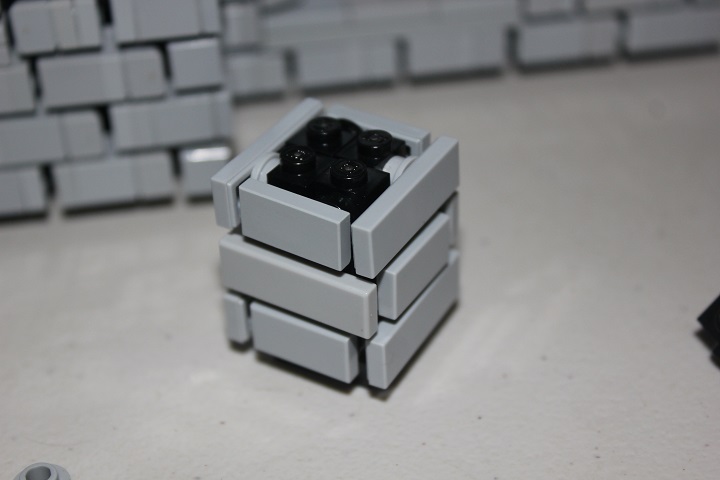
SNOT tiles gave a similar texture, but still didn’t look quite right.
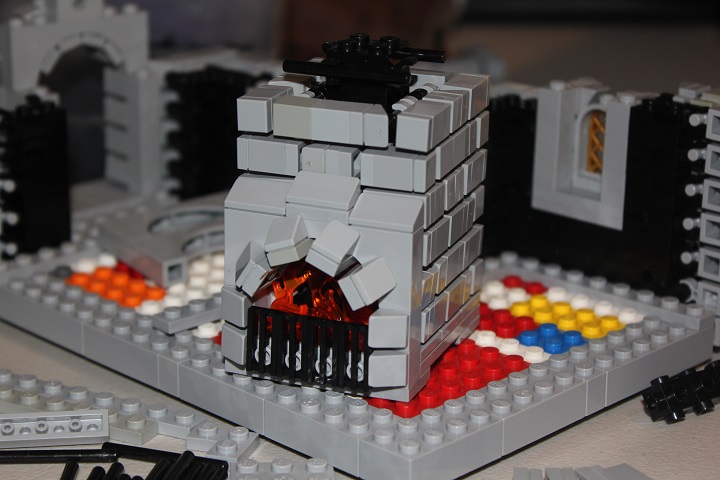
So eventually I settled on this format, which made for a rather large chimney, but did give match the stonework of the regular walls.
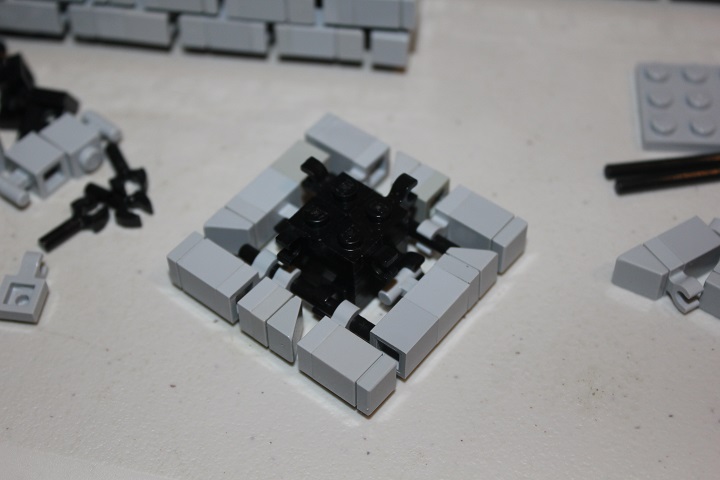
Three or four of the flame elements were attached, and the rest were just piled in place.
After getting half circle tiles in LUGbulk, I had been wanting to use them for floor patterns. And I rather like how this one turned out.
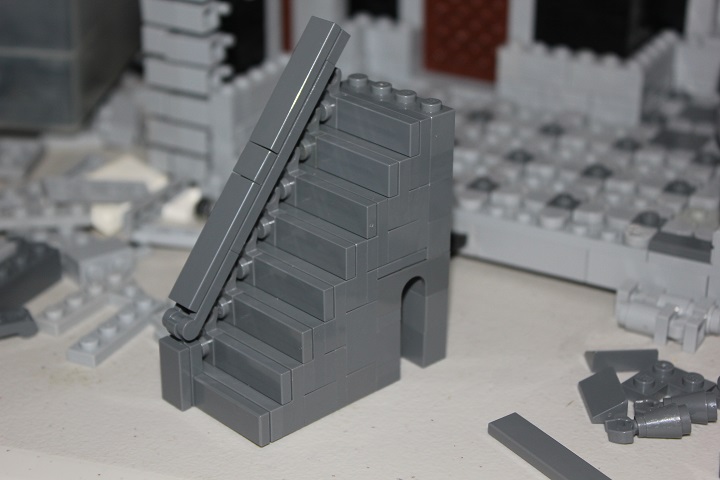
The stairs to the second story were another portion that took multiple design iterations.
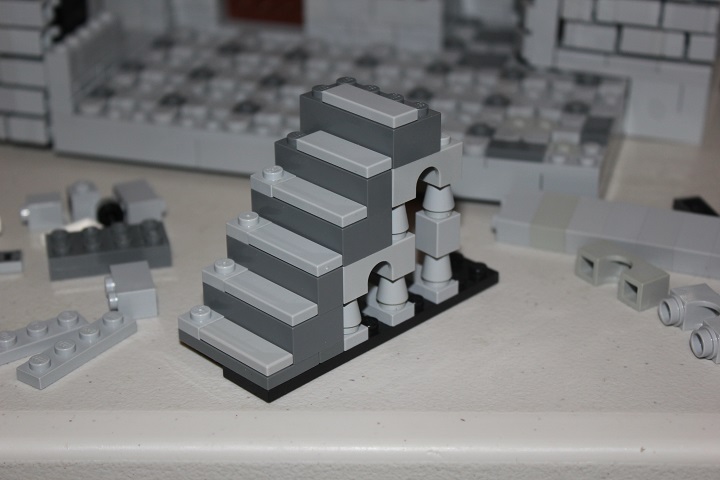
While I liked the idea of bley accents on dark bley stairs, with this small of a staircase it just didn’t work out very well.
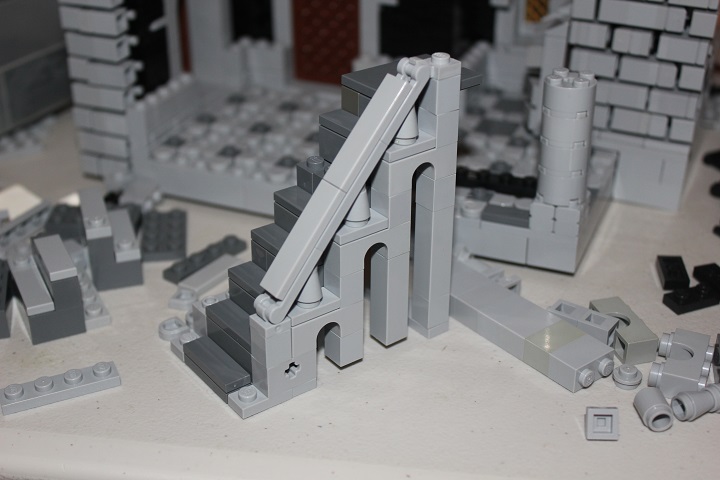
So I changed plans and went with all dark bley. But this solid sideways setup looked too blocky.
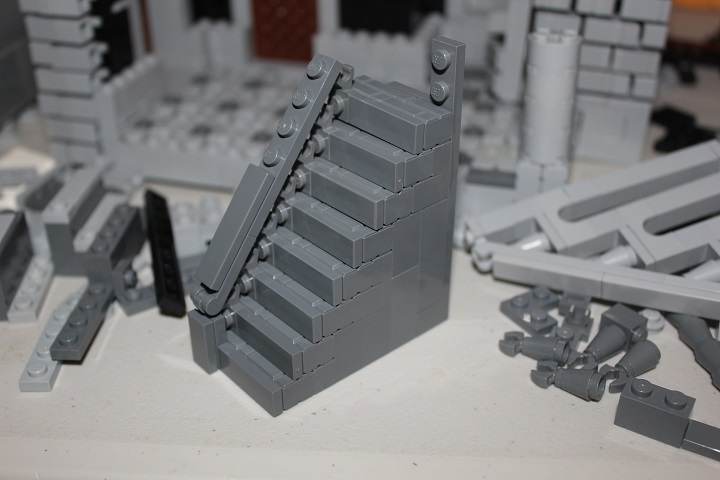
To fix that, I incorporated an arch into the tallest section
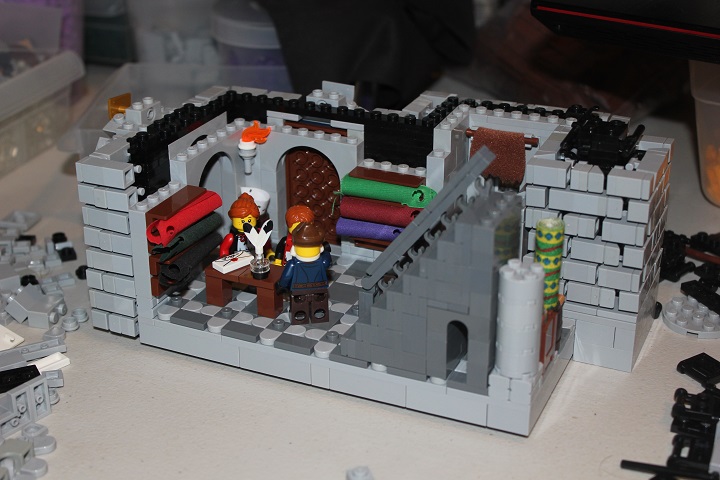
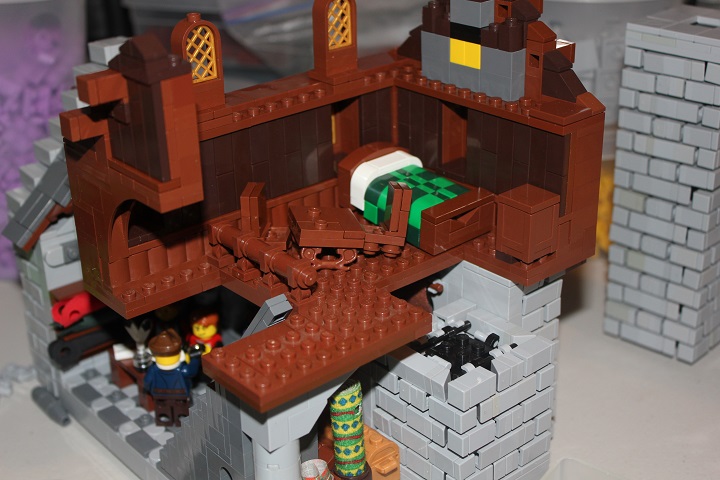
Varies cloth elements rolled up and placed in shelves or crates finished off the first floor interior.
Which meant I needed to figure out the roof for that side of the building. I needed the top most portion of that end stone wall to be only two studs thick, despite the wall design typically needing three studs of depth to work. Which required some tricky engineering to get the final few blocks attached.
Then a 45° roof like I often use fit in place nicely. And I added a little decoration around the top of the interior shop walls that reflects the floor pattern.
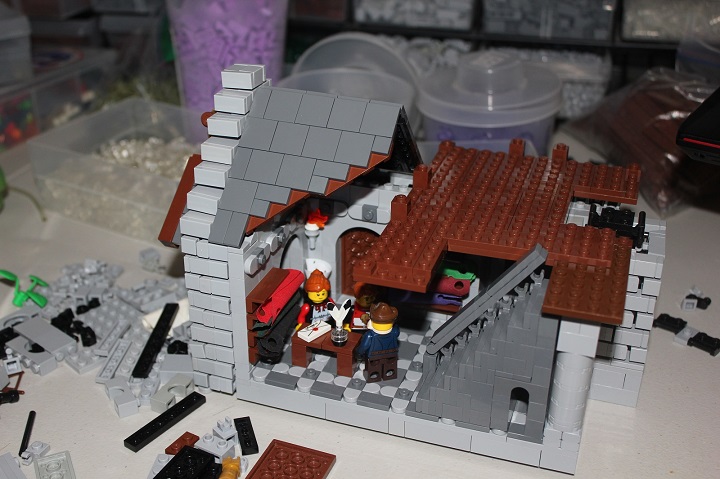
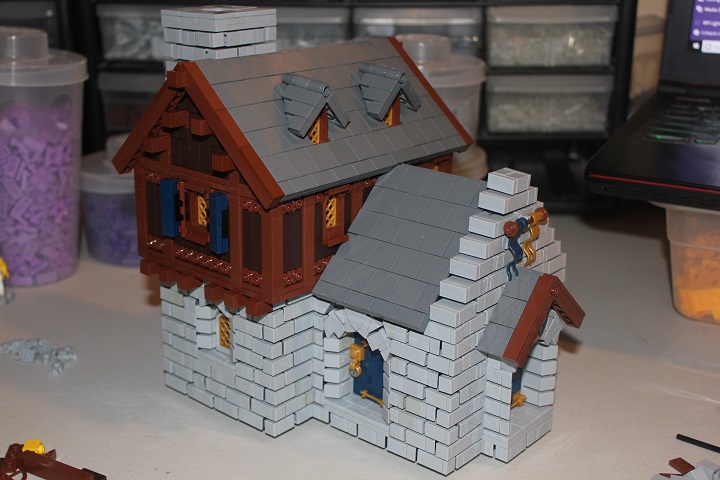
Leaving just the timber second story to complete the house!
Mixing reddish brown and dark brown tiles looked a bit messy for this particular building.
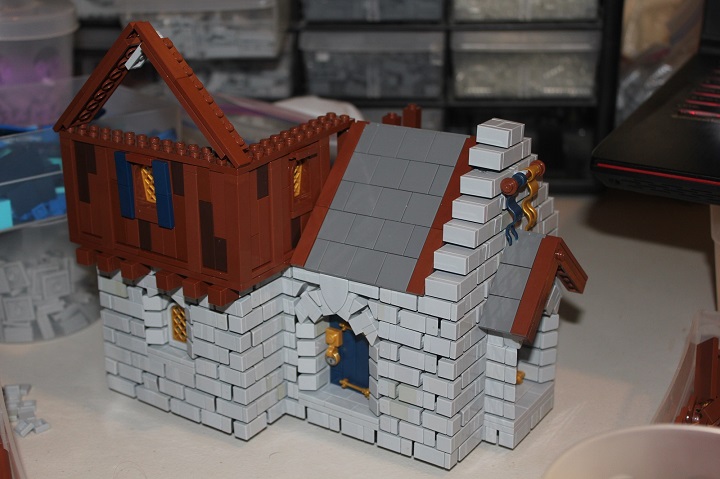
Leading me to try all dark brown, which looked much better. Though all tiles was rather plain, so I then added rows of reddish brown friends flowers at the top and bottom of each section. The shutter design was also adjusted to shutters that actually open and close.
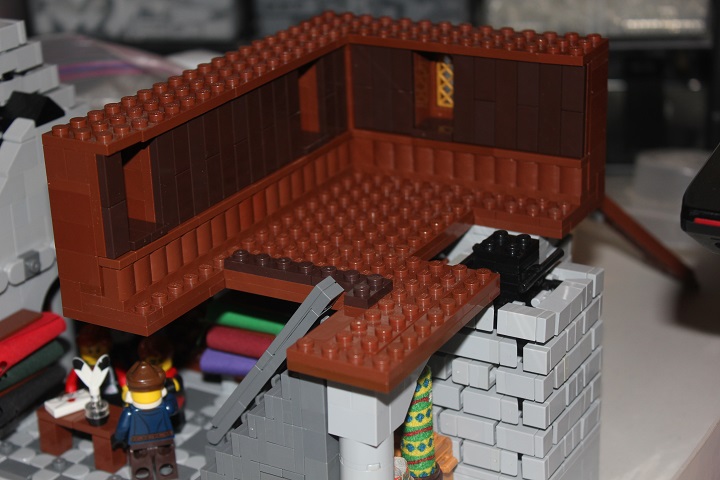
More dark brown tiles were used inside. These walls were probably my least favorite portion of the build, and if I was making it again I would modify them.
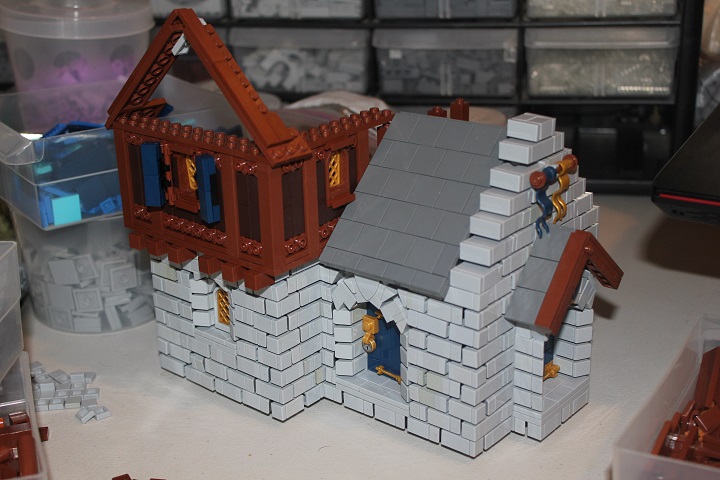
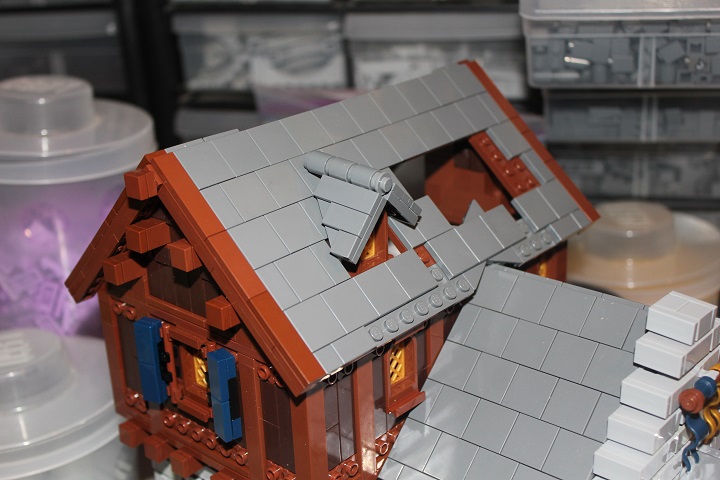
I like to just set potential roof lines in place at first, to get an idea of what size and slope would fit best.
The dormers took some trial and error to achieve a smooth fit, while a few wedge plates fit neatly around the peak of the lower roof.
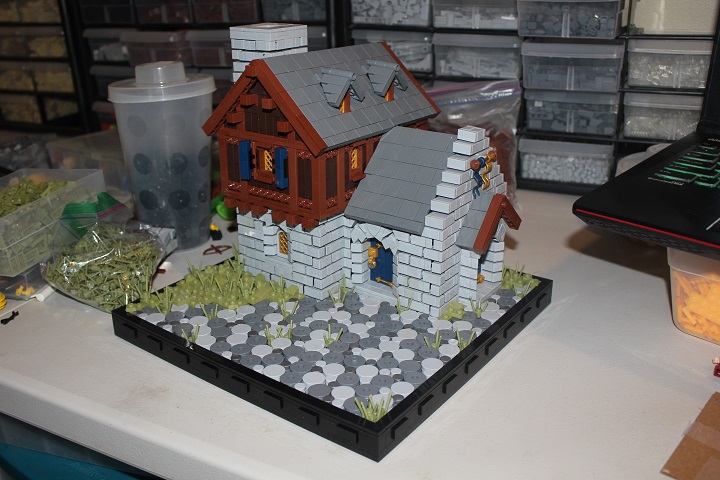
Exterior finished! Or at least, 99% finished, as I added a few vines to the upper roof.
I often build and place the furniture before tiling the floor, so I can easily attach each item where I want it.
Next it was time for the base of the model. The exposed green plates show the building’s footprint.

The cobblestone and small grassy areas were very quick and easy to build.
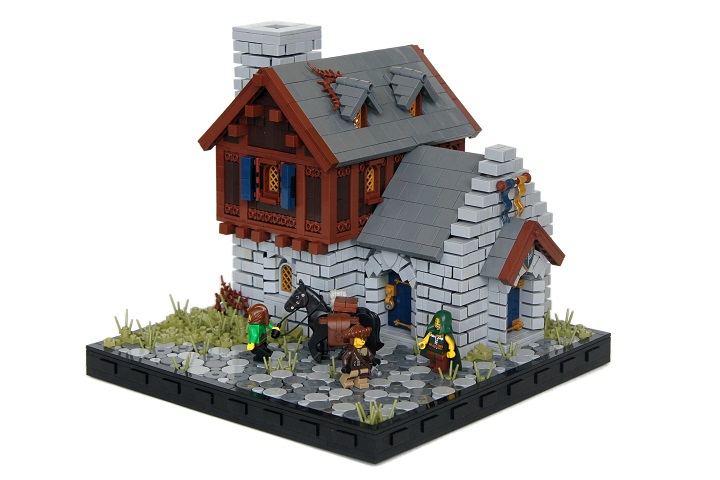
And then with some figs added the model was finished!
It ended up being my third most popular model of 2018, and I hope you found this to be an interesting read.
Let us know if you have any questions or suggestions for future posts!


This is such a great build log, I love the close up details!
Thanks Adam, I remembered to take WIP photos quite often with this model making for a more detailed post.
WOW!! The stone wall is just great. Where did you get all those good pieces from? I also really appreciate your build logs because they help me build my MOCs. Thanks so much.
We got bricks mainly through the Pick a Brick wall and Brickklink orders, and occasionally some sets.