


This tutorial is focused on the castle roof design I used for Harburg Castle. The roof has two slopes, and is four sided, making it a bit more complex than your typical roof.
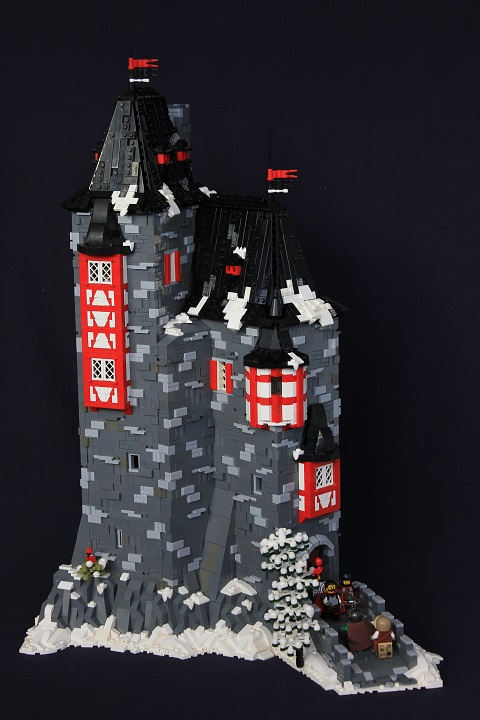
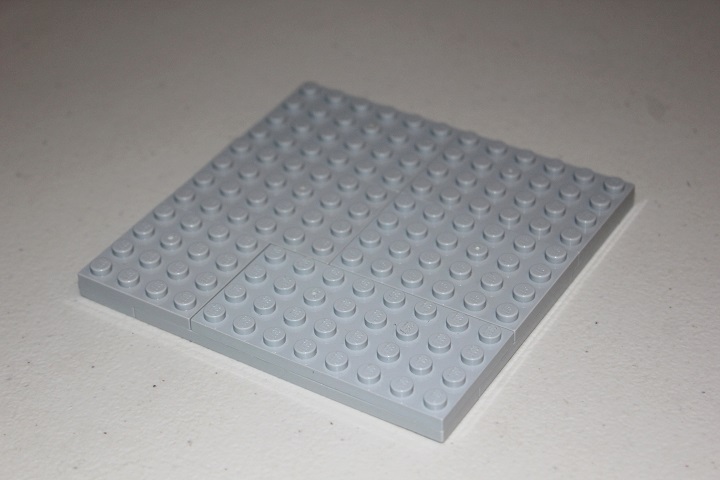
For this example, I’ll be roofing a 12×12 area.
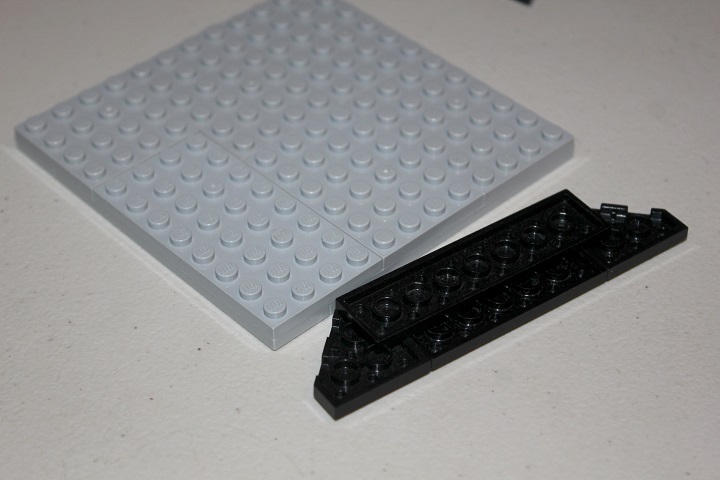
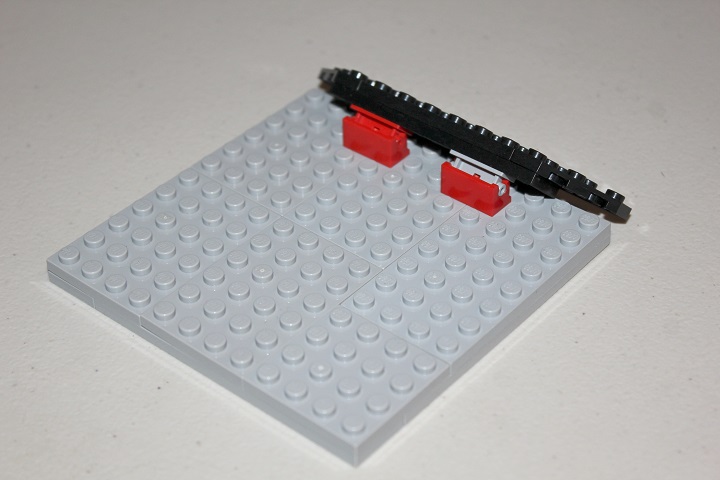
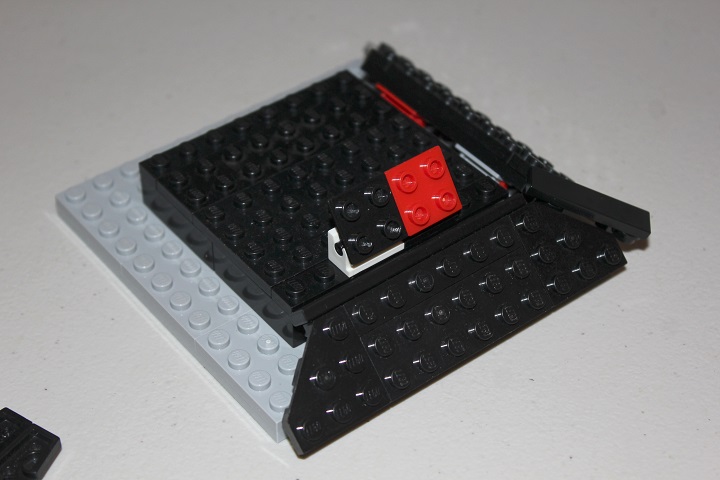
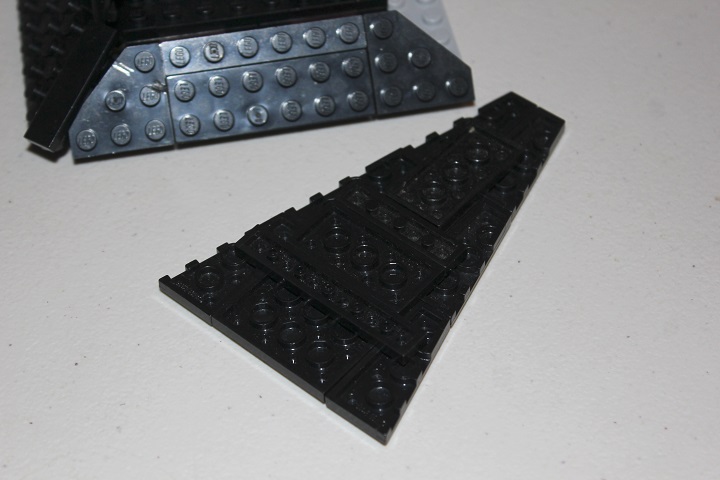
The black plates shown are one of the lower roof sections. It consists of one 2×8 plate, one 2×6 plate, one 1×6 plate, and 2 3×3 wedge plates.
Two 1×2 hinge bricks attach the roof and then it is sloped down as far as it can.
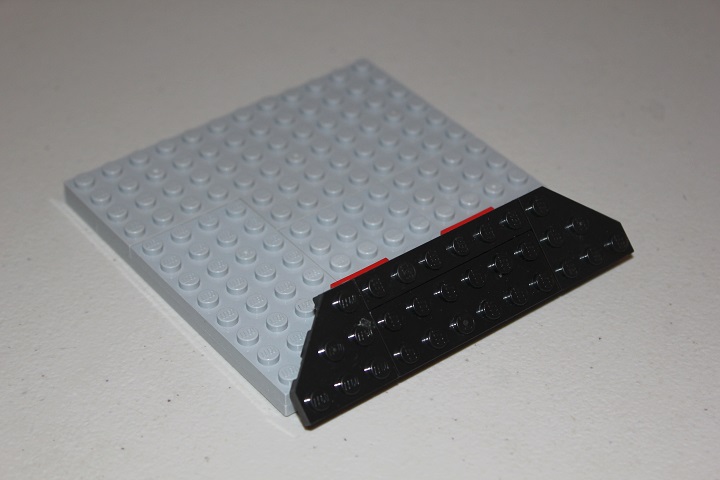
The color of these hinges doesn’t matter.
After making another section and adding it, we have the start of the roof. That gap in the corner will be filled next.

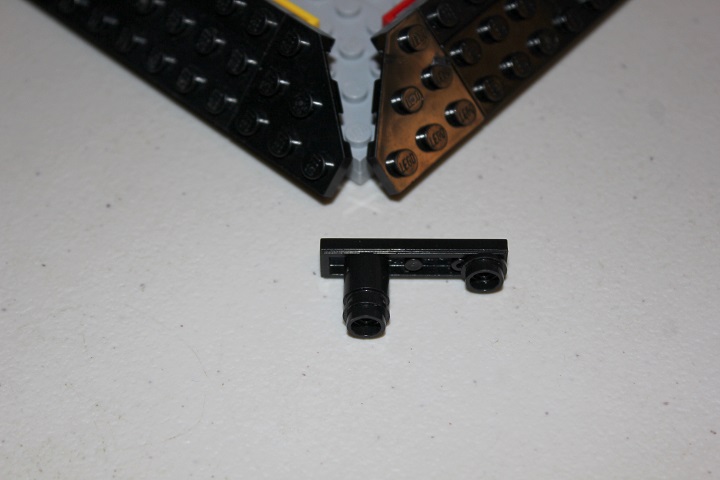
A 1×4 tile with 1×1 round brick and some round plates fits nicely to fill the gap.
I will only be showing two sides of the roof, so that it’s easy to see in the back and view the support structure. But, if you want a complete roof, you can easily repeat the steps to add the missing sides.

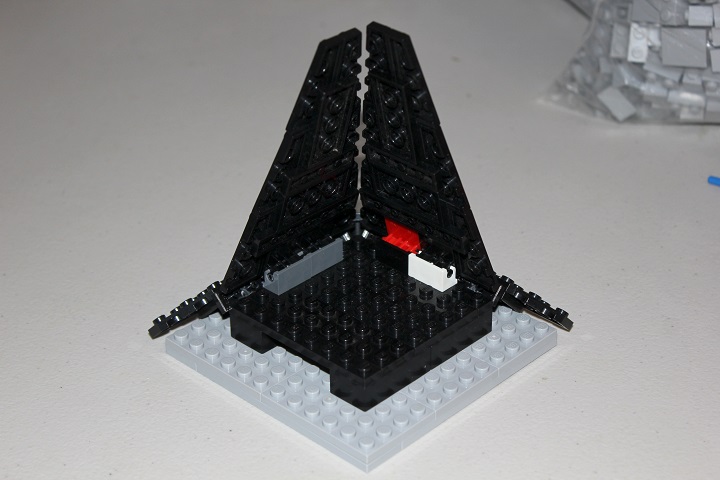
A few bricks start a base for the steeper portion of roof.
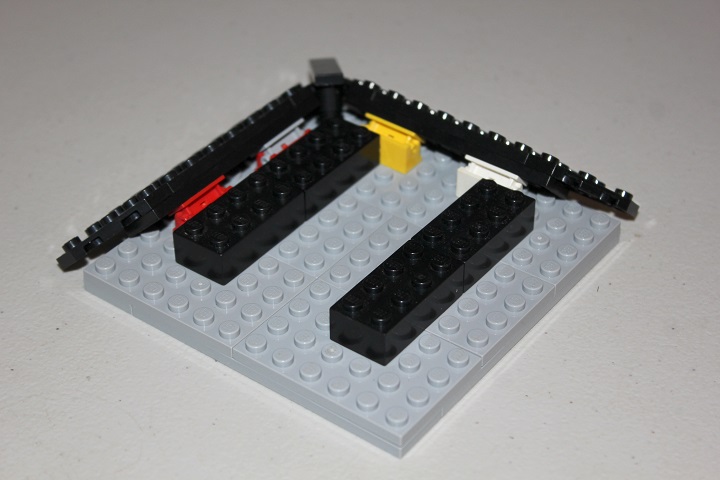
Then some plates top it off to give a nice flat foundation.
Some more hinge bricks are added, this time with 2×2 tops for added strength. Also, you can see that I’ve placed a 1×8 tile on top of the lower roof. It rests easiest as shown, with the face of the tile resting on the bottom roof, and the bottom of the tile facing up towards the hinge bricks. This is needed to negate a small gap between the sections of roof.
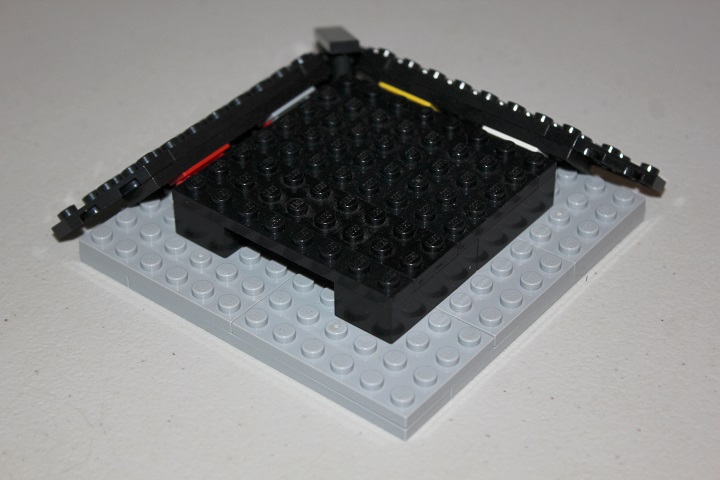
Next an upper roof section is built. Six 2×4 wedge plates, one 4×4 plate, three 2×4 plates, and one 1×4 plate are what is needed. As you can see, the bottom of the roof will attach directly to the hinge bricks.
Attached, and ready for the second side.
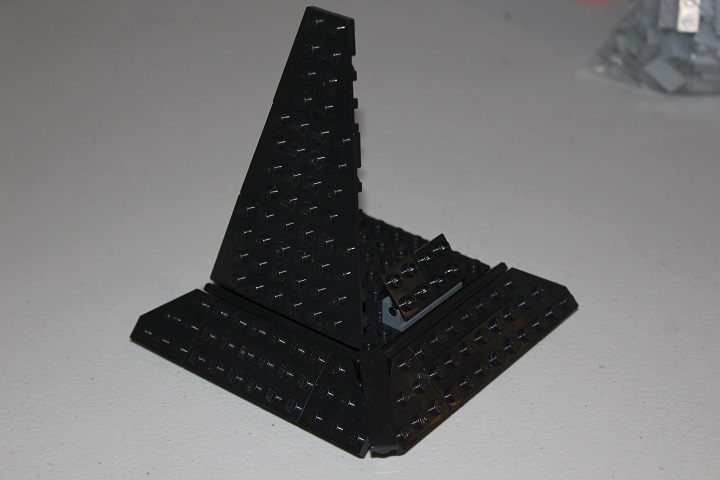
Once the support structure is finished, the slight gap at the corner won’t be noticeable.

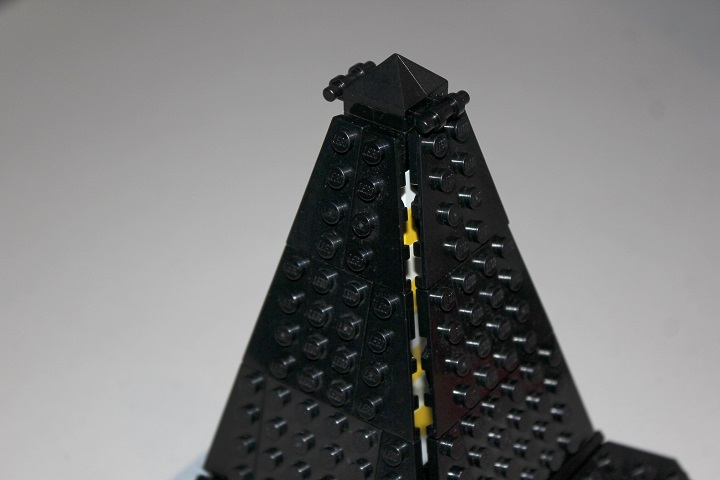
A stack of 9 2×2 bricks inside allows the top of the roof to be attached, and keeps the sides spaced properly. You will want all of them to be black, I used yellow and white just to show the size easier.
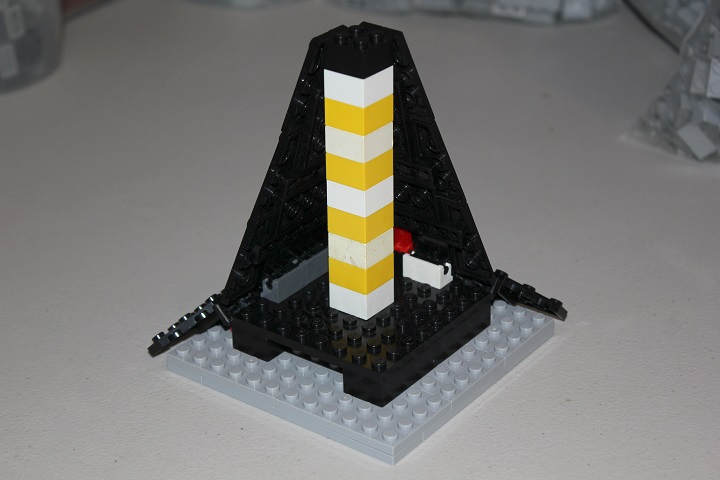
I used some plate with handle and convex slopes to top the roof off here, but you could easily come up with other solutions for different styles.
And there’s the roof! It is easy enough to use this exact design for rectangular areas of 12xwhatever. Smaller areas could also be done with this design, but the width of the base determines the height of the upper section. For example, a 10 wide base would reduce the upper roof portion to only 8 studs high and so on.
As always, feel free to ask questions about the design, or offer suggestions for more tutorials!


Cool! Might have to use it sometime! Thanks!
Thanks Roanoke 🙂
Nice! Like Roanoke, I might use this sometime soon 🙂