


Remaining our biggest build so far, Life in Nordheim was quite a lengthy build process. To break it into manageable chunks, we made 7 modules that would eventually connect to form the complete layout.
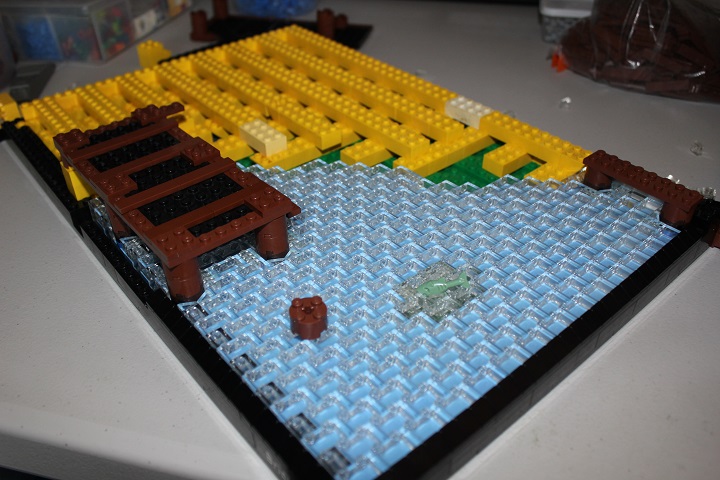
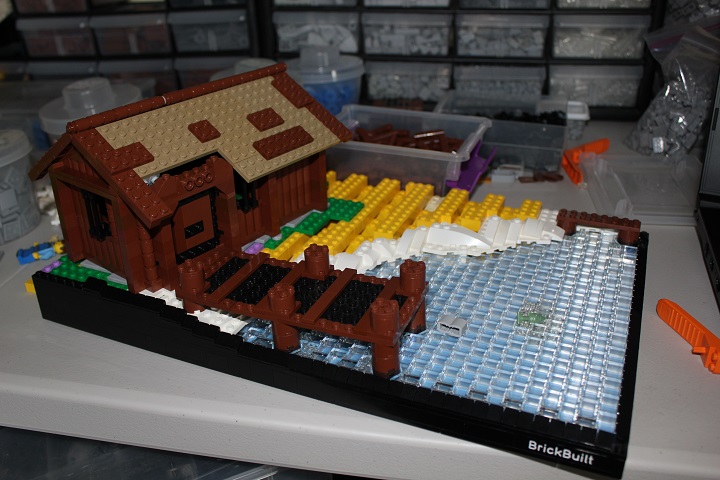
As usual, we started at the front/lowest point of the build, which in this case was the harbor module. SNOT trans bricks over medium azure was how we achieved the icy water effect at first.
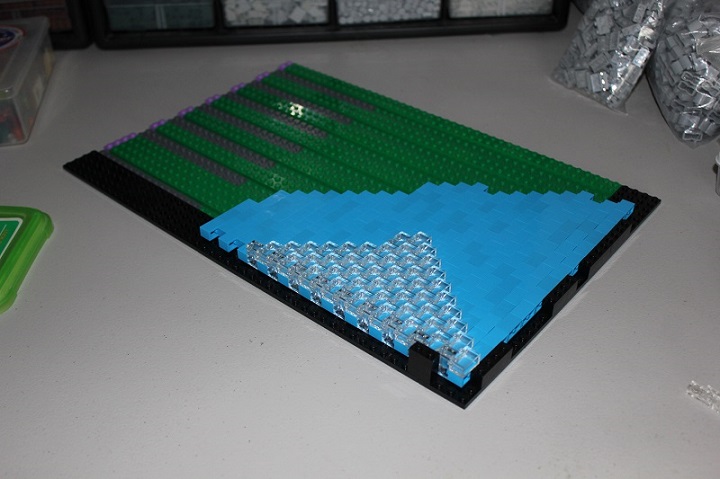
After the water’s shape and size were roughly defined, some filler brick was used to raise the landscape to an appropriate level.
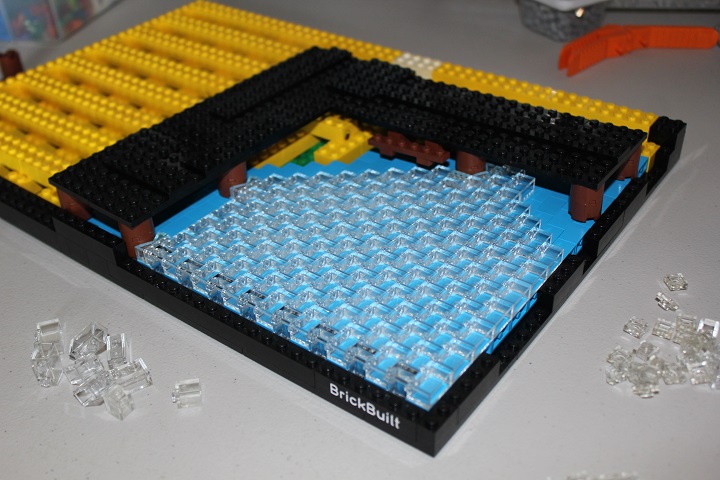
Then we needed to decide on the dock layout. This was one of our first tries, notice that we left space in the trans layer for the posts to actually fit down in.
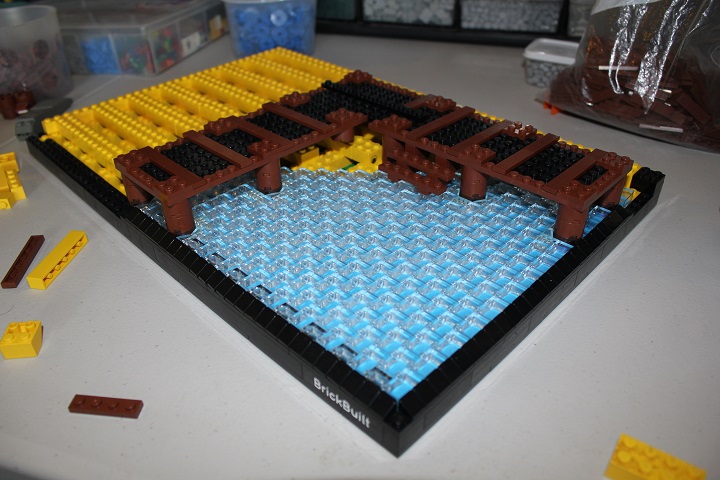
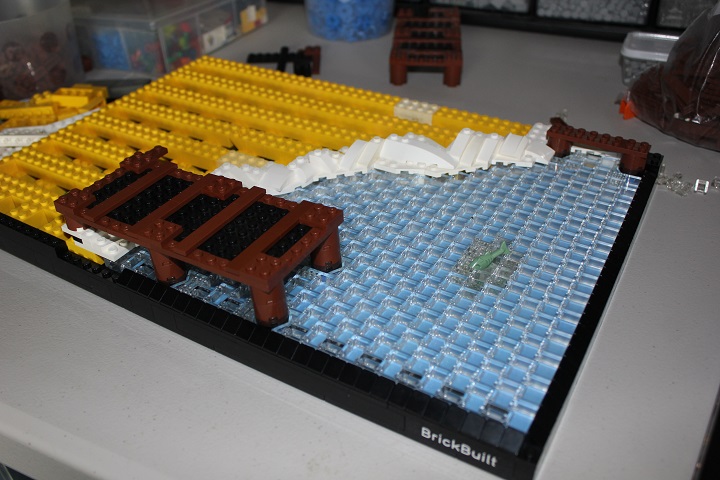
After continuing the docks a bit, we realized that this layout wasn’t going to give the look we wanted.
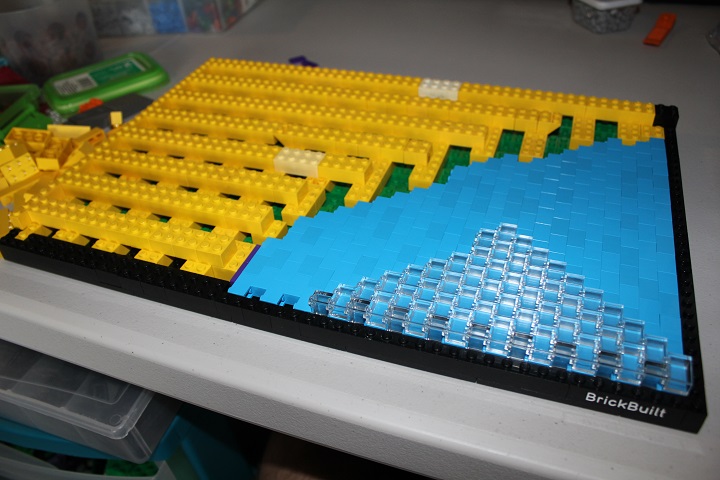
So we ended up redoing the whole water section, even changing the SNOT bottom layer of bricks to medium blue so we could make the water area larger. For the same reason, the docks themselves were down sized.
Snowy drifts added around the water edge were added next.
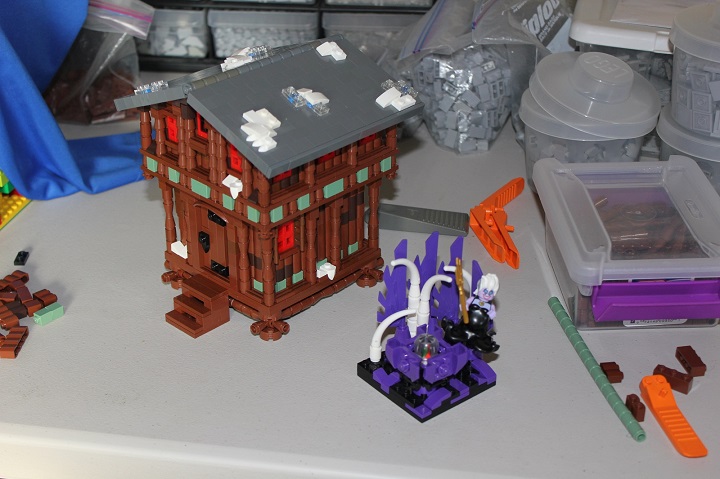
The warehouse itself was placed at an angle to the base to try and keep the scene from looking too square and regular.
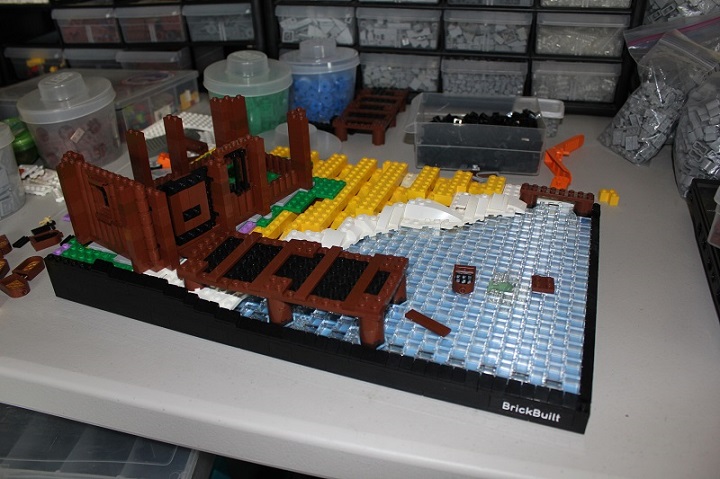
Since it was a warehouse, we went for a very utilitarian look with some large double doors for easy removal of goods.
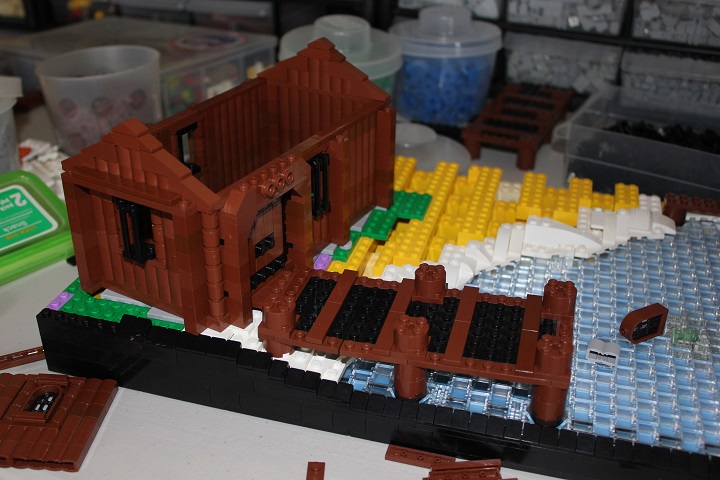
Its roof shape and size were then roughed out.
Time to start setting up the second module! This section would include a farmhouse and paddock area for some cattle. The bley plates represented the size of the farmhouse.
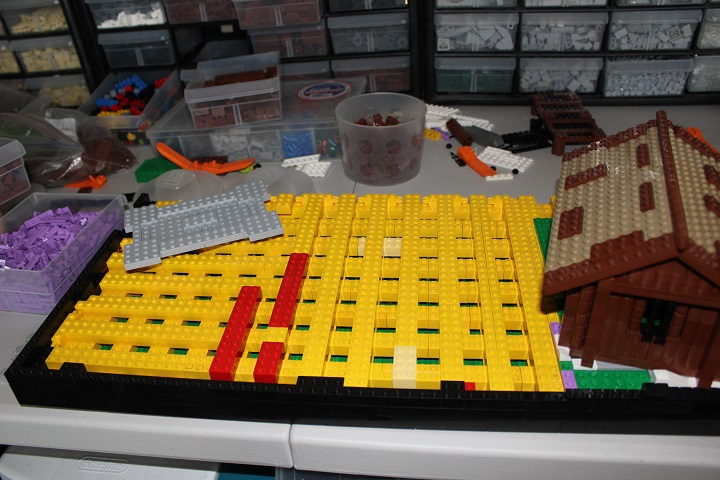
Next we began laying out the main road that would lead through the gatehouse into the city section. Also you can see that the farmhouse is coming along nicely and we experimented with some fence designs for the paddock.
Almost done with the cottage’s stonework.

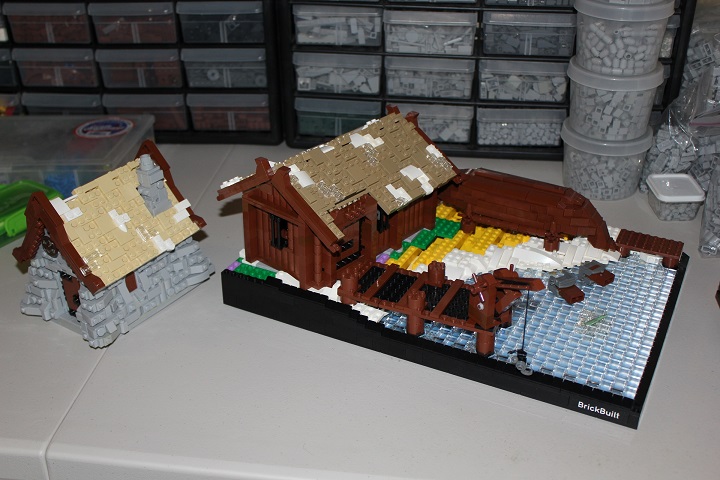
Switching back to the docks module, the roof was finished while a crane and boat in storage were added.
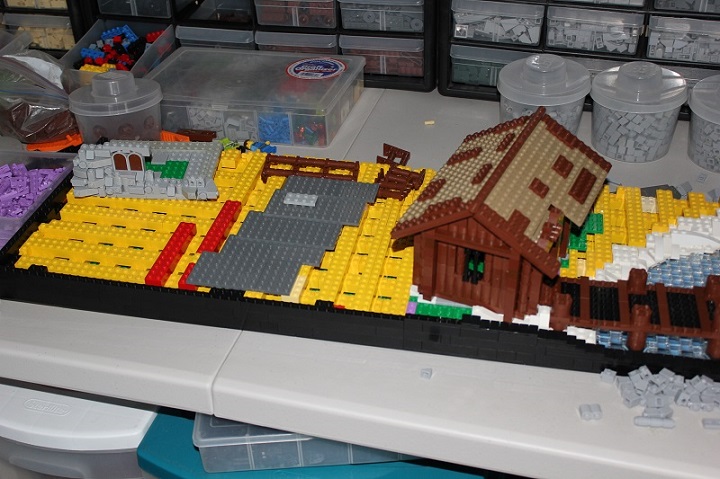
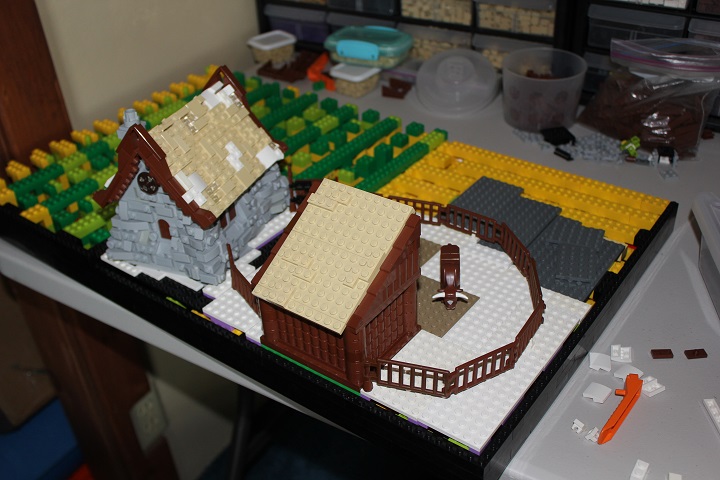
Then we checked how the build was fitting together as a whole. To give more space for the paddock area, we shifted the farmhouse back onto another module. and the layout of the harbormaster’s home was also added.
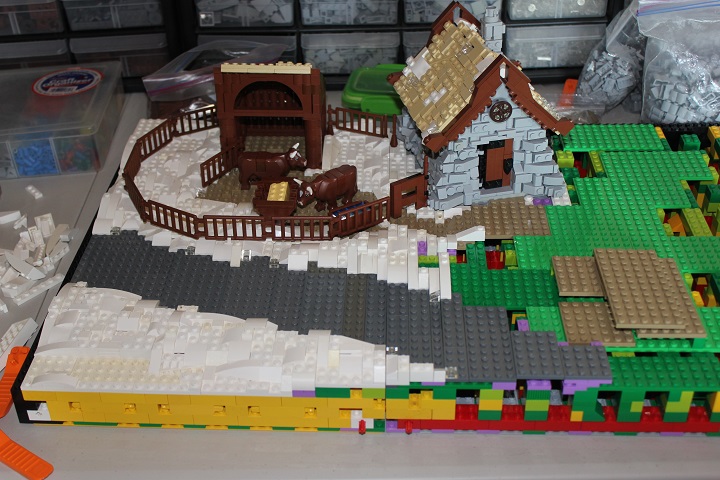
Some white and dark tan plates were used to rough out the paddock area. And the lean-to and fence were finished and placed. Also the farmhouse was attached on module 4.
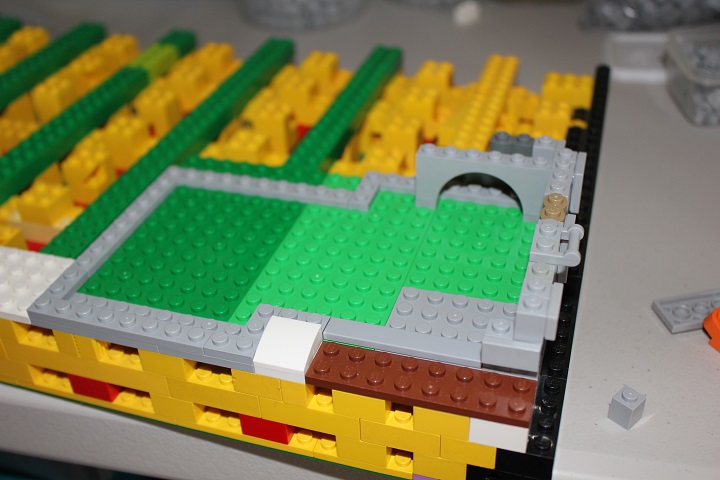
Construction of the harbor master’s home was begun on module 3. The arch marks the location of the fireplace.
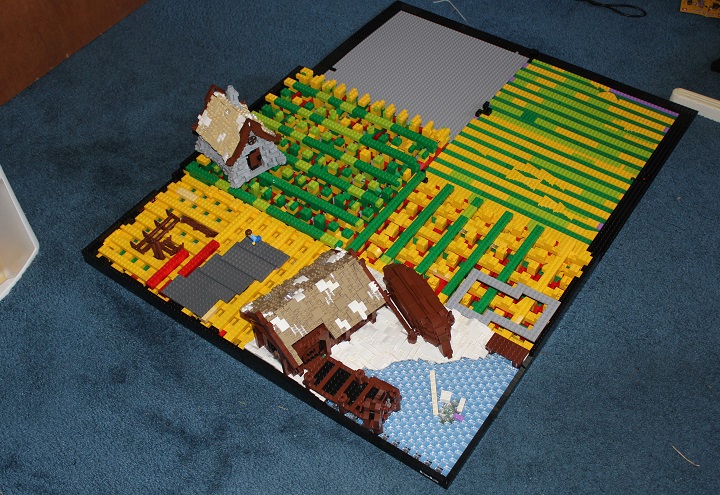
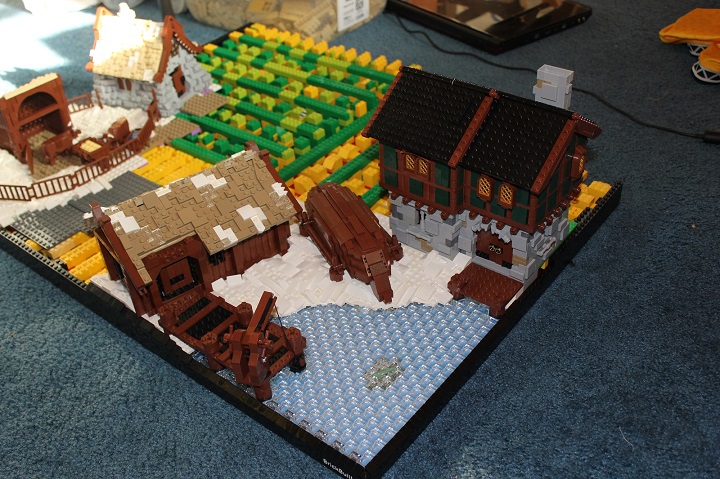
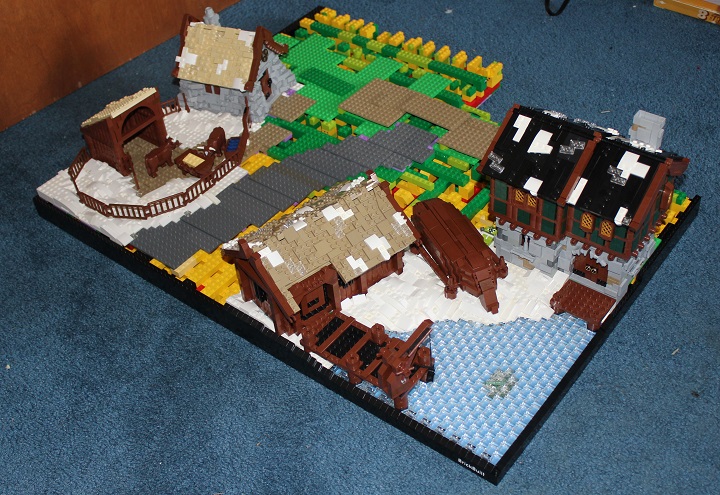
Here is a look at the first four modules all together: by this time the docks were nearly complete, while the other 3 sections all needed considerable work done.
Finishing the harbor building was our next goal, and it progressed quickly. The shifted building layout made for some interesting roof solutions.
Harbor master’s nearly finished, just needing the roof texturing added.
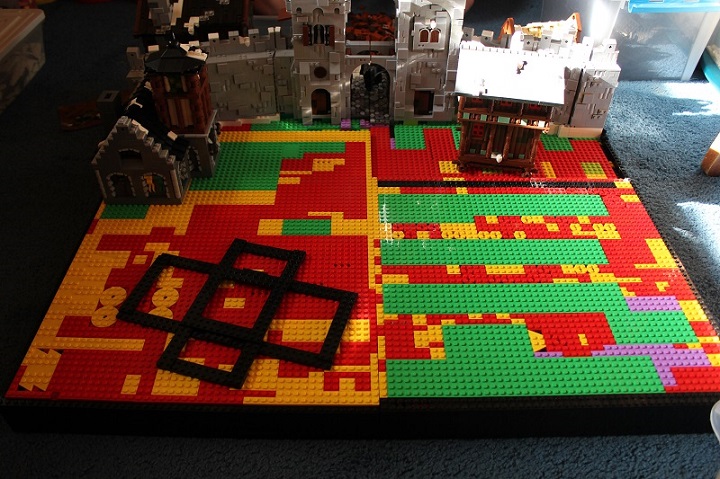
Now that the area outside the city was pretty well established, we needed to decide the layout of the city wall and gatehouse. So the main road was continued along with some snowscaping.
The dark tan plates served as markers for the gatehouse towers.
Then the actual wall foundations were laid, including plenty of angles to keep things interesting.
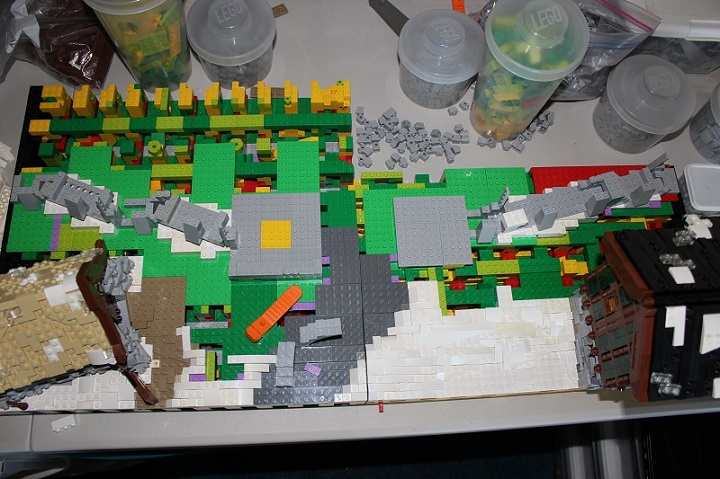
First road texturing added, and the snow continues to pile up. The docks module is complete, even with figs added. Meanwhile the paddock module just needs a few finishing touches and the third module progresses quickly as the wall grows.
Since the gatehouse was located right on a module break line, we had each tower connected to half of the arch with the actual bridge being a lift off module we could add when the sections were hooked together.
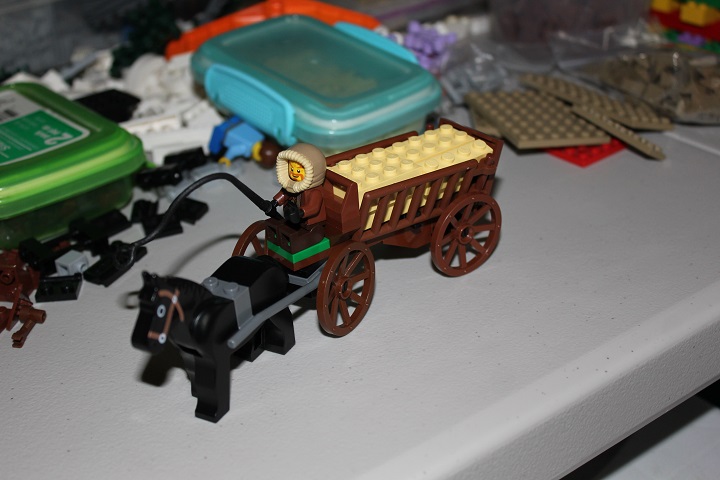
Small projects were a fun break from the main buildings. Here is a hay wagon designed for the paddock module.
We purposefully kept the wall fairly low to conserve on parts and allow for better views of the city inside.
Gatehouse nearly finished! It took a few reiterations to come up with the top for the left tower, eventually we borrowed the pillar design from Isaac’s earlier Daydelon Beacon.
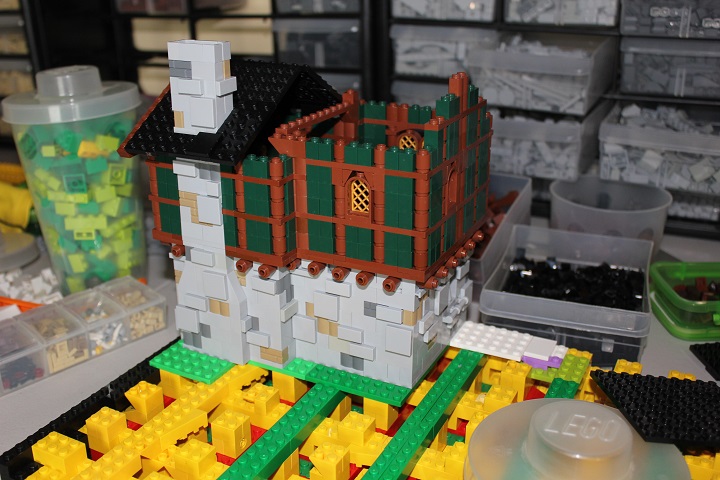
With the front four sections nearly complete, it was time to figure out what was going on inside the walls!
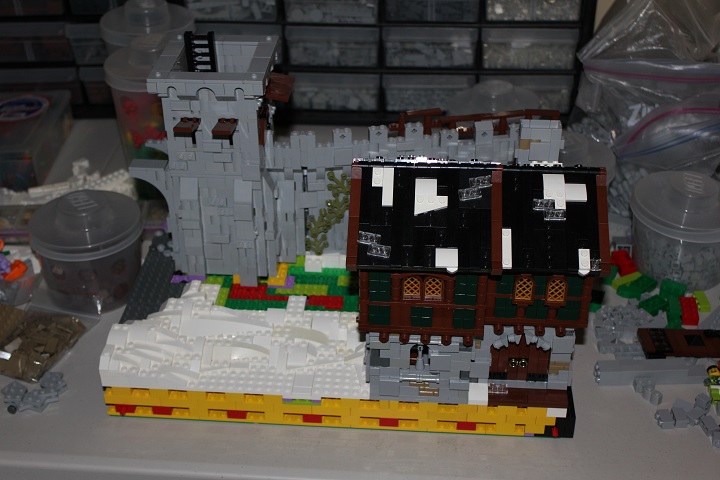
This house added some variety while maintaining wood as the predominant building material.
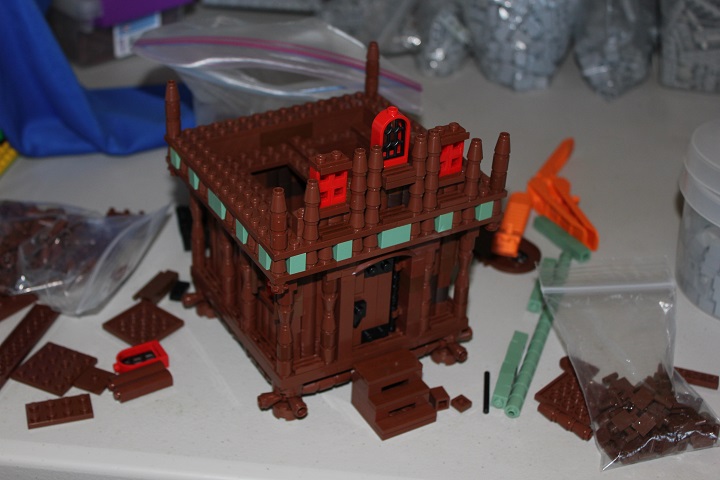
SNOT bricks ended up working nicely for the roof, and some bits of snow here and there fit the building into the wintry look.
Loads of filler brick later, and an armory constructed. Also the layout for the great-house was decided.
Looking in from outside the walls: you can see a tree was added on the paddock module, and the great-house has progressed nicely.
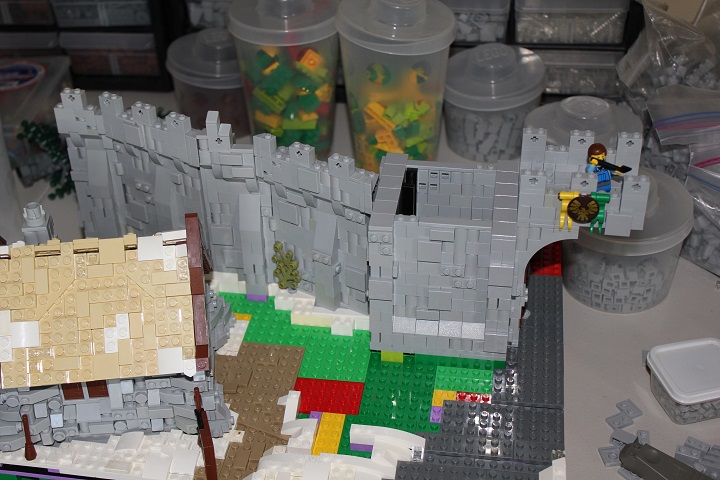
Last but certainly not least was the mountain module. Some mosaics inside kept the floor from being bland and it was important to figure out the gate placement before we got going on actual rockwork.
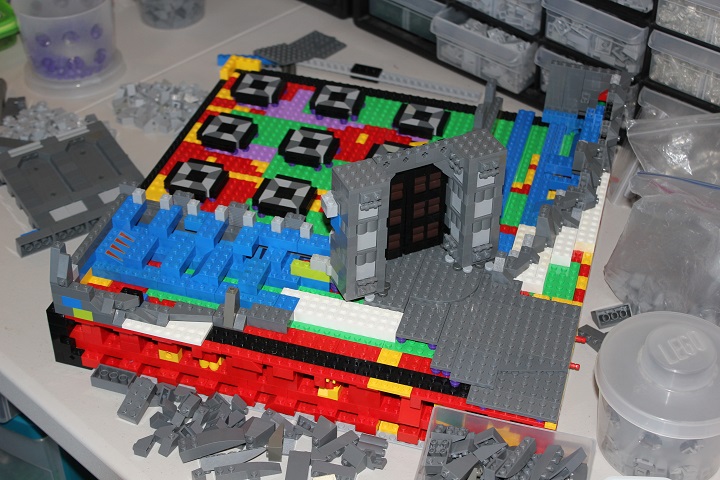
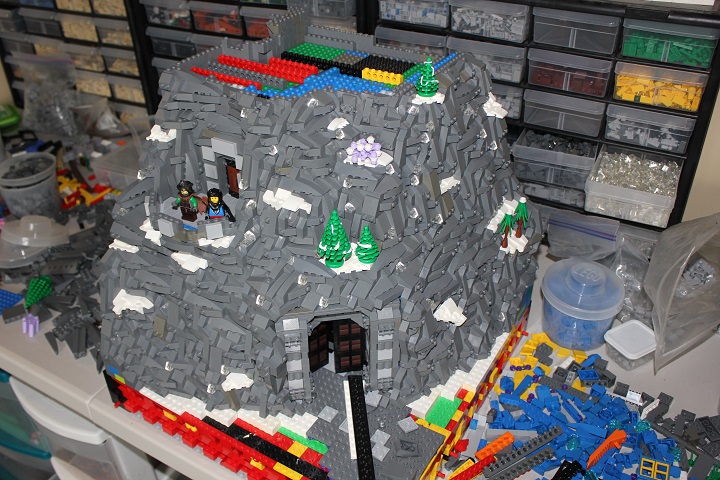
Because of the huge size, we opted to go with a mix of studs up and SNOT rockwork which made it easier to utilize a variety of dark bley parts. Occasional snow drifts and pine trees broke up the big dark bley blob.
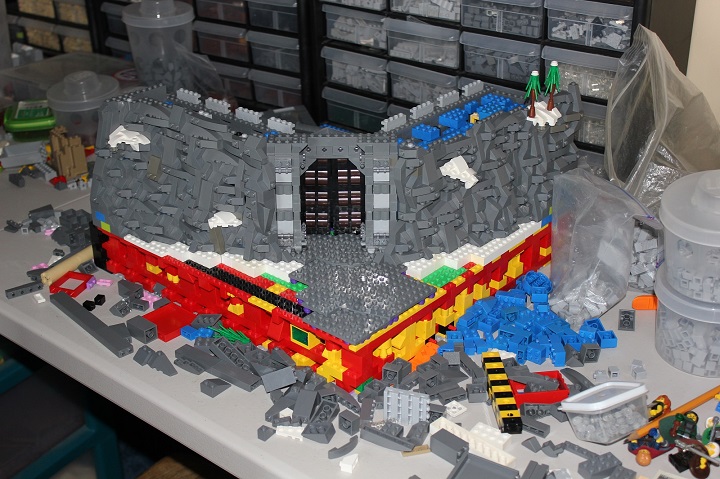
One of the trickiest aspects of the mountain was that it needed to split into different levels for transport. And by this time, our filler brick supply was getting alarmingly low.
While Aymeri and Glorfindel admire the view from a courtyard, we were beginning to seriously wonder if we would have enough parts to finish off the rockwork with several stories still remaining.
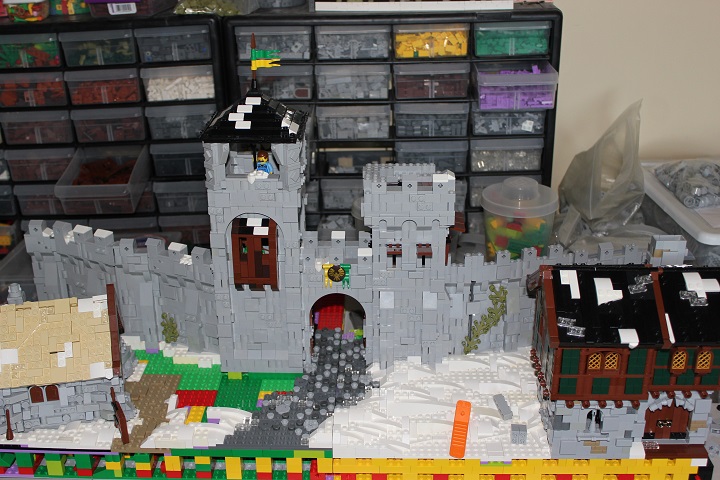
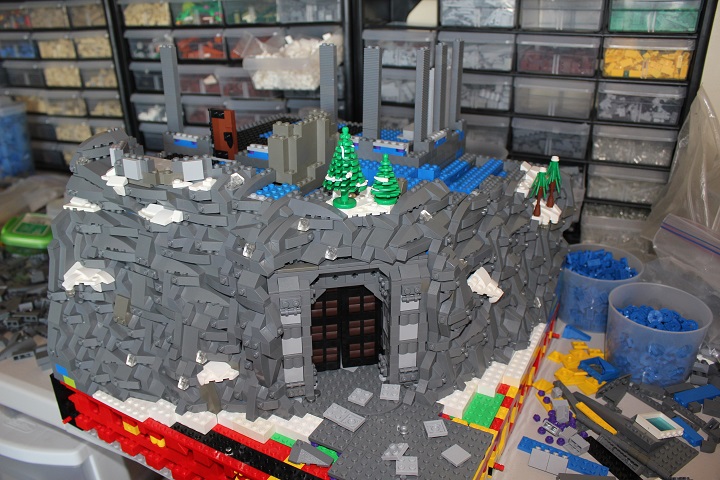
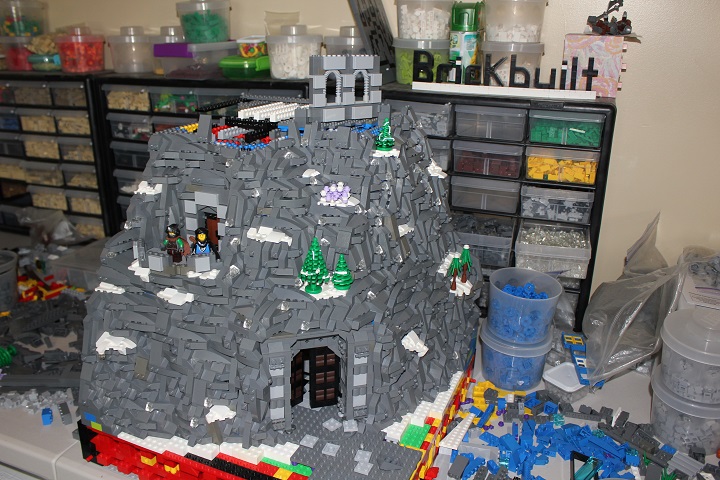
Level two finished, and the base for level 3 added. To keep seams from showing, we would continue the rockwork from each level above the break line and then ‘overhang’ rockwork from the next level.
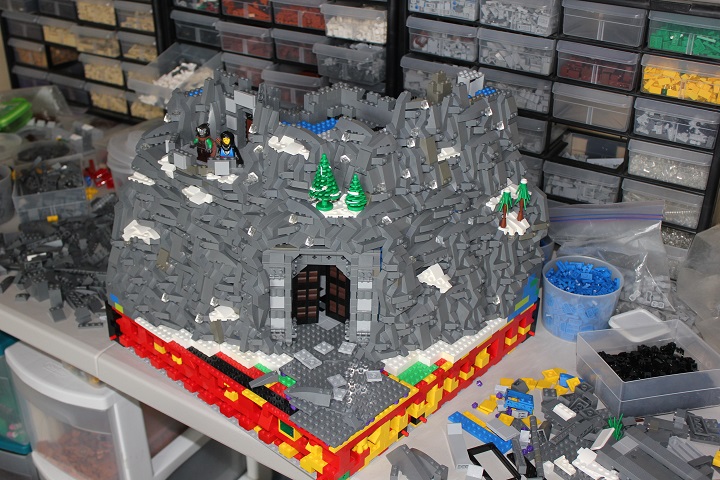
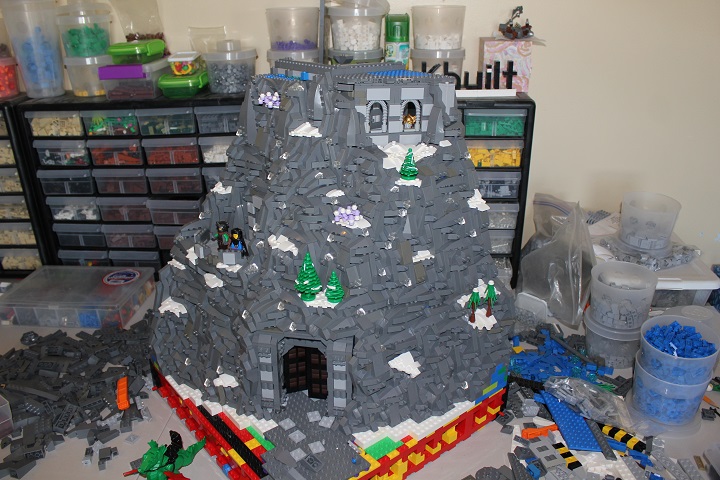
Already the mountain was dwarfing our build area. A gallery on the third floor fit nicely and followed the stone block pattern we had established earlier.
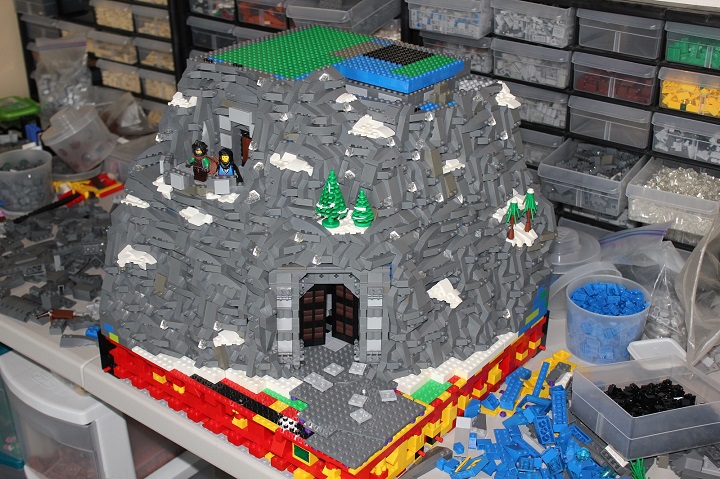
Floor for the final level set!
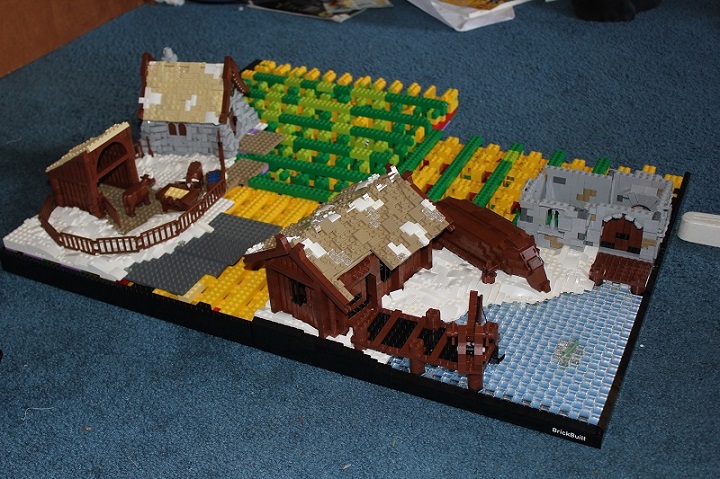
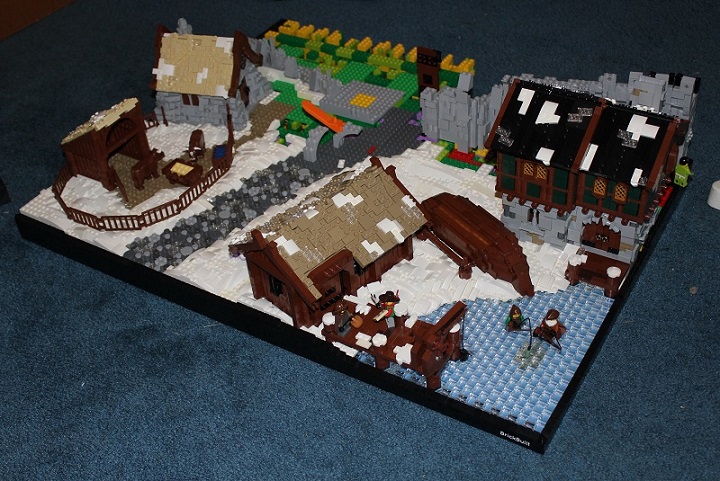
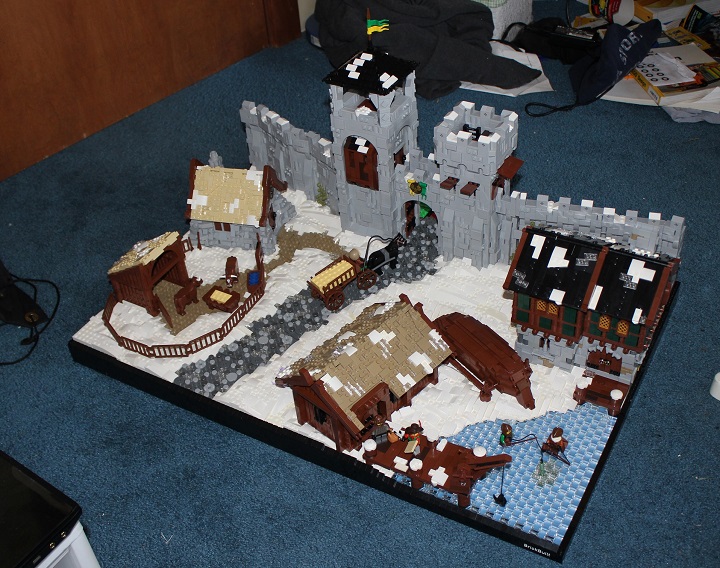
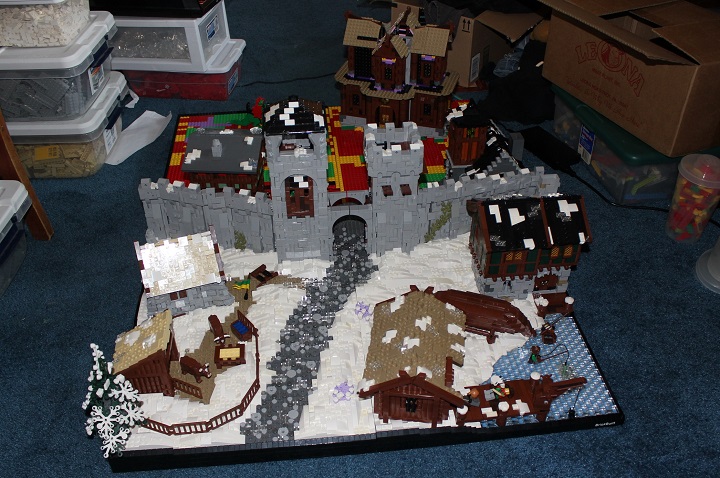
And here is the completed diorama.
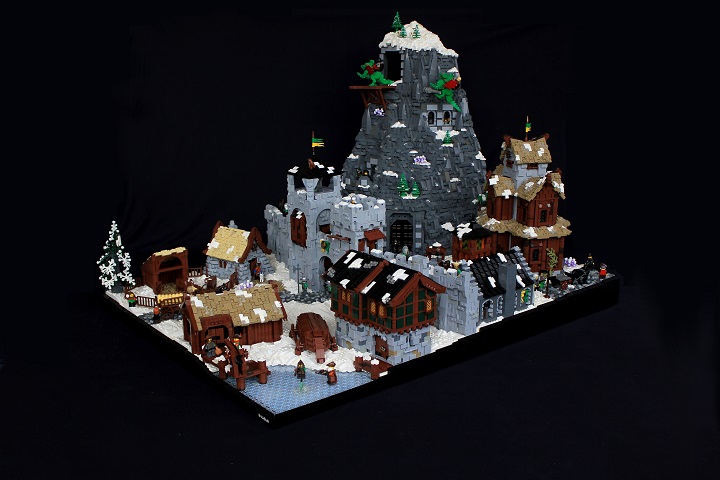


Wow! Yeah, great to see the whole process in action! Man, that rockwork on the mountain is great! My favorite building is a tie, between the greathouse, the armory, and the harbor master. Great build, my favorite from you guys, keep it up!