Interested in the design process of this landscape based model? Keep reading to see how it went! A Risky Endeavor was a relatively small, and quick model, but also the first build in which I used my slanted rockwork design.
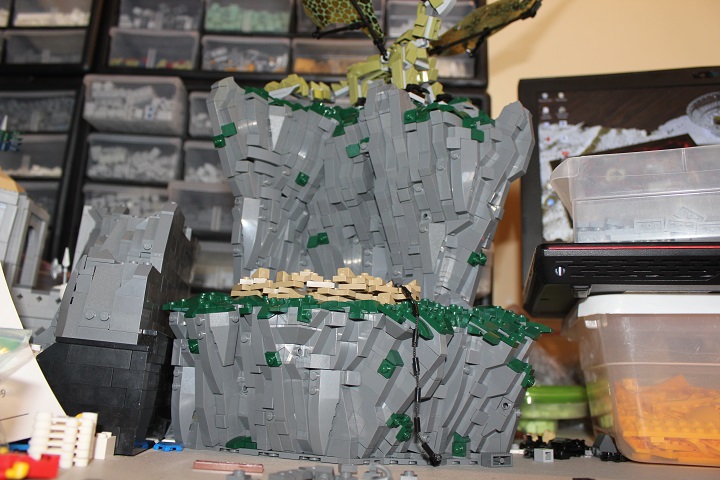
I used wedge plates as the bottom of the cliff, and then got started on rockwork right away.
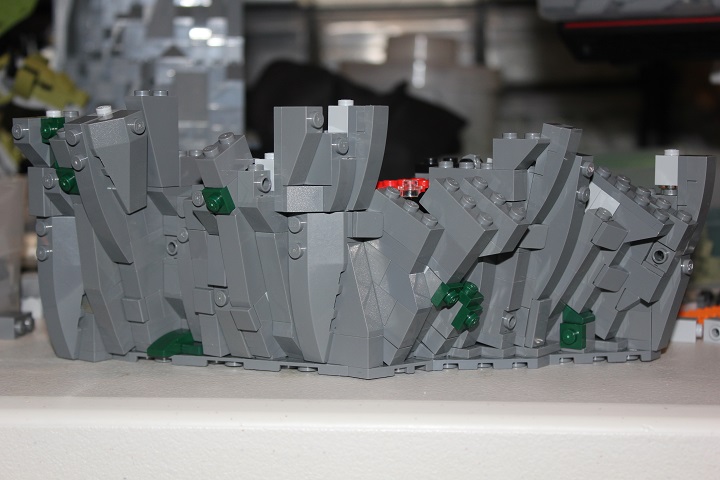
Some dark green moss patches kept the rockwork from turning into a big blob of dark bley.
I had built the dragon first, in order to make sure her lair was sized appropriately. The idea was to keep the build as small as possible, while not making it look too small for the dragon.

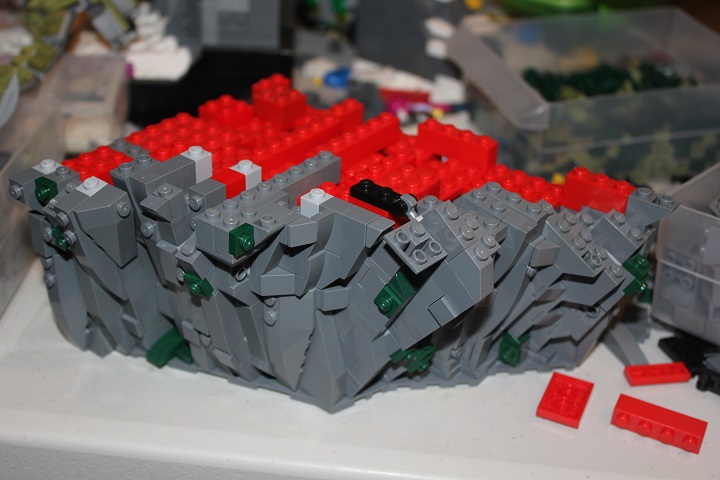
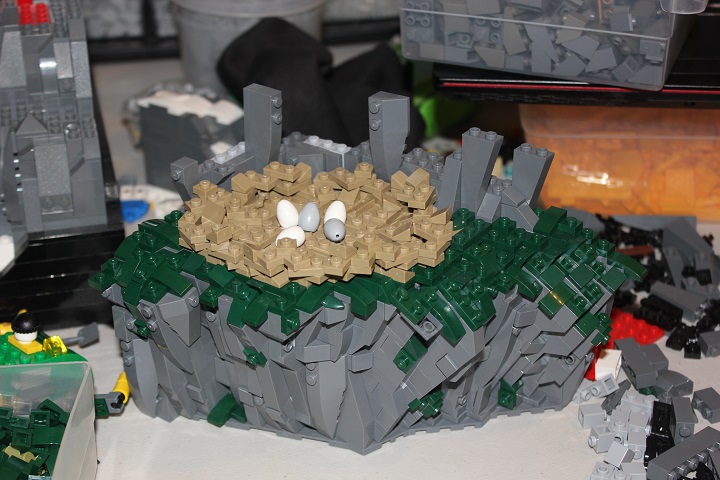
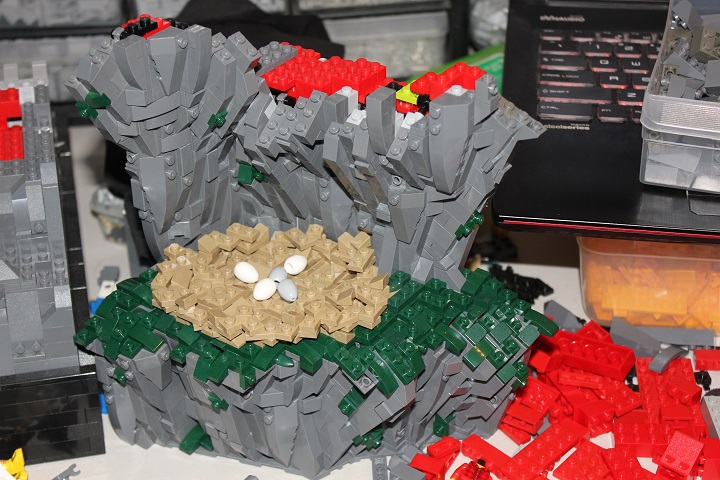
The first plateau would house the dragon’s nest, while the cliff continued up behind. Lots of small dark green elements were put to good use as moss.
I was not initially sure on how to construct the nest, but decided to just mess around with dark tan 1×2 and corner plates first. I very much liked the color contrast the dark tan provided, and the plates ended up giving a neat texture. Especially with some dark tan cheese added. This build also was a great place to use some of the new eggs John and I had acquired.
At this point I was starting to get a little tired of building rockwork, but kept going steadily so that I could move onto other CCC entries.
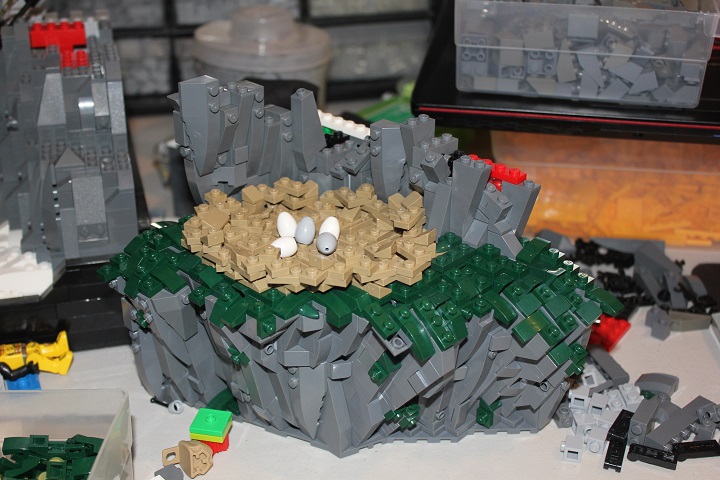
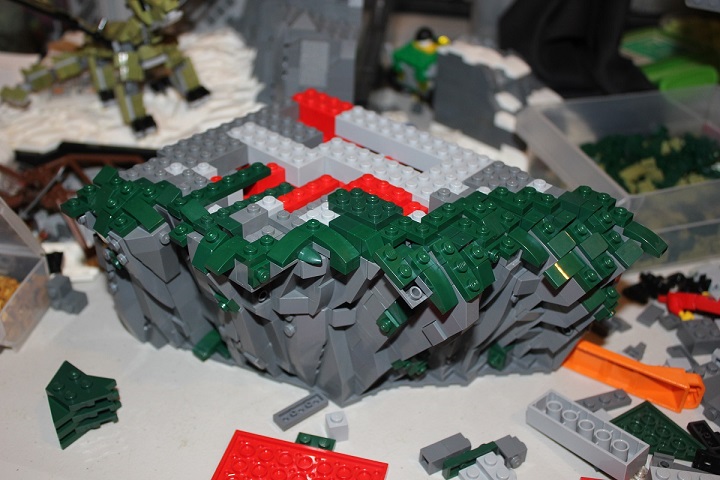
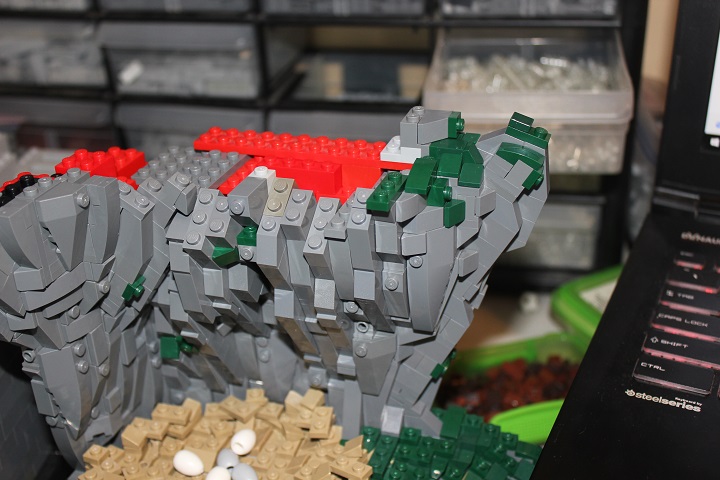
The second section of rockwork seemed worse than the bottom to me at first, but in the end I think it turned out even better than the first section.
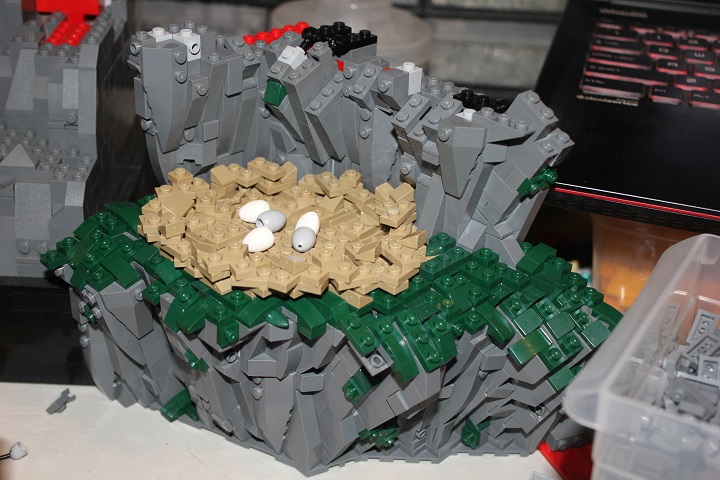
At this point I figured the cliff was probably tall enough. However, when comparing it to the dragon again I realized it needed to go a bit higher.
And so I kept building rockwork. At least I was very familiar with the slanted design now!
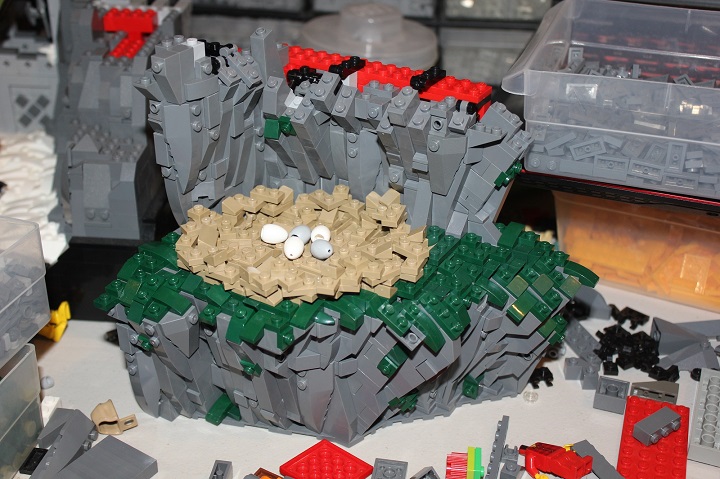
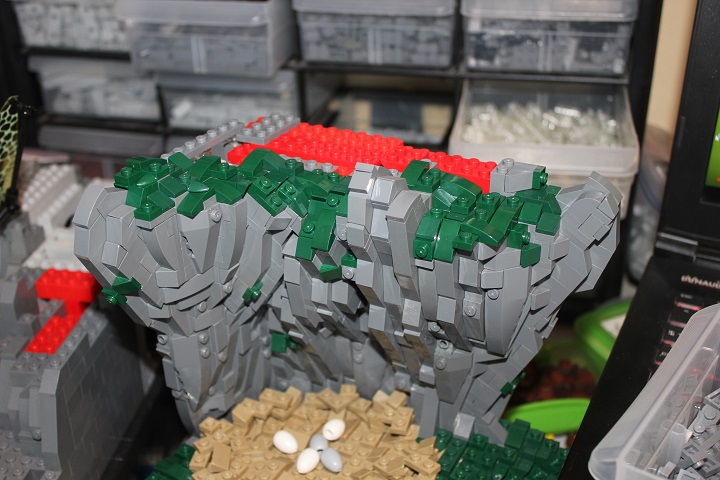
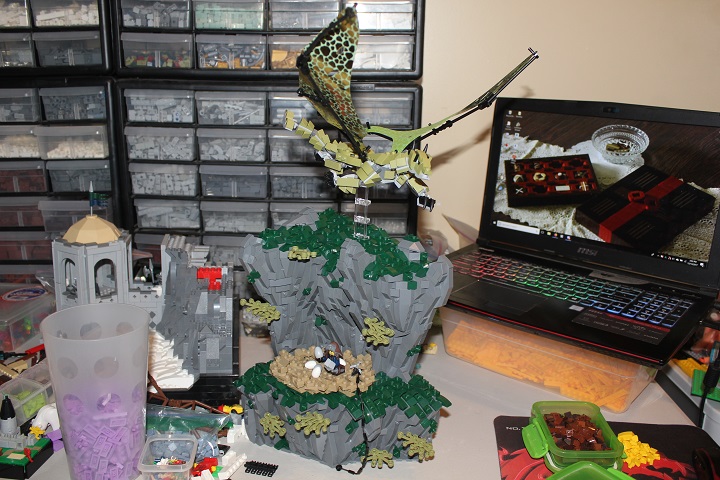
Finally I reached the top and was able to build moss again. Quite a welcome change, especially as it meant the build was nearly finished.
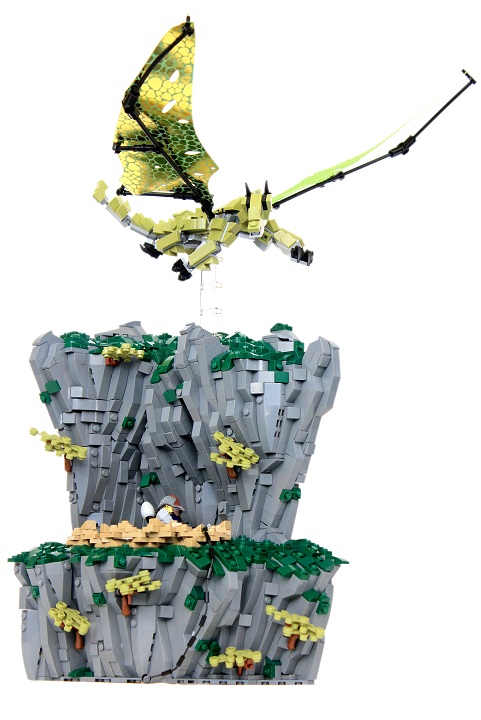
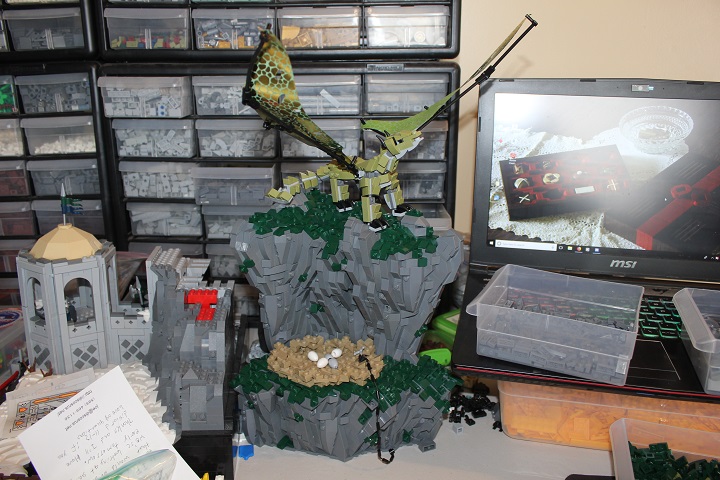
The mighty dragon stands triumphantly atop the completed cliff.
The model was still looking a bit bland though, so I got ready to attach some small bushes. I had figured some small trees or bushes would be needed from the start, and thus had left some headlight bricks exposed in the rockwork. This allowed me to use bars and clips to attach leaves easily. What color should the bushes be though?
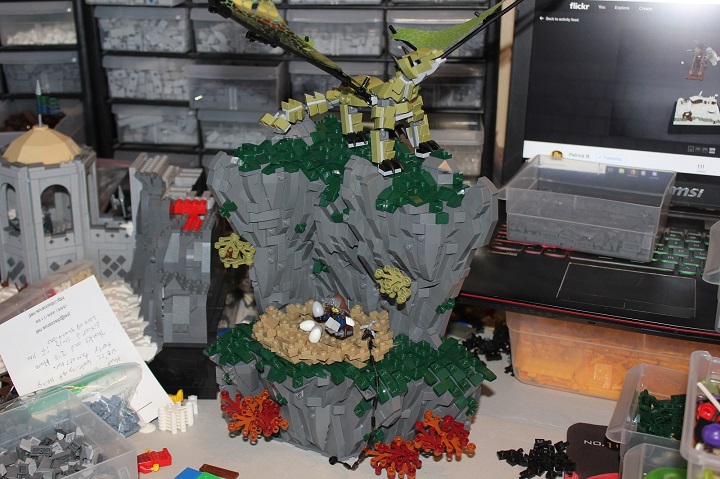
I ended up choosing to use just olive, as the dark red/dark orange seemed out of place. Then some clear panels were used to give the dragon a flying pose. Some friends suggested adjusting her head a bit to show she had spotted the intruder, and wasn’t just flying around. Which I did, and it definitely gave the scene more interest.
If you have any questions about the build process, or want to see a tutorial on a specific design, let us know in the comments.
And stay tuned for more new creations coming soon.