


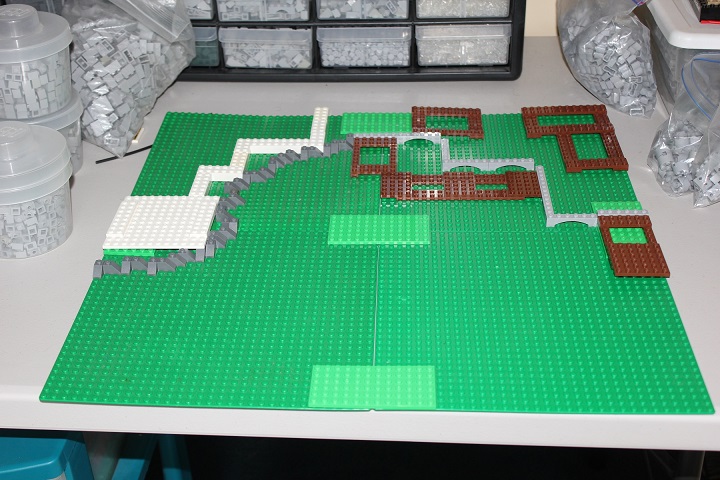
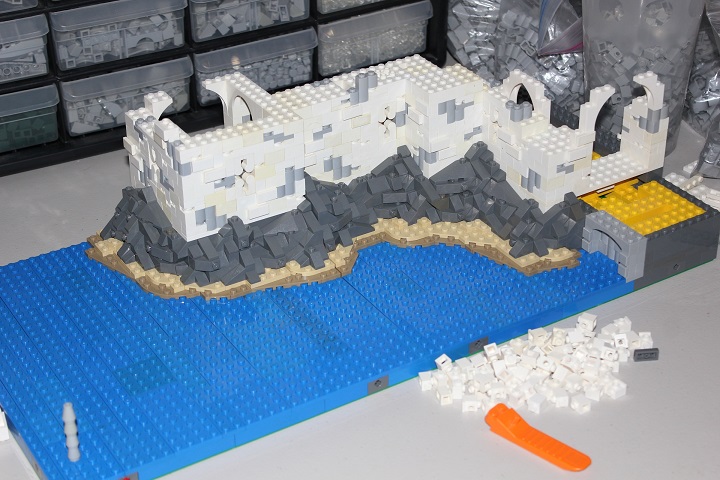
This is still one of my largest commissioned models ever, and ended up being a lot of fun to build. My client wanted a four baseplate setup with a section of Imperial Fort (based off of my previous model) and harbor with some town buildings. Basing the model around 32×32 baseplates would allow him to easily add onto the display in the future.
I started by roughing out a possible layout for the port, and getting his feedback on the setup. The dark bley slopes naturally represent the rock underneath the fort, while the brown plates either represent docks or town buildings. And some 1×6 arches in bley were used to lay out the stone harbor walls.
Since baseplates have very little strength without reinforcement, and would have no easy attachment method between modules, I built up a brick layer and then capped it off with blue plates. Technic brick with cross and technic axles located at the corners of each module allow for easy removal or attaching of each 32×32 section.
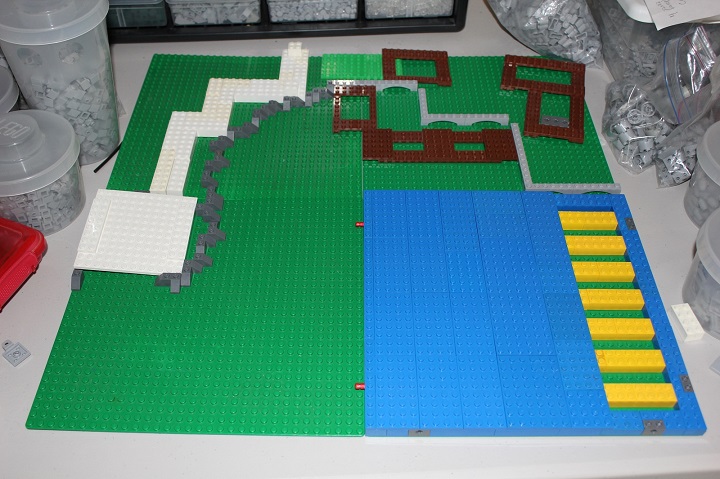
With the front two modules built up, I could progress onto the first section of rockwork. Simple SNOT and Studs Up Rockwork worked easily in this setting.
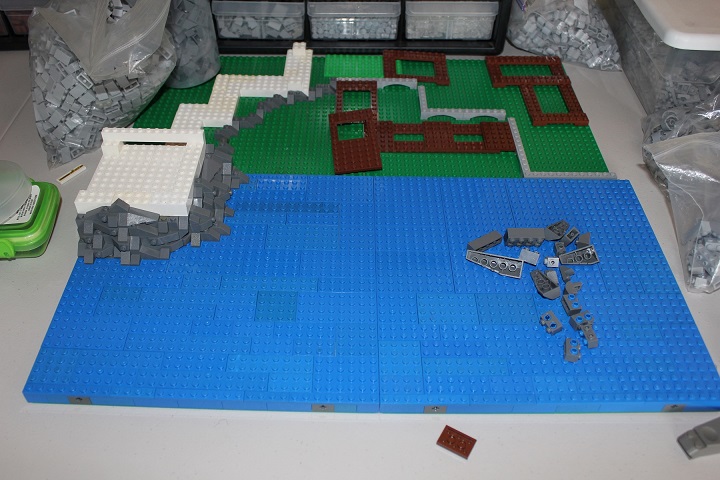
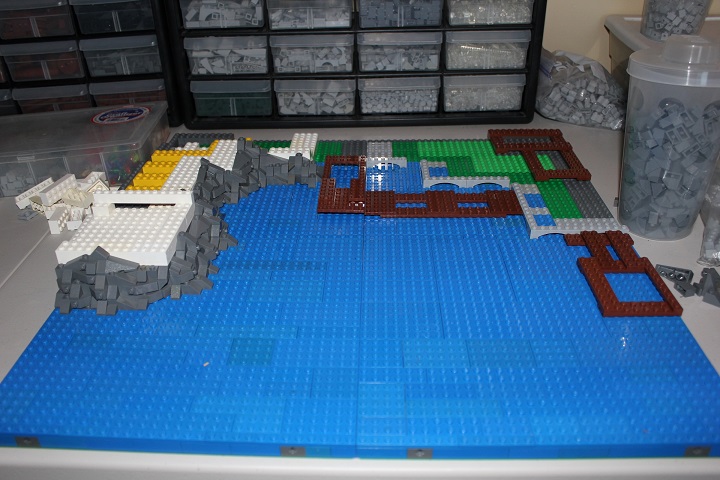
Then I moved onto the back two modules and finishing off the rocky shore. I also refined the dock layout some, and prepared to get started on the walls of the fort. There was a slight setback as I had forgotten to add some sand underneath the rocks, but fortunately that wasn’t too hard to fix.
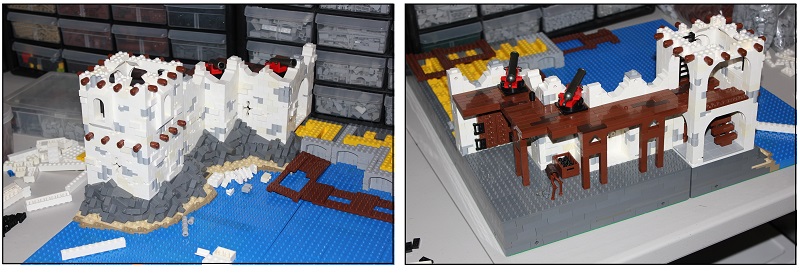
Since the models was made up of four modules, it was easy to set aside sections that weren’t being currently worked on which is very handy when working with a big creation. I purposefully included yellowed bricks in the fort walls to add to the worn look. On the right here you can see a gateway allowing access from the fort to the town.
Progress on the fort went quickly, particularly since I was working off of basically the same designs as my earlier model. At this point my client requested a small prison cell incorporated into the wall, so I ended up revising the back side with wooden walkway a little.
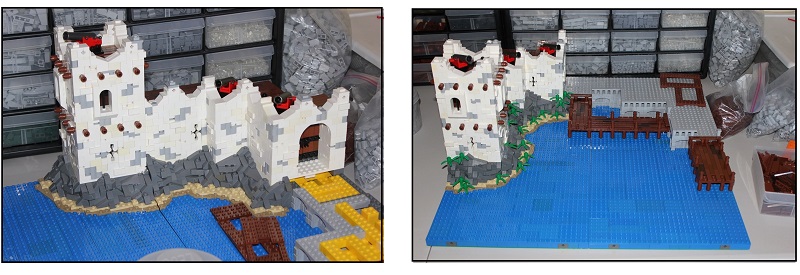
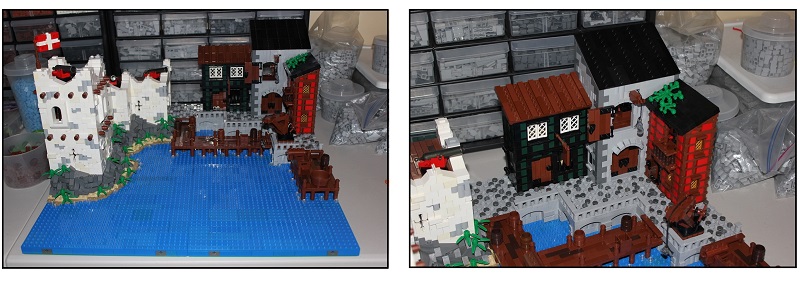
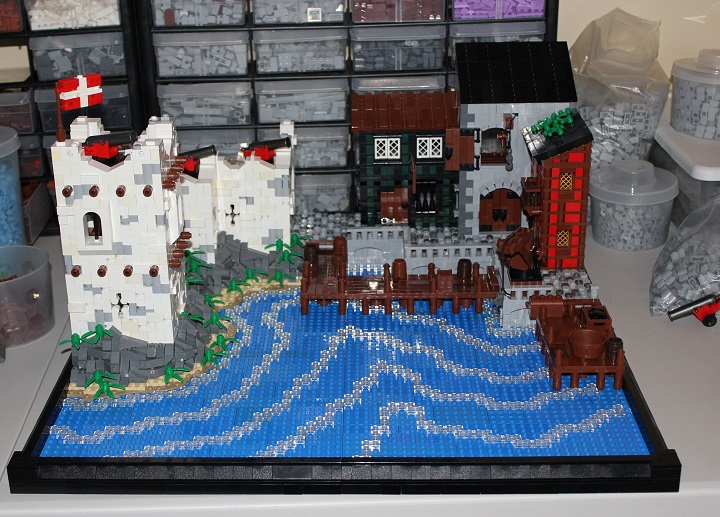
With the fort finished up, it was time to move onto the town! Neat stone arches and railing lined the edge of the wharf.
Play-ability was a large focus for this project, so a working crane to load and unload ships was added to the harbor area. I wasn’t very happy with this attempt at the crane, aesthetically and due to strength issues, so I modified it later.

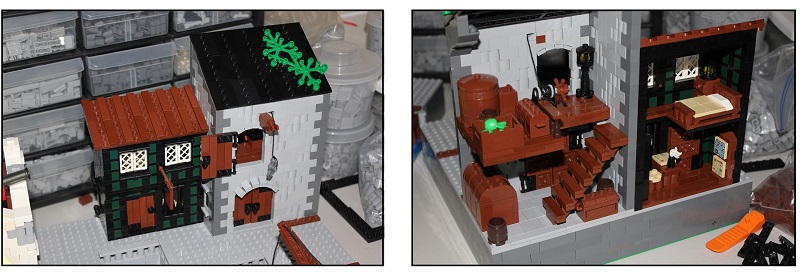
The large stone building is a warehouse with second story door to allow easy loading and unloading of goods, plus a working pulley operated by a winch inside. The dark green building is a cartographers shop that has various maps for sale.
The cobblestone streets were one of the last things added, plus the fort’s flag. You can also see the revised crane here, and at this point I thought the model might be finished.
Then the customer requested some wave effects in the water, if possible. I was a little disconcerted at first, as I had very little depth to work with for the water. However, after messing around with some trans-clear 1×2 plates, I realized that ripples could be easily achieved.
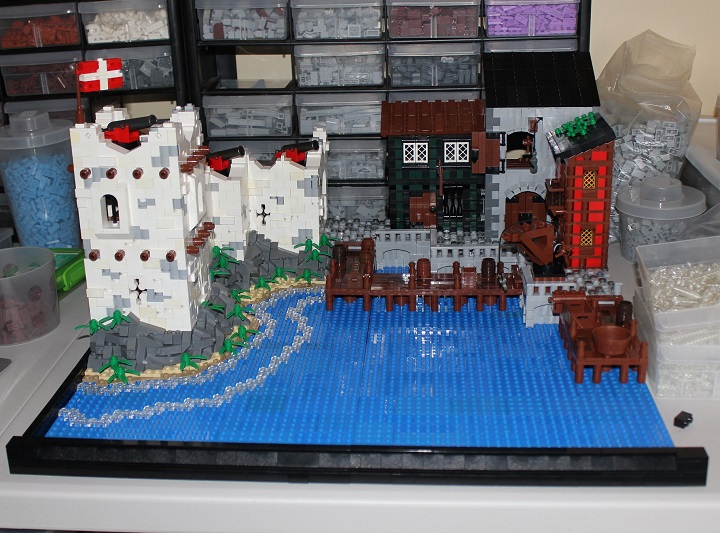
My client loved their addition, so I finished up adding them to the rest of the water and added a border that could also be removed via the same technic brick and axle configuration.

As always, thank you for reading!


I still love it, and I’m still adding onto it! If I had a bigger table I’d expand it further… its like we have our own long term collab going here.
https://flic.kr/p/24Bg1EV
Thanks Adam! I’ve really enjoyed seeing the enhancements you’ve made to the port.