


Another addition to our ever growing series of furniture tutorials. See the 1st, 2nd , 3rd, and 4th. This installment covers a weapons rack, bed, side cupboard, and cabinet.
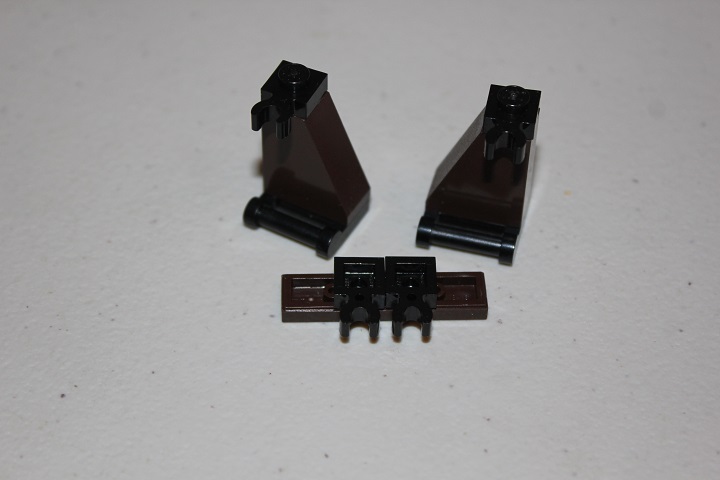
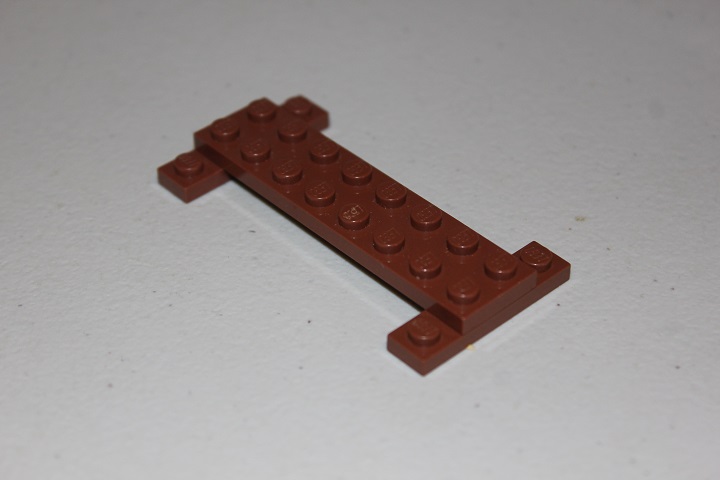
Let’s start with a look at the weapons rack. Some plate with handle serve as the base for the rack, and clips allow weapons to be held snugly in place.
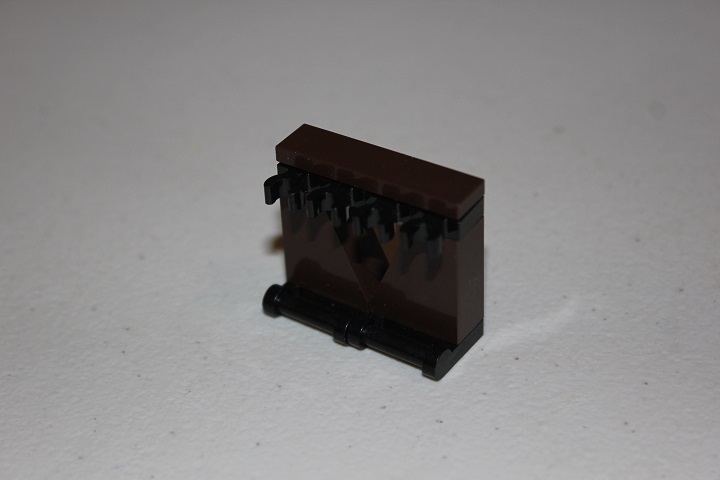
The 1×4 tile across the top holds everything together.
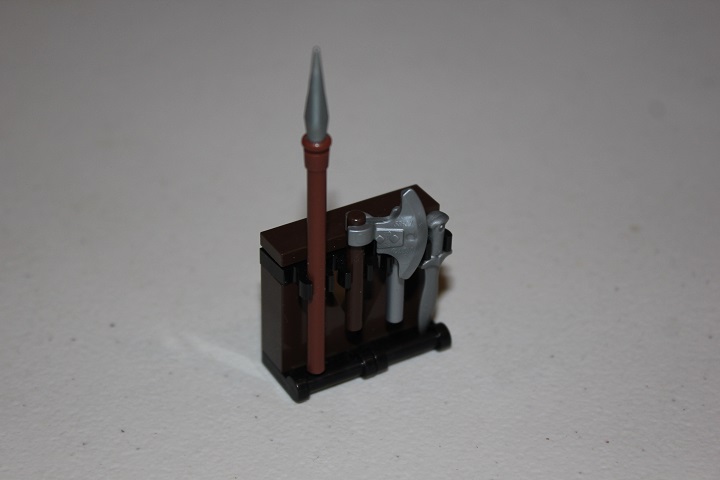
And here’s how it looks with some weapons added.
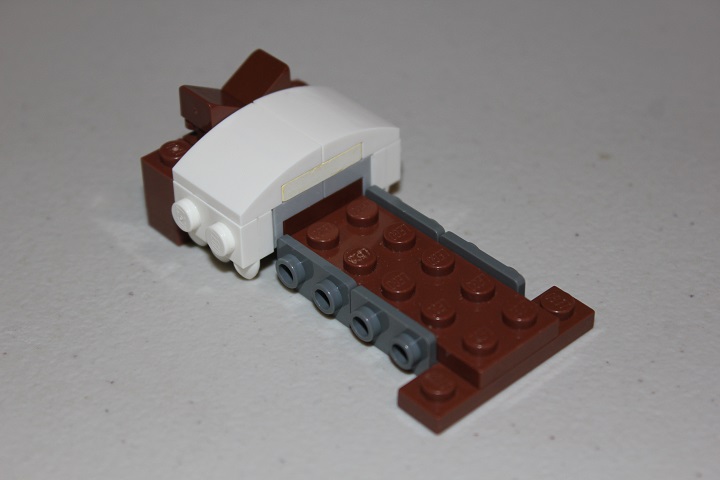
This bed is fairly parts intensive and utilizes SNOT techniques to achieve some nice patterns. A few plates are used as the main frame.
Next some brackets are added.
More brackets added.
The 1×2 jumper plates can be replaced with regular 1×2 plates if you want.
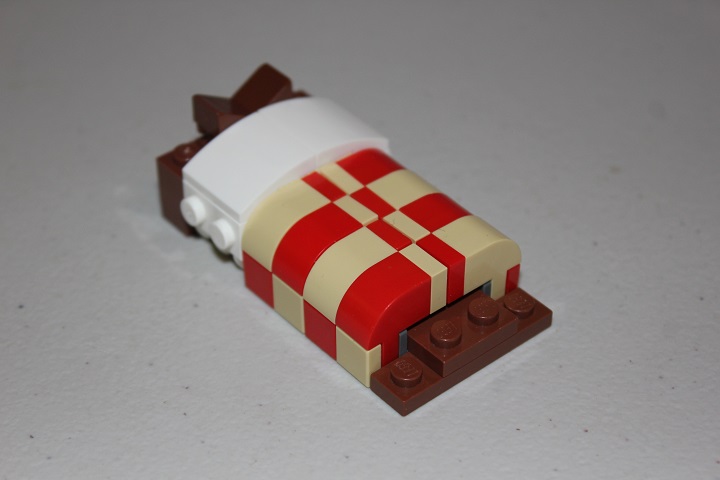
These curved slopes make the pillow.
Some cheese incorporated into the head-board and foot-board give added decoration.
The covers of the bed are made up of 1×2 curved bows with 1×1 plates and 1×1 tiles. Alternating the colors gives a checker pattern.
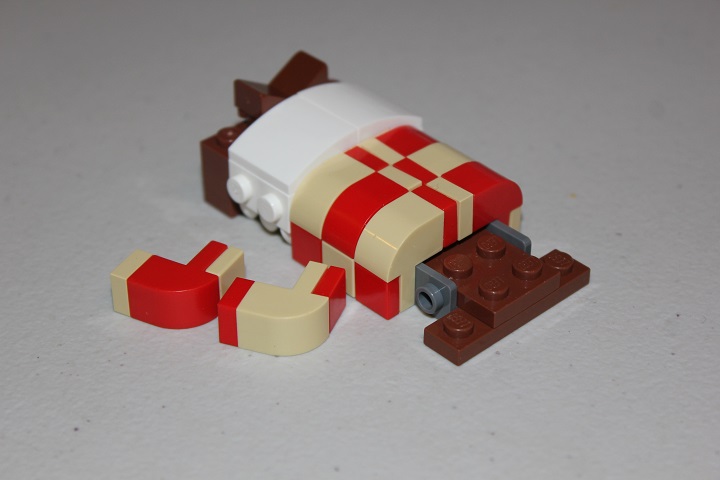
Just need to finish off each end of the bed now.
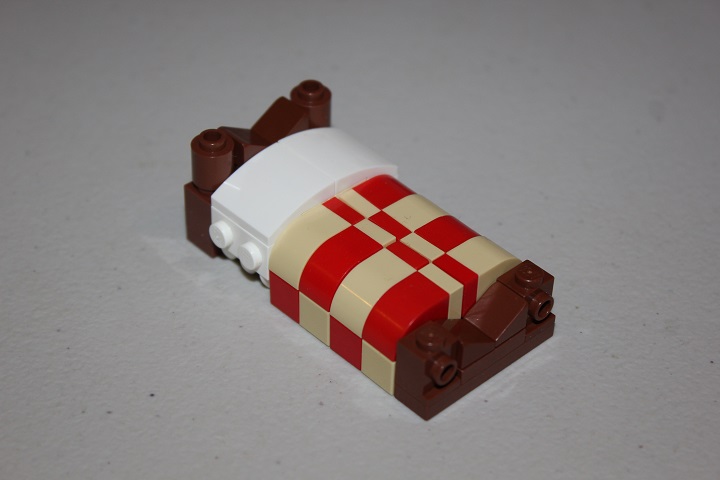
Friends flowers work well to give the appearance of ornately carved wood.
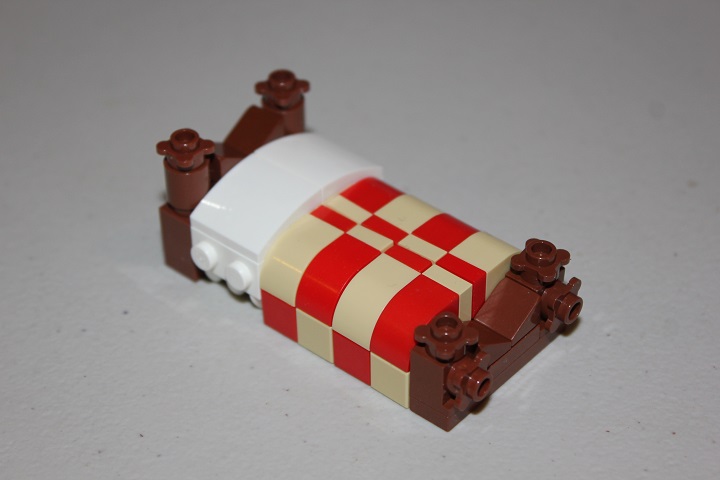
And a couple tiles finish it off!

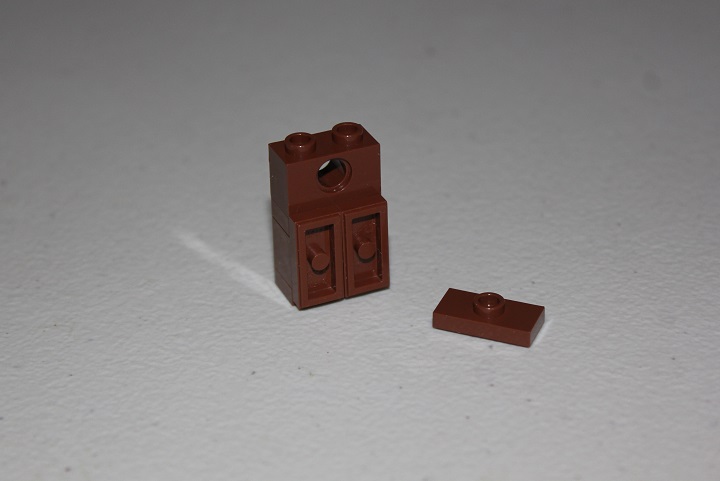
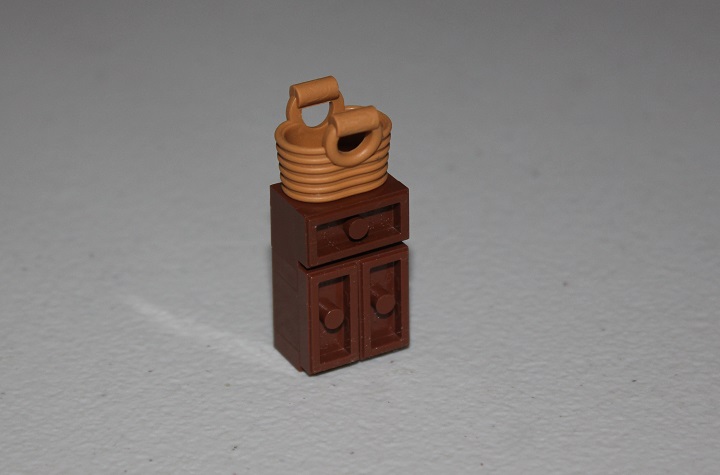
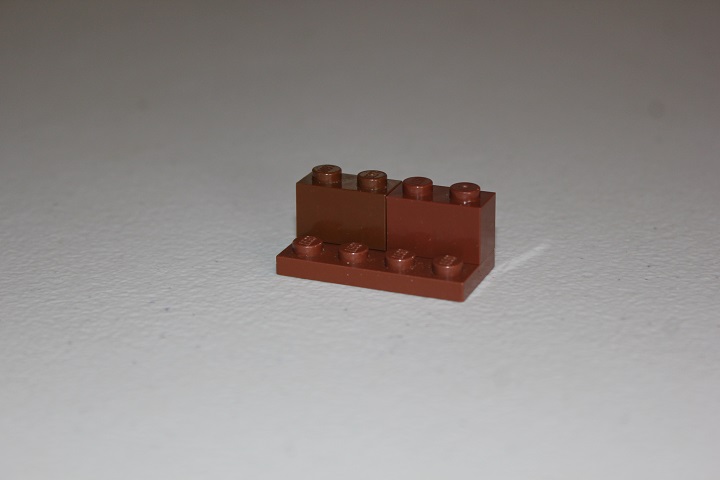
This little cupboard is a simple and parts efficient design that uses jumper plates backwards to give an interesting drawer texture.
Old style jumpers with the center tube work better for this item of furniture.
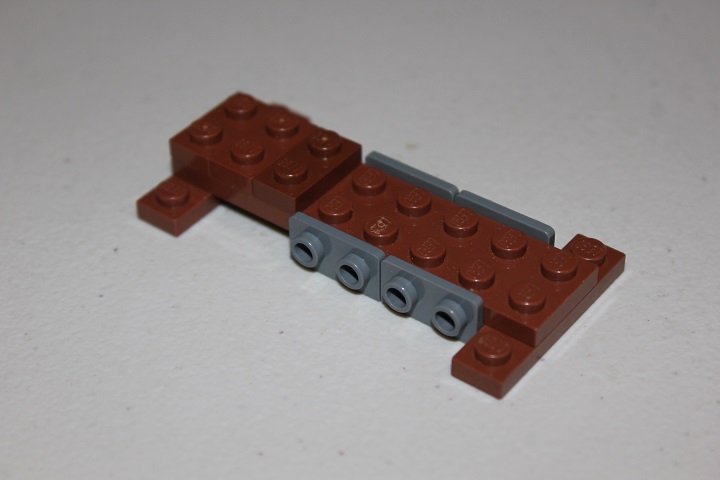
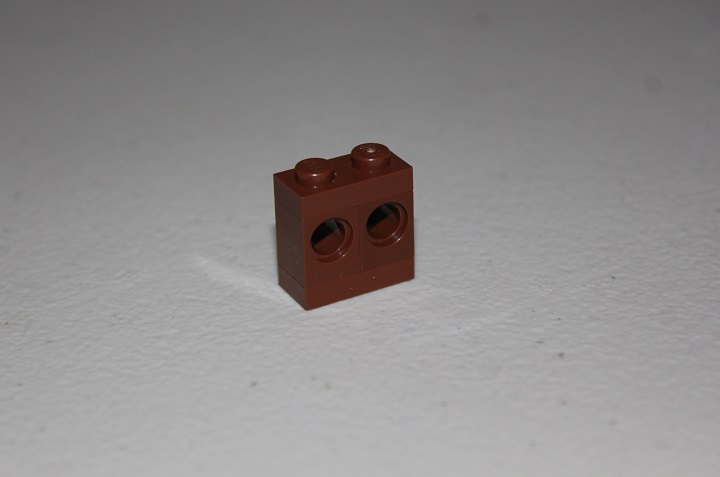
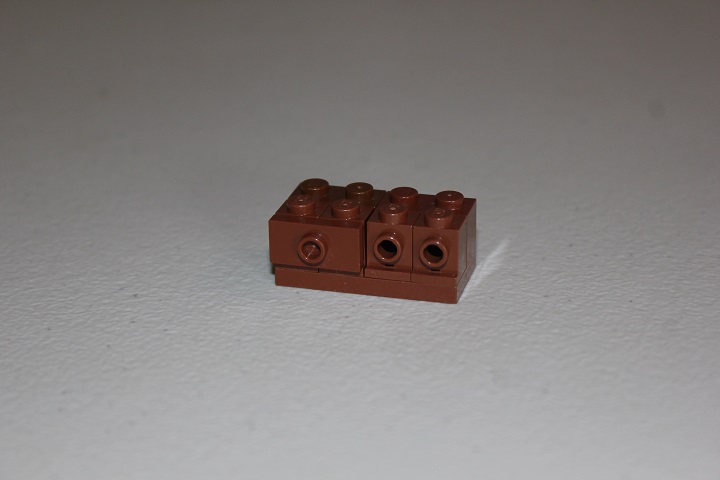
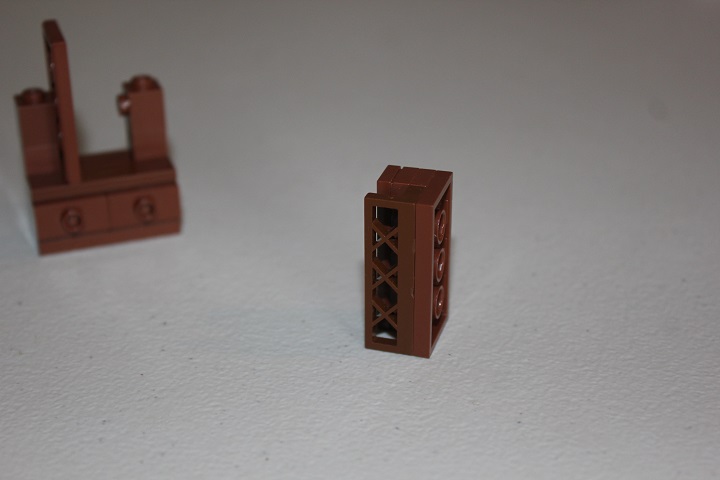
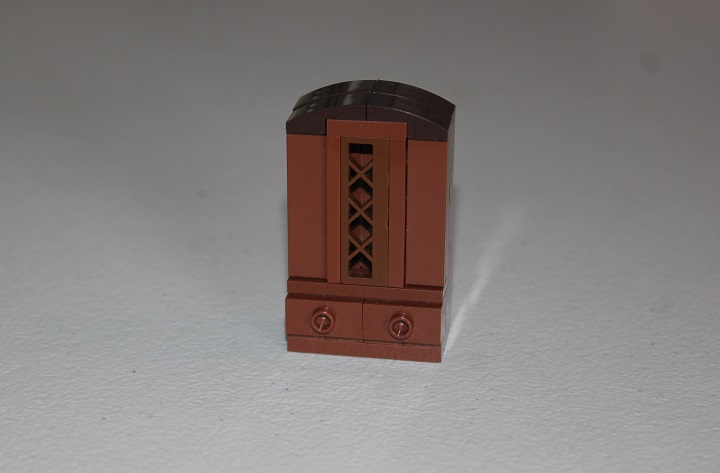
Last is the cabinet. The base uses standard designs we’ve shown before in tutorials, but the upper portion is based around some neat SNOT combinations.
Headlight bricks allow jumper plates to be attached, facing forwards this time, for the lower drawers.
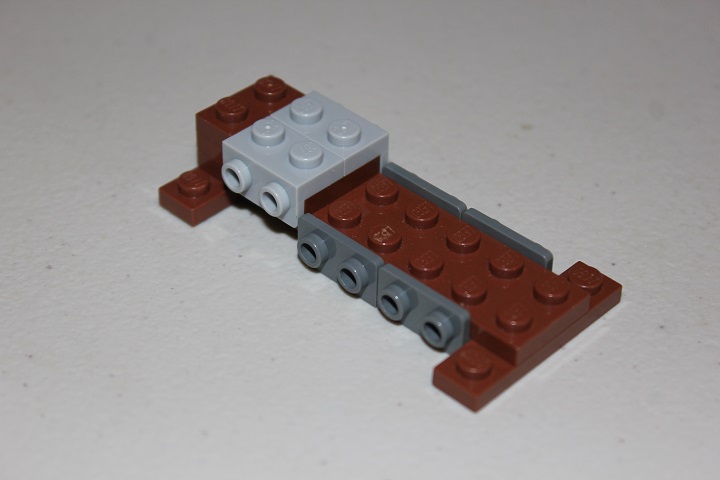
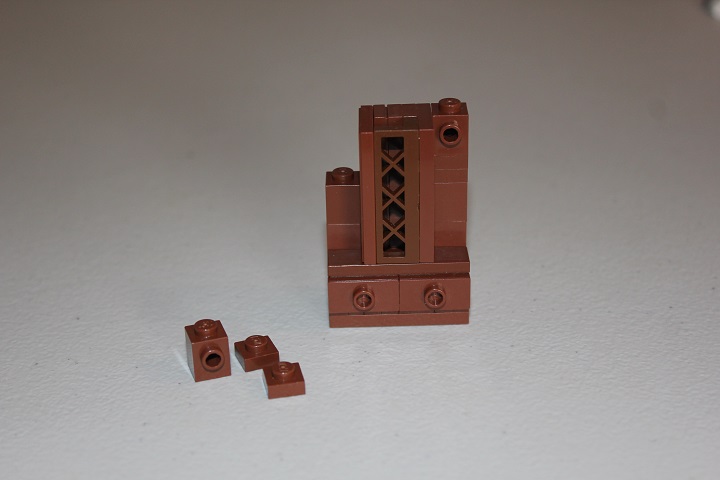
Then a 1×2 tile and 1×4 tile are added, while a few 1×1 bricks and brick modified with stud set up a connection point for the SNOT 2×4 tile.
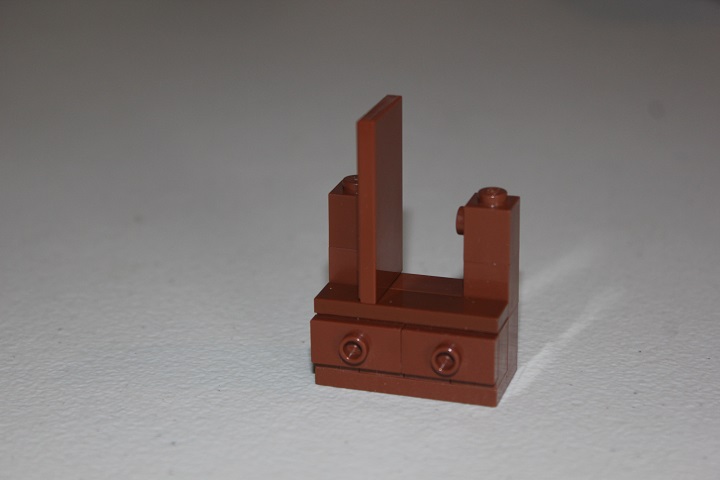
These parts make up the center portion of the cabinet.
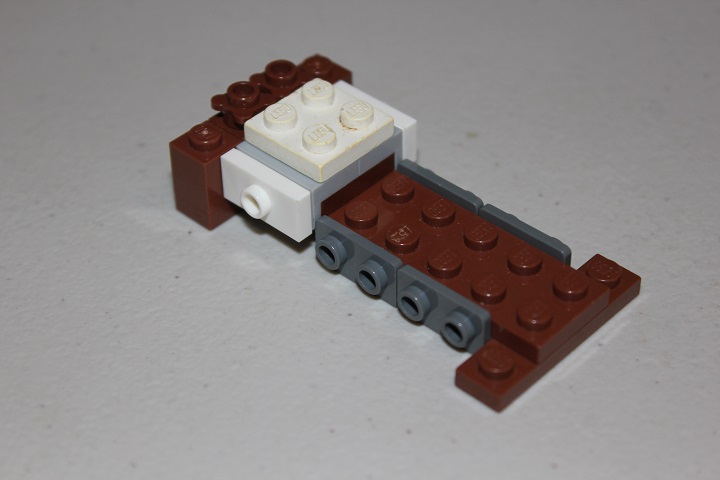
Once assembled, this whole section attaches to the other brick modified with stud.
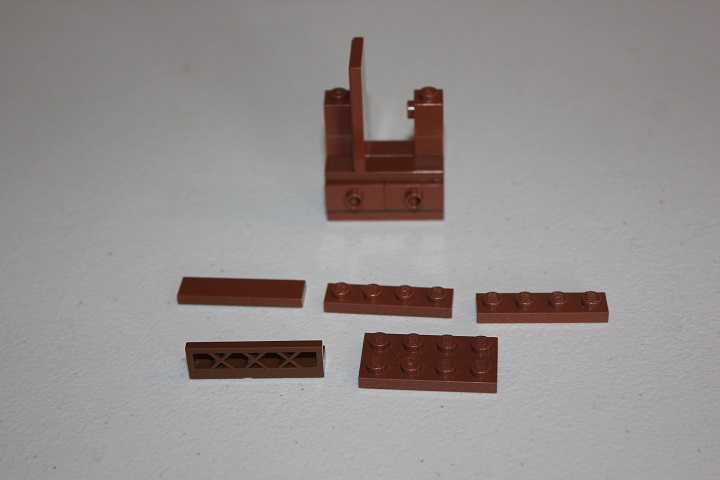
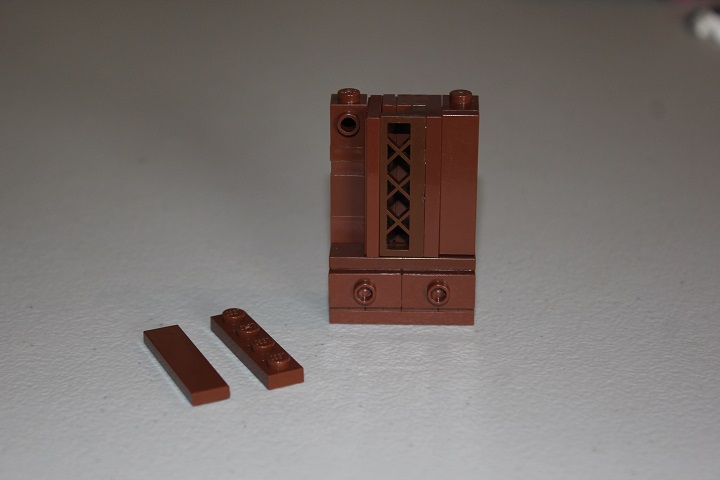
After adding that portion, two 1×1 plates are stacked below more brick modified with stud.
Then a 1×4 plate with 1×4 tile on the front is attached to each of those SNOT studs.
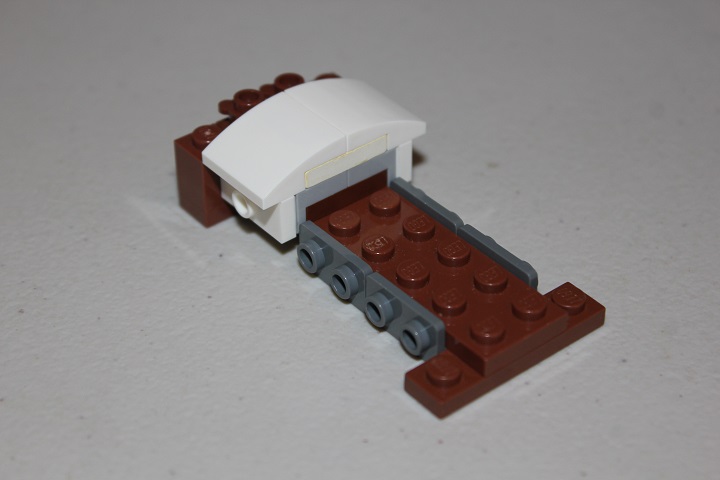
Lastly a top is made of some curved slopes and a 2×2 plate.
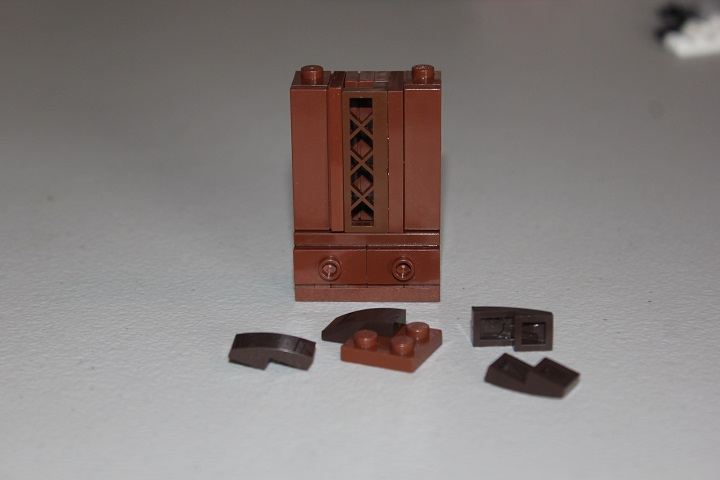
And there is the finished cabinet!
If you have something you would like to see a tutorial on, or would like further explanation on any of these designs, just let us know in a comment below.


Awesome! These are pretty cool! I really need to use some of these! 😀
^ I second Roanoke!